Portable
PLUS
Computer
Removal
and
Replacement
6.9
6.6
Removing
the
Keyboard
Module
After removing the battery
and
separating the case (sections 6.3
and
6.4):
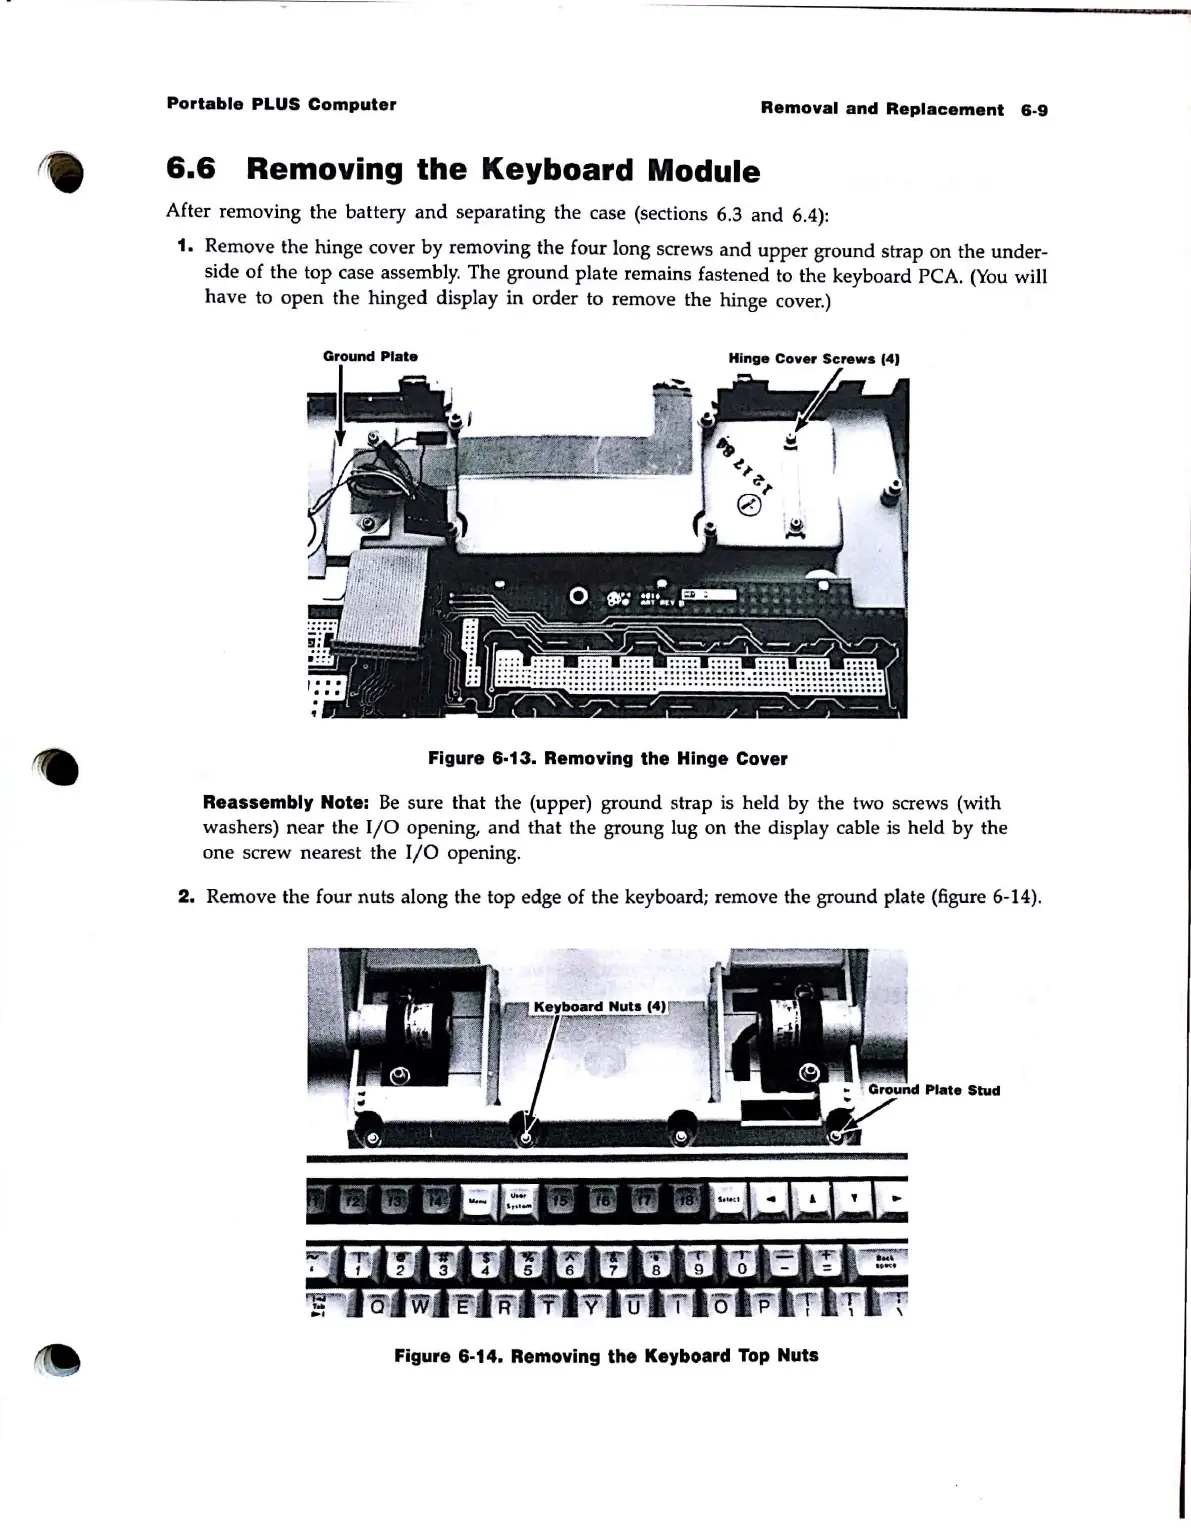
1. Remove the hinge cover by removing the four long screws
and
upper
ground strap
on
the under-
side
of
the
top case assembly. The ground plate remains fastened to the keyboard PCA.
(You
will
have to
open
the hinged display in order to remove the hinge cover.)
Ground
Plate
Hinge
Cover
Screws
14)
Figure 6·13. Removing the Hinge Cover
Reassembly Note:
Be
sure that the (upper) ground strap is held by the two screws (with
washers) near the
I/O
opening,
and
that the groung lug on the display cable is held by the
one
screw nearest the 110 opening.
2.
Remove the four nuts along the top edge
of
the
keyboard; remove the ground plate (figure 6-14).
Plate
Stud
Figure 6·14. Removing the Keyboard
Top
Nuts