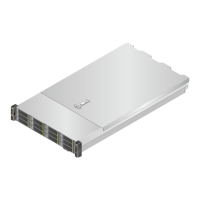
Figure 7-107 Installing the hard disk backplane
Step 5 Tighten the screw on the hard disk backplane. See (2) in Figure 7-107.
Step 6 Connect the cable of the front hard disk to the server. For details, see 2.7 Internal Cabling.
Step 7 Install the front hard disk.
Step 8 Install the fan module bracket.
Step 9 Install the fan modules. For details, see 7.16 Installing a Fan Module.
Step 10 Install the air duct. For details, see 7.14 Installing the Air Duct.
Step 11 Install the chassis cover. For details, see 7.12 Installing the Chassis Cover.
Step 12 Install the 5288 V3. For details, see 3.4 Installing the Server.
Step 13 Connect all internal cables such as power and network cables. For details, see 3.5 Connecting
External Cables.
Step 14 Power on the 5288 V3. For details, see 4.1 Powering On the Server.
----End
7.53 Removing the Rear Hard Disk Backplane
Remove the rear hard disk backplane before replacing it with a new one.
5288 V3 Server
User Guide
7 Replacing Parts
Issue 26 (2018-11-19) Copyright © Huawei Technologies Co., Ltd. 224

 Loading...


