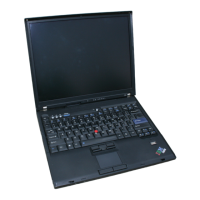
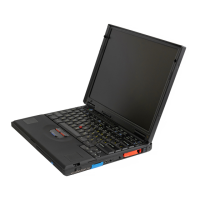
FRU Removals and Replacements
Follow the numerical sequence in the FRU removal
sequence list and the exploded view to remove or
disconnect parts in the correct order. The letters in
parentheses in the list indicate screw types. See the
“Screw Size Chart” on page 19 to match the letters to the
correct screw type and size before replacing each screw.
Safety Notice 8: Translation on page 13
Before removing any FRU, power-off the computer,
unplug all power cords from electrical outlets, remove
the battery pack, then disconnect any interconnecting
cables.
Safety Notice 1: Translation on page 7
Before the computer is powered-on after FRU
replacement, make sure all screws, springs, or other
small parts are in place and are not left loose inside
the computer. Verify this by shaking the computer
and listening for rattling sounds. Metallic parts or
metal flakes can cause electrical shorts.
.1/ Battery Pack
.2/ LCD Hinge Covers
(Press down on the hinge cover and slide it forward
until the tabs clear the bezel.)
.3/ Two Screws (T) with Flat Washers
(At bottom of bezel plate)
.4/ Screen Bezel Plate
.5/ Four Screws (2-T, 2-H)
(At display corners)
Upper Right Screen Cable
Left Center Screen Cable
Lower Right Screen Cable
.6/ Two Hinge Screws (V) with Flat Washers
(One on each hinge)
.7/ Screen Sub-Assembly
.8/ Backup and Standby Batteries
(When installing backup battery, align wires with
edge of voltage converter. Ensure wires do not
extend beyond edge of voltage converter or they
might be damaged when you replace bottom cover.)
.9/ Five Screws (4-E, 1-V)
(On bottom cover)
.1ð/ Bottom Cover
Ribbon Cable from Diskette Drive
Battery Cable
Voltage Converter Cable
.11/ Keyboard Cables
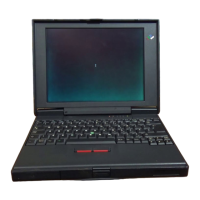
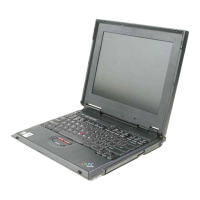
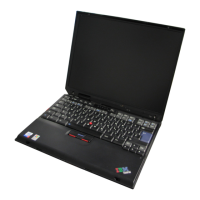
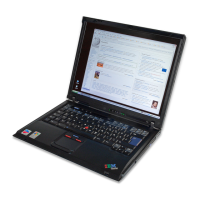
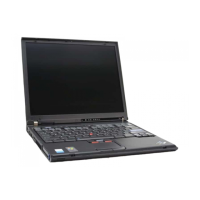
Model N51 (8551)
99
 Loading...