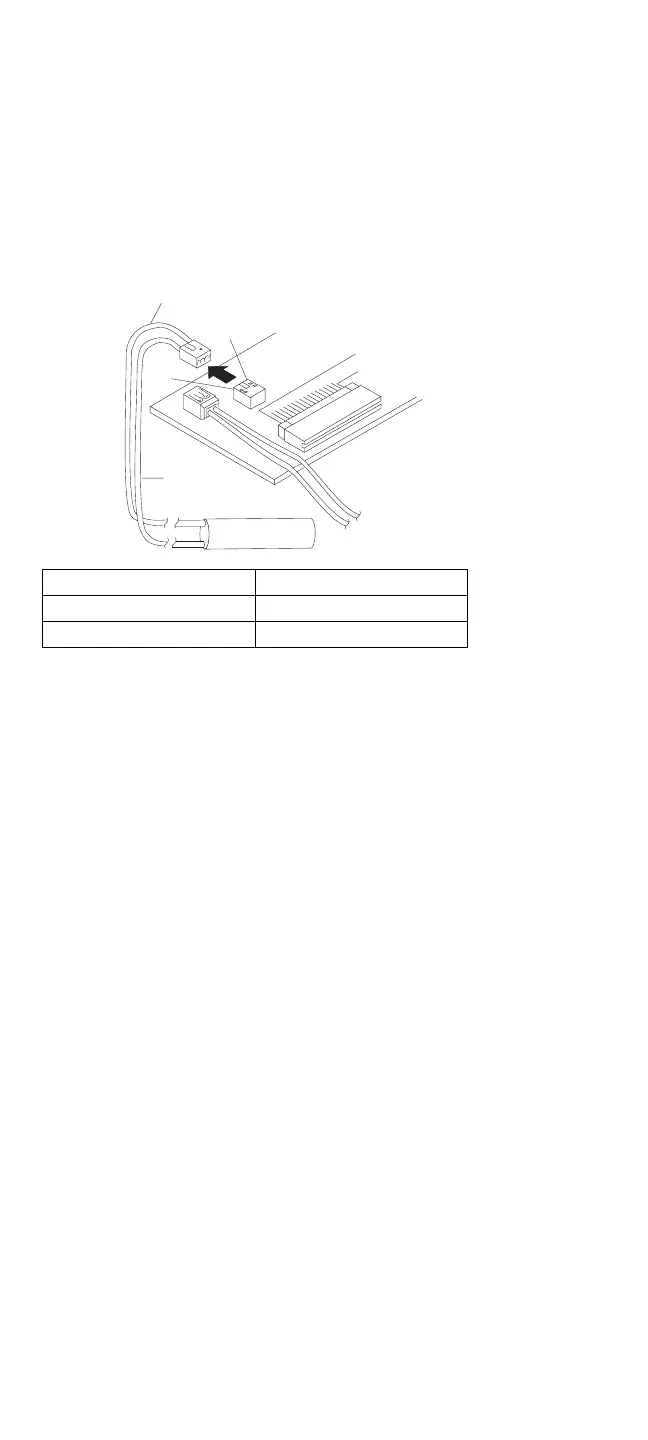
+ (Red)
- (Black)
1
2
If the voltage is less than +4 V dc, replace the
voltage converter.
If the voltage is greater than +4 V dc, go to the
next step.
6. Power-off the computer.
7. Reconnect the standby battery to the voltage
converter.
8. Power-on the computer and leave it approximately 30
minutes to allow the standby battery to be charged.
9. Power-off the computer again and disconnect the
standby battery.
10. Measure the voltage of the standby battery.
If the voltage is less than 3.5 V dc, replace the
standby battery.
If the voltage is greater than 3.5 V dc, replace
the voltage converter.
Testing the Quick Charger: If an unusual noise
can be heard from the operating quick charger, replace it.
1. Perform steps 1 through 3 on page 82 of the “Testing
the Battery Pack” to verify the battery pack is
operating correctly.
2. Connect the power cord to the quick charger and the
other end to the electrical outlet. Ensure that the
power indicator turns on.
If the power indicator does not turn on, check the
power cord of the quick charger for proper installation
and continuity. If this does not correct the problem,
replace the quick charger.
3. Install the battery pack.
If the charging indicator does not start blinking,
replace the quick charger.
Pin Voltage (V dc)
1 +4
3 Ground
84 IBM Mobile Systems HMM - Volume 1
 Loading...