1-4
Basic Operations
When performing
checks before
commencing the work,
be sure to turn off the
main power switch.
Turn on the power
only when checking
the operation.
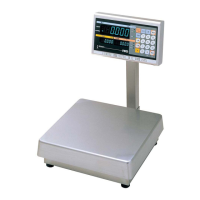
Accurate weighing
cannot be made if the
weighing unit is not
horizontally installed.
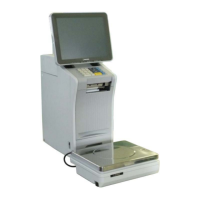
This section describes the methods of confirming accessories, checking the machine before operation, and
turning the machine on.
Be sure to check the following points before operation so the machine can be constantly
kept in good condition.
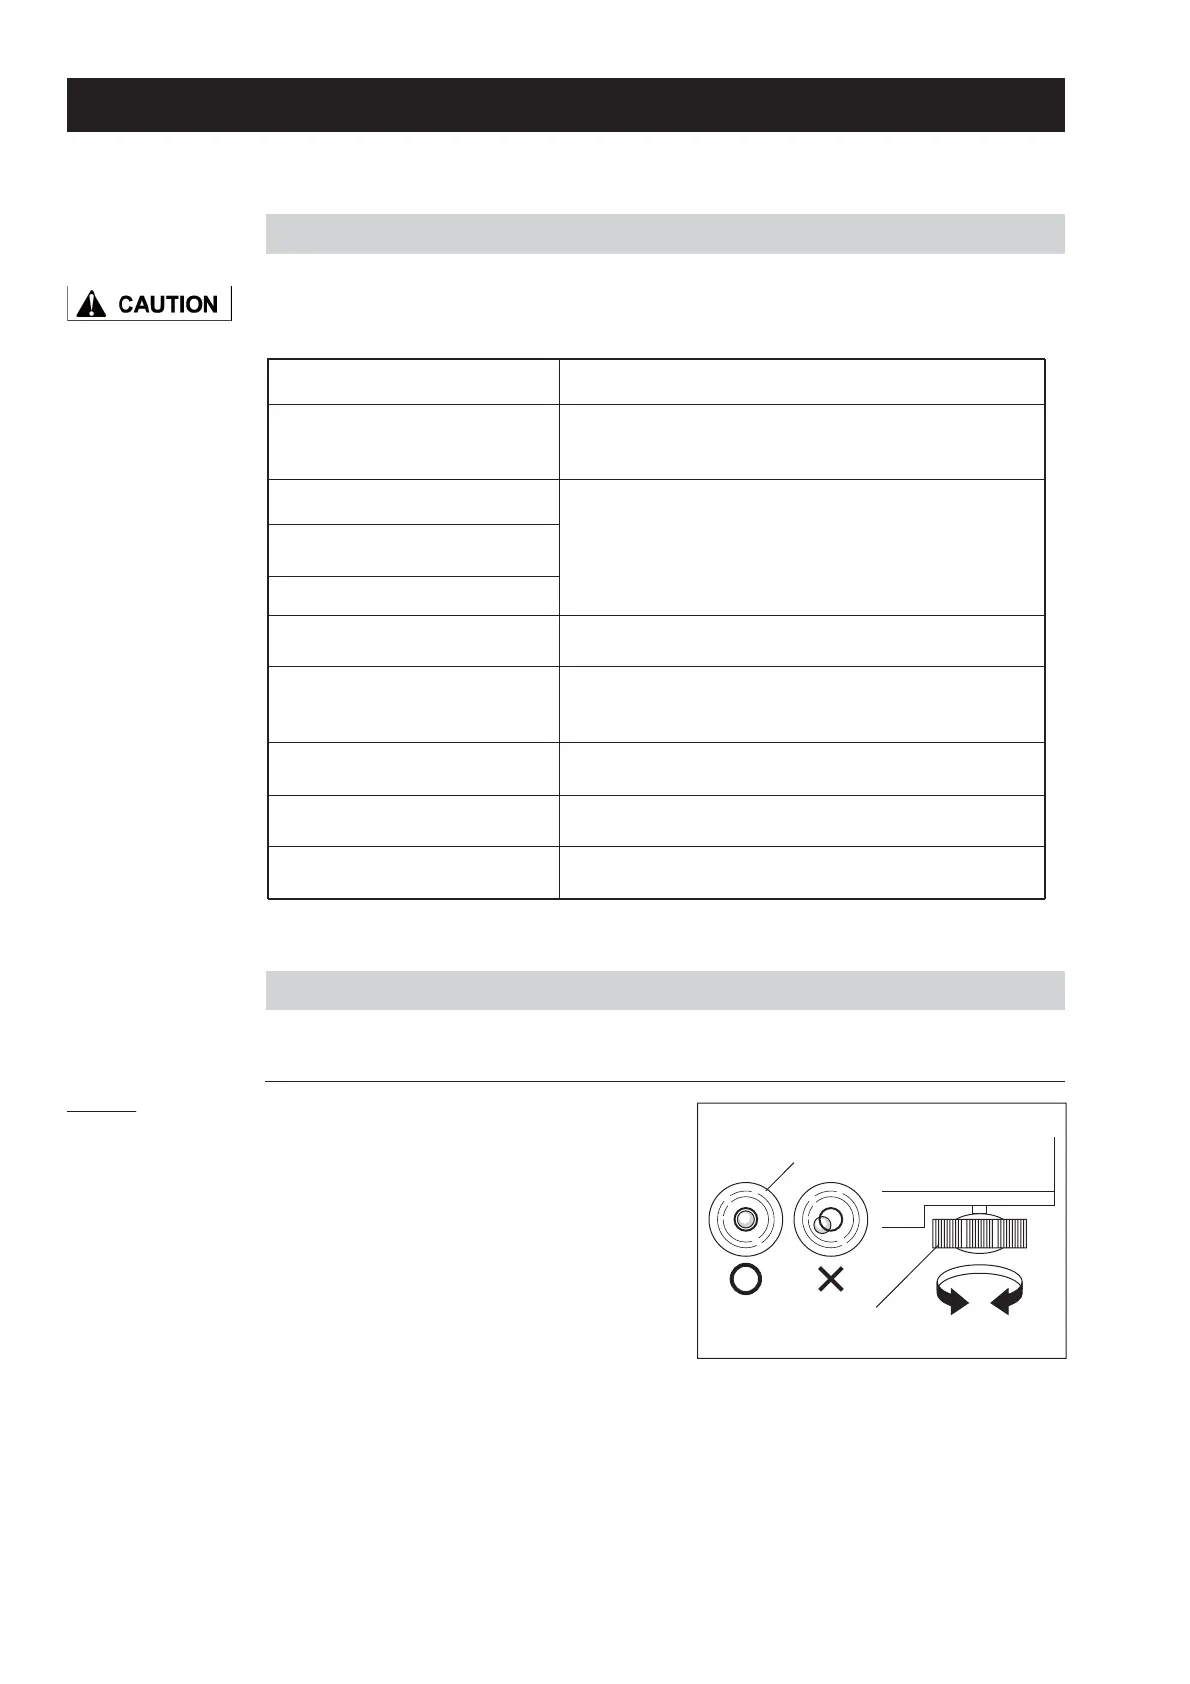
Use the following procedure when making a horizontal adjustment for the machine,
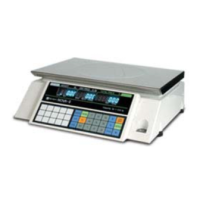
Check Points
Dirt on the weighing platter,
level window, display, and
stroke keys
Dirt on the thermal head
Dirt on the label set unit
Horizontal installation of the
weighing unit
Dirt on the roller of the label
set unit
Dirt on the peeling sensor
Rattling of the machine
Label paper feeding state
Measures to be taken
Wipe off dirt with a fully wrung-out soft cloth.
Remove extraneous matters such as dust and
labels and wipe them off with the thermal head
cleaner.
For details, see “Cleaning” on Page 1-10.
Remove extraneous matters such as dust and
labels.
Adjust the weighing unit to become horizontal
by turning the lock nut of each level adjustable
leg.
Place four rubber feet on the horizontal
mounting surface.
Adjust the print position by pressing the [FEED]
key.
Confirmation of the weighing
state
Confirm that weighing is performing normally.
1.
Install the machine at a stable
and level location.
Adjust the weighing unit to become
horizontal by turning the lock nut of each
level adjustable leg so that an air bubble
in the level becomes centered.
Level
Level adjustable leg
1.3 PREPARATION BEFORE OPERATION
1.3.1 CHECK BEFORE OPERATION
1.3.2 MARKING A HORIZONTAL ADJUSTMENT
NOTE