USER MANUAL
Buzzer: to disable or to active the buzzer to emit an alarm tone in 10, 20, 40 or 60 seconds when
the detection is triggered
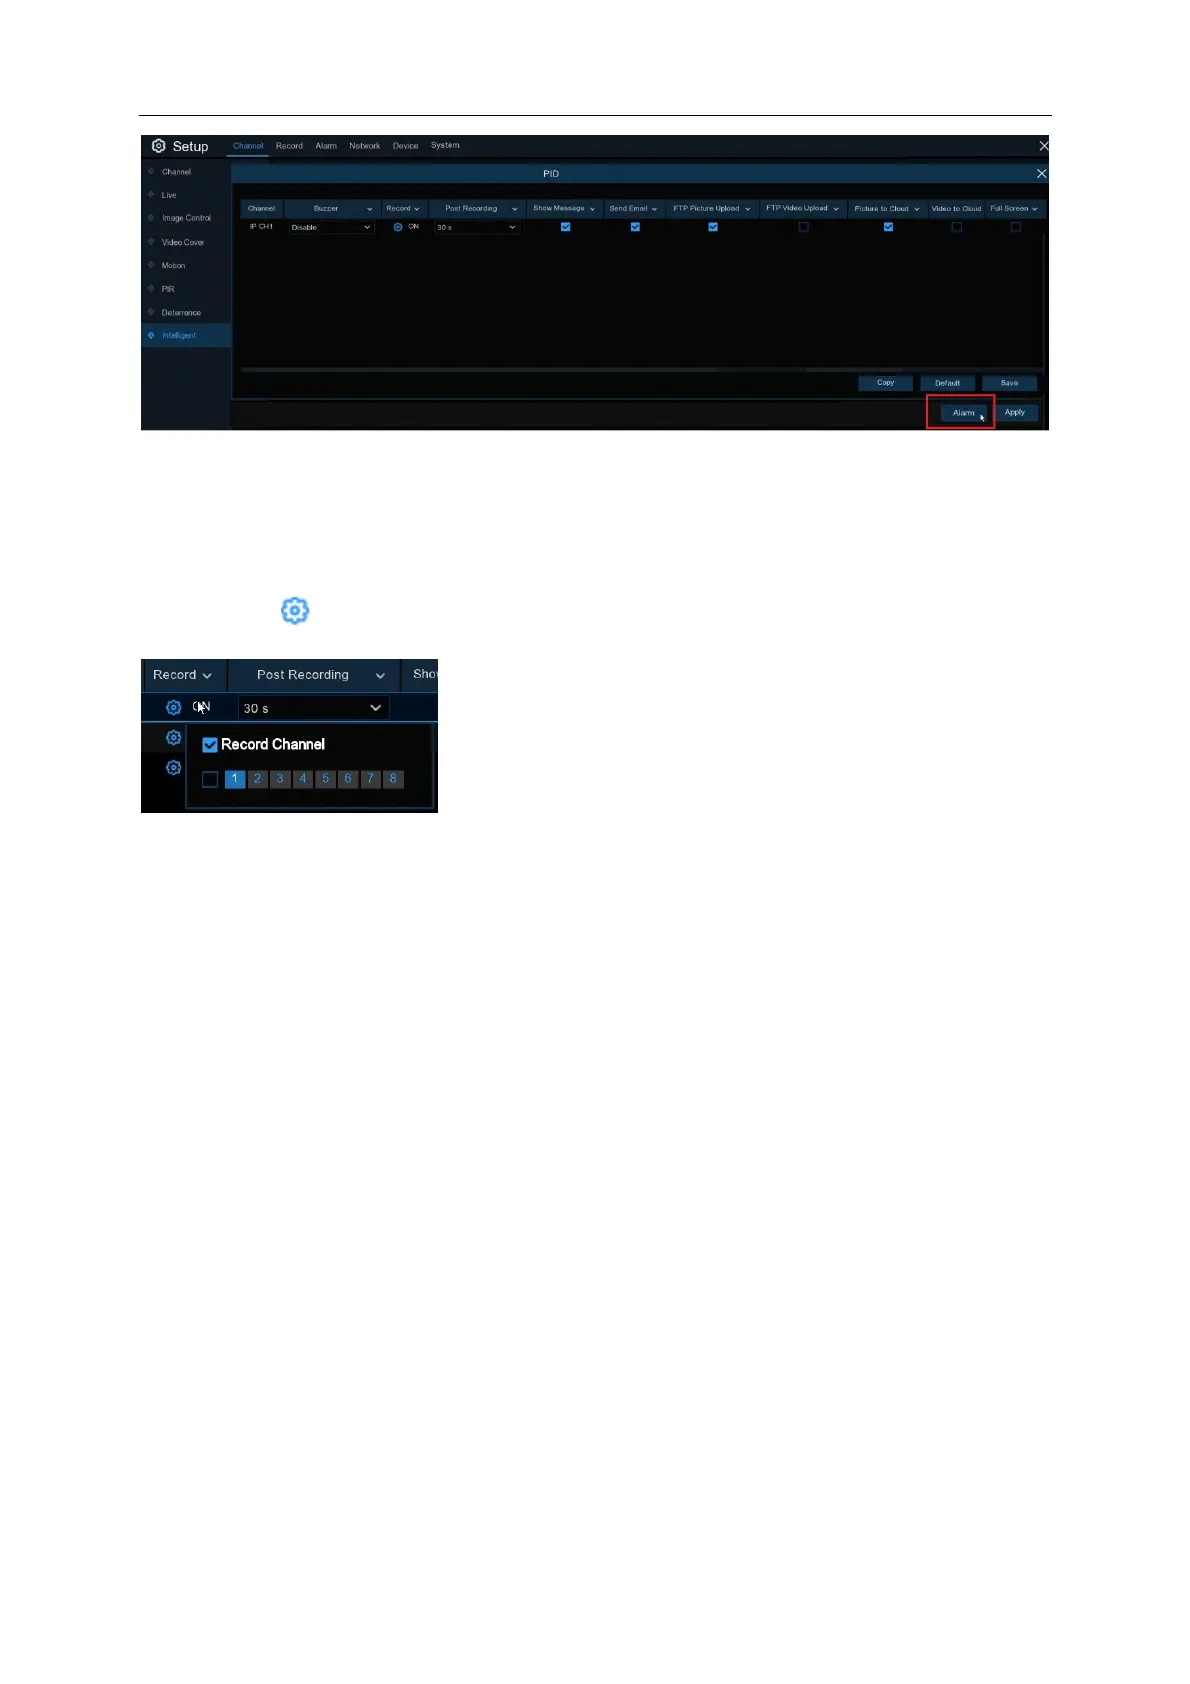
Record: Click icon and choose which channel(s) you want to record when the PID event is
triggered.
Post Recording: You can set how long after an event occurs that the NVR will continue to record.
Alarm Out: If your NVR supports to connect to external alarm device, you can set to emit an alarm
tone (NR532XA only).
Show Message: A letter “
S
” will be displayed on the live screen when a PID function is triggered.
Send Email: If an alarm is triggered, an Email will be sent to your preset email account.
FTP Picture Upload: Upload recorded pictures (snapshots) to an FTP Server.
FTP Video Upload: Upload recorded video to an FTP Server.
Picture to Cloud: Upload recorded pictures (snapshots) to Dropbox or Google Drive.
Video to Cloud: Upload recorded video to Dropbox or Google Drive. Maximum of 2 channels are
selectable at any time.
Full Screen: When the detection is triggered, the channel will be enlarged into full screen.
Area: Click [Setup] to draw a virtual region in the camera picture.
1. Choose one of the Rule Number. It is the number of FD area. Maximum 4 areas you can set
for FD function.
2. To enable the detection in Rule Switch.
3. Choose a Rule Type, only Normal available for this detection.
4. Use your mouse to click 4 points in the camera picture to draw a virtual region. The sharp of
the region should be a convex polygon. Concave polygon will be not able to save.
5. Click Save to save your settings.