6
5.2 Assembly
If you notice any transport damage
while unpacking, notify your supplier
immediately. Do not operate the
machine!
Dispose of the packing in an
environmentally friendly manner.
Clean all rust protected surfaces with
a mild solvent.
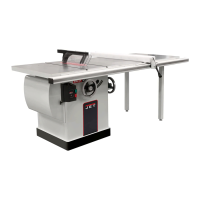
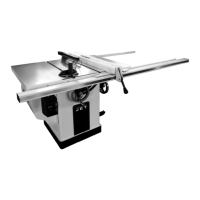
Mounting table extensions
Attach rear extension table (A, Fig 2)
to the machine table with hex head
screws and washers.
Attach right extension table (B) to the
machine table with hex head screws
and washers.
Put table surfaces in level to the main
table.
Use the rip fence profile to check and
the grub screws (C) to adjust.
Fig 2
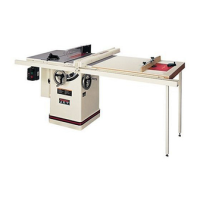
Mounting rip fence support bar
Mount the rip fence support bar (Y, Fig
3) to the front of the saw table and
right table extension.
Fig 3
Mount the scale carrier (W).
Mounting rip fence
Mount the rip fence to the rip fence
support bar.
Fig 4
The rip fence must be guided parallel
to the table surface. Adjust the round
bar (Y) up-down as needed.
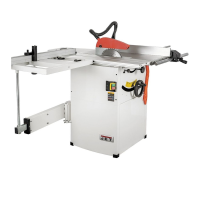
Mounting sliding table:
With the help of another person, lift
the sliding table carefully to its place
and attach (see Fig 5,6, 7 and 8).
Fig 5
Fig 6
Fig 7
Fig 8
Attach the sliding table support legs.
Sliding Table Adjustment:
The sliding table is adjusted ex works.
The sliding table must be aligned to
run parallel to the sawblade
The table surface must be 0,1 - 0,4
mm higher than the machine table.
Use rip fence profile to check (Fig 9).