Using the E-Plex Advanced ACS Software
E-Plex Advanced ACS User’s Guide
PKG 3114 0106 3–27
Complete the following steps to add a user:
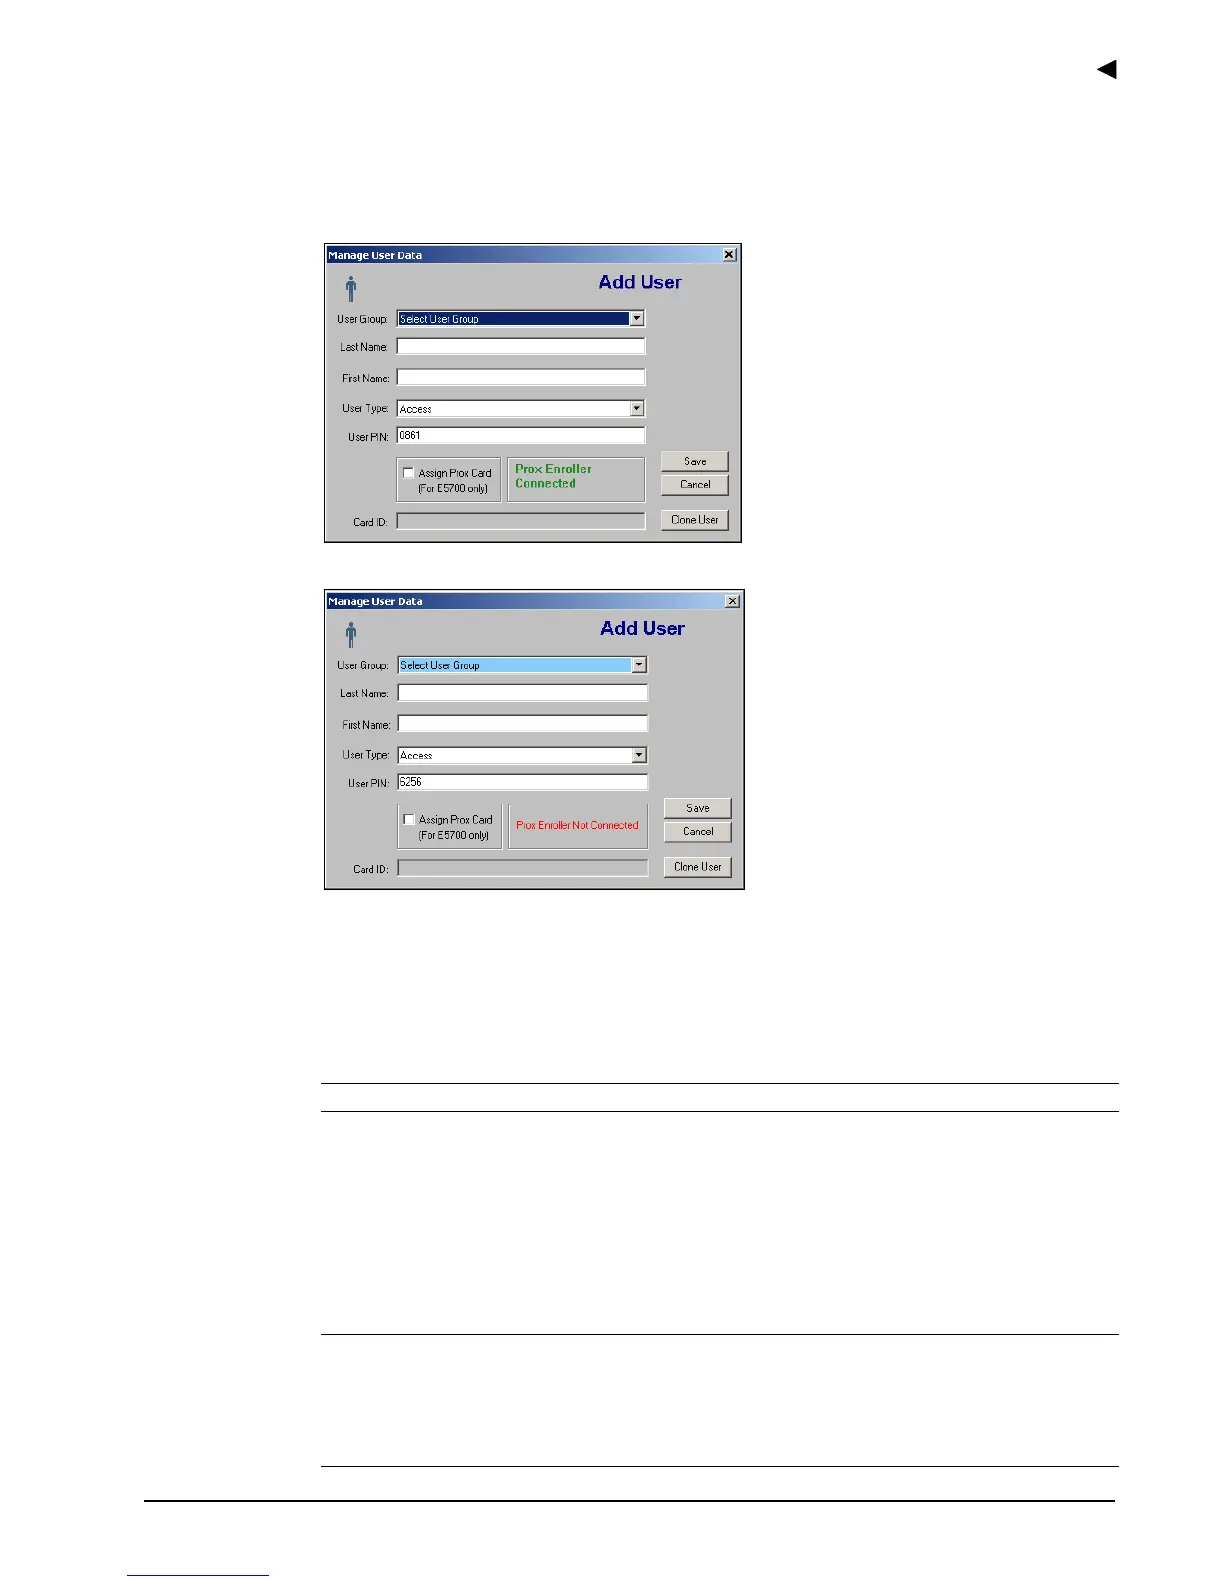
1. From the Manage Users window, click Add. The software displays the Add User
window.
If a Prox Card Reader is connected:
If a Prox Card Reader is not connected:
2. From the User Group drop-down list, select a user group.
3. In the Last Name field, type the last name of the user.
4. In the First Name field, type the first name of the user.
5. From the User Type drop-down list, select a user type. Refer to
Lock User Personnel
Classifications in Chapter 1,
About the E-Plex Advanced ACS.
Note: The User Type field defaults to Access User.
6. In the User PIN field, the User PIN for this user will be automatically generated by the
software, which can be overridden by the Operator to any other PIN of the same length.
7. For E-Plex 5700 lock users only, select the Assign Prox Card check box. For E-Plex
5200 lock users, proceed to step 10.
8. Click the Card ID field to place the cursor there, so that the Prox Reader is ready to read
the Prox Card ID of the user.
Note: The Card ID field is only available if you select the Assign Prox Card check
box.
Caution: The Card ID field should not be entered manually. It must be read from the
Prox Card via the Prox Reader/Enroller attached to the PC. For manual card ID entry,
you must do it under the Batch Enroll sub-menu selection.