Networking
February 2012 5-20 P/N 06-237058-001
5-8.14.1.3 Activating the Network
Begin configuring the individual control units for networked operation. Start with the lowest group
number if the network consists of specific sub-groups. Add and test one group at a time. If specific
sub-groups are not used, configure Nodes 1 and 2 for networked communications and test these
nodes for proper inter-node input/output operations. Use the following procedure to activate Nodes
1 and 2 for networked operations:
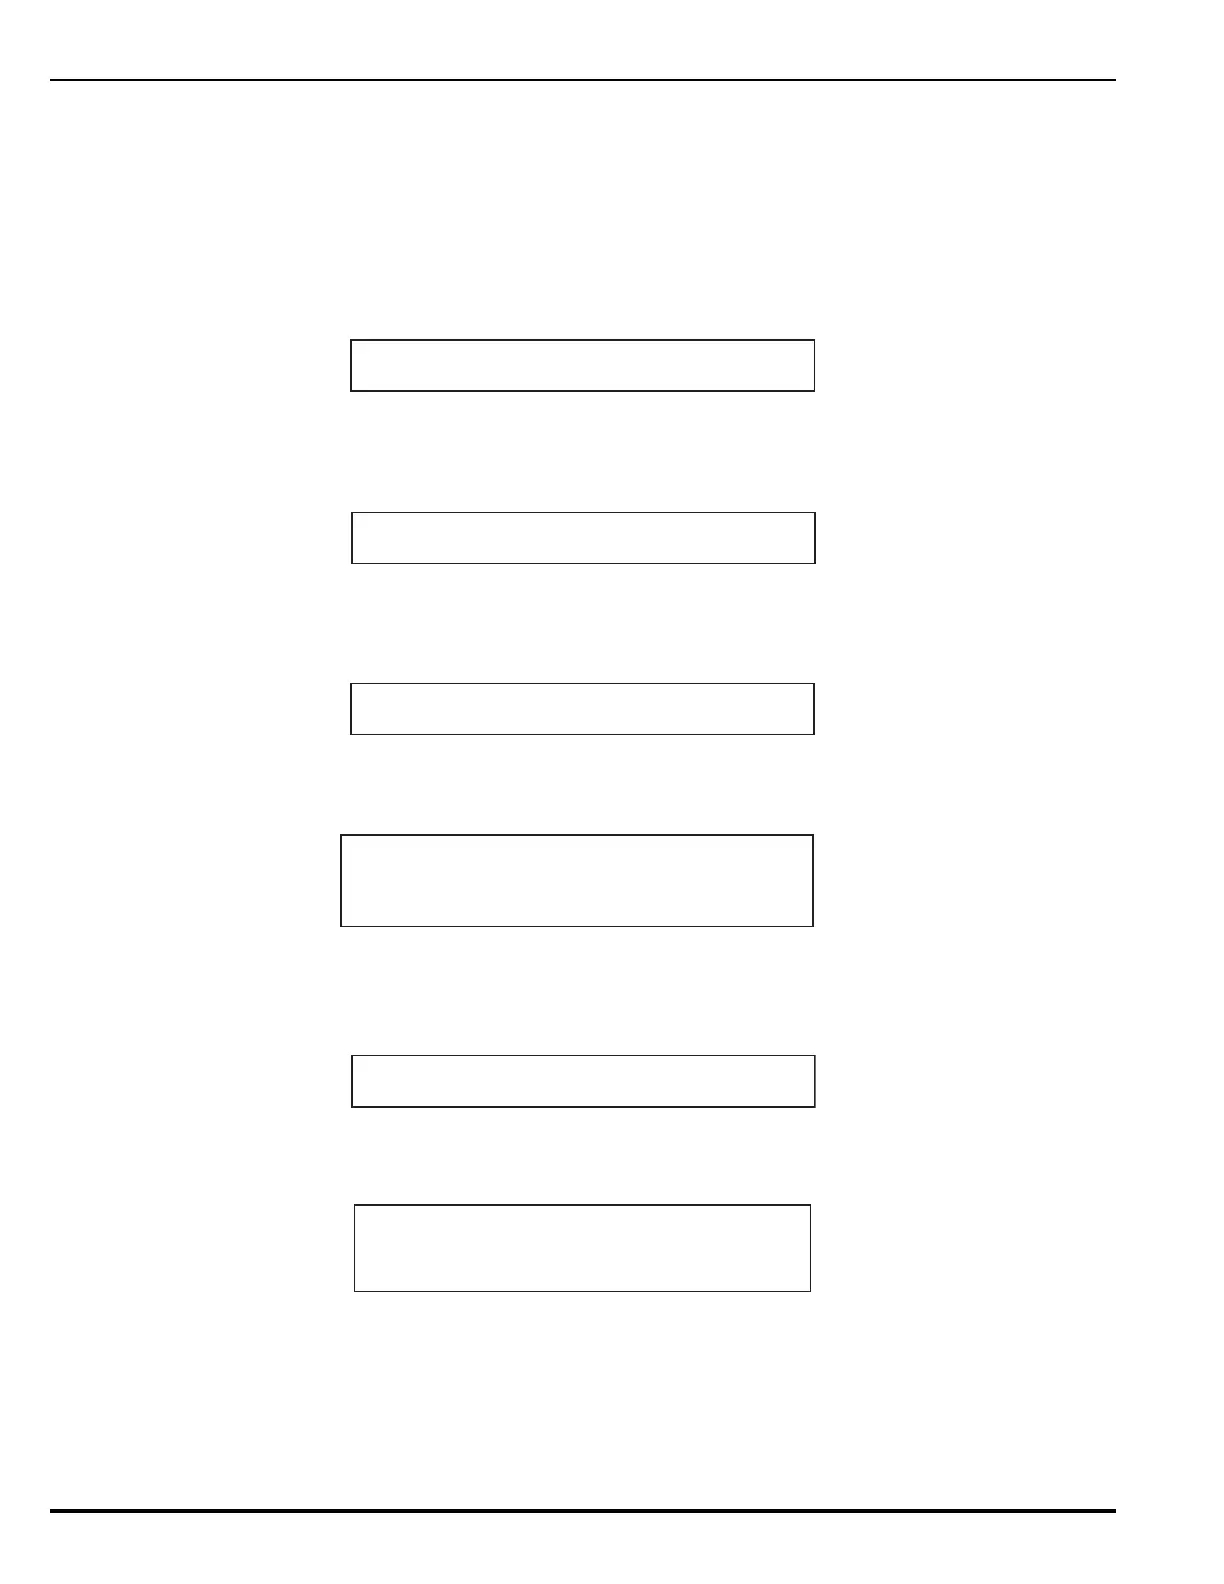
1. Press the 0 Key on Node 1. This display will show this message:
Figure 5-17. Password Prompt
2. Enter the Level-2 Password and then press the <Enter> Key. The network-node prompt will
appear as follows:
Figure 5-18. Network Node Prompt
3. Select the local node by pressing the <Enter> Key. The top-level menu selections will be
displayed.
Figure 5-19. Top-Level Menu Selections
4. Press the 3 Key to select the Set menu and the following options will appear:
Figure 5-20. Set Menu Options
5. Press the 8 Key to select NETWORK.
6. Press the <Scroll> Key and then the 2 Key to select ADD/REMOVE NODES
Figure 5-21. Add/Remove Nodes
7. The display will indicate the following;
Figure 5-22. Prompt to Add/Remove Network Nodes
PLEASE ENTER PASSWORD
****
PRESS ENTER TO SELECT THE LOCAL NODE
OR ENTER NETWORK NODE NO. (1 - 64)*
1: ISOLATE 2: LIST
3: SET 4: TEST
1: TIME/DATE 2: PORT CONTROL
3: SLC DEVICES 4: PROGRAMMING
5: GLOBALS 6: OUTPUTS/BACKPLANE
7: CONTROL MODULES 8: NETWORK
1: THIS NODE 2:ADD/REMOVE NODES
ADD/REMOVE NETWORK NODES
1: ADD 2: REMOVE