EN UG-020 Link 6 user guide r1.0 254
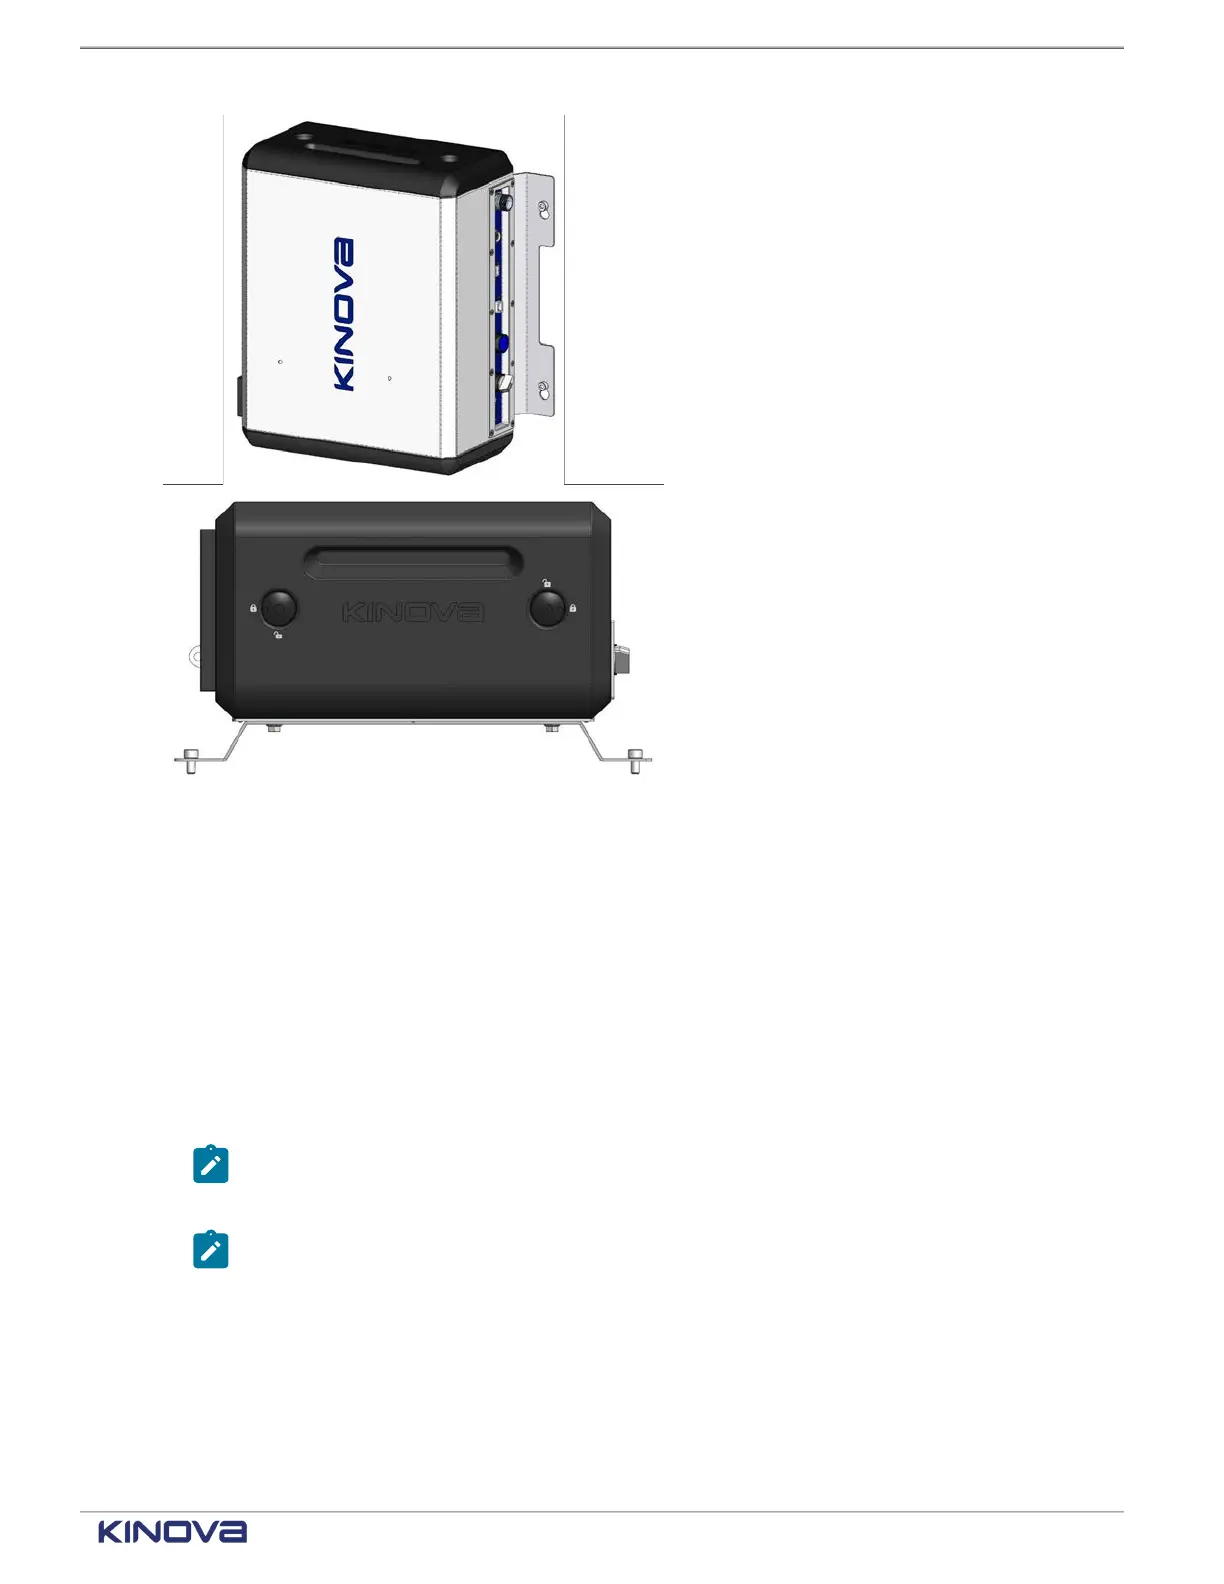
Figure 210: Controller with Kinova wall mount
Installing the Kinova wall mount
The Kinova wall mount is designed to fit perfectly with the Link6 controller.
Before you begin
Personnel:
• Number of Workers: 1
Supplies
• 4 x M6-1.0 screws, 10 mm flanged hex head
Note: Torque: 10 N·m
• 4 x M8-1.25 screws, 14 mm
Note: Torque: 8 N·m
About this task
A minimum flat area required to install the wall mount is 360x448 mm.
The position of the controller mounting screws are at 270x406 mm.
Either fix the mount to the controller before installing on the vertical surface, or fix the mount to
the vertical surface and then fix the controller to the mount. The procedure describes the former.
+1 514-277-3777 kinovarobotics.com
© 2022 Kinova inc. All rights reserved.
 Loading...