5.5.7 DNS Address
These values depend on your actual account, please contact your Internet Service Provider
for details.
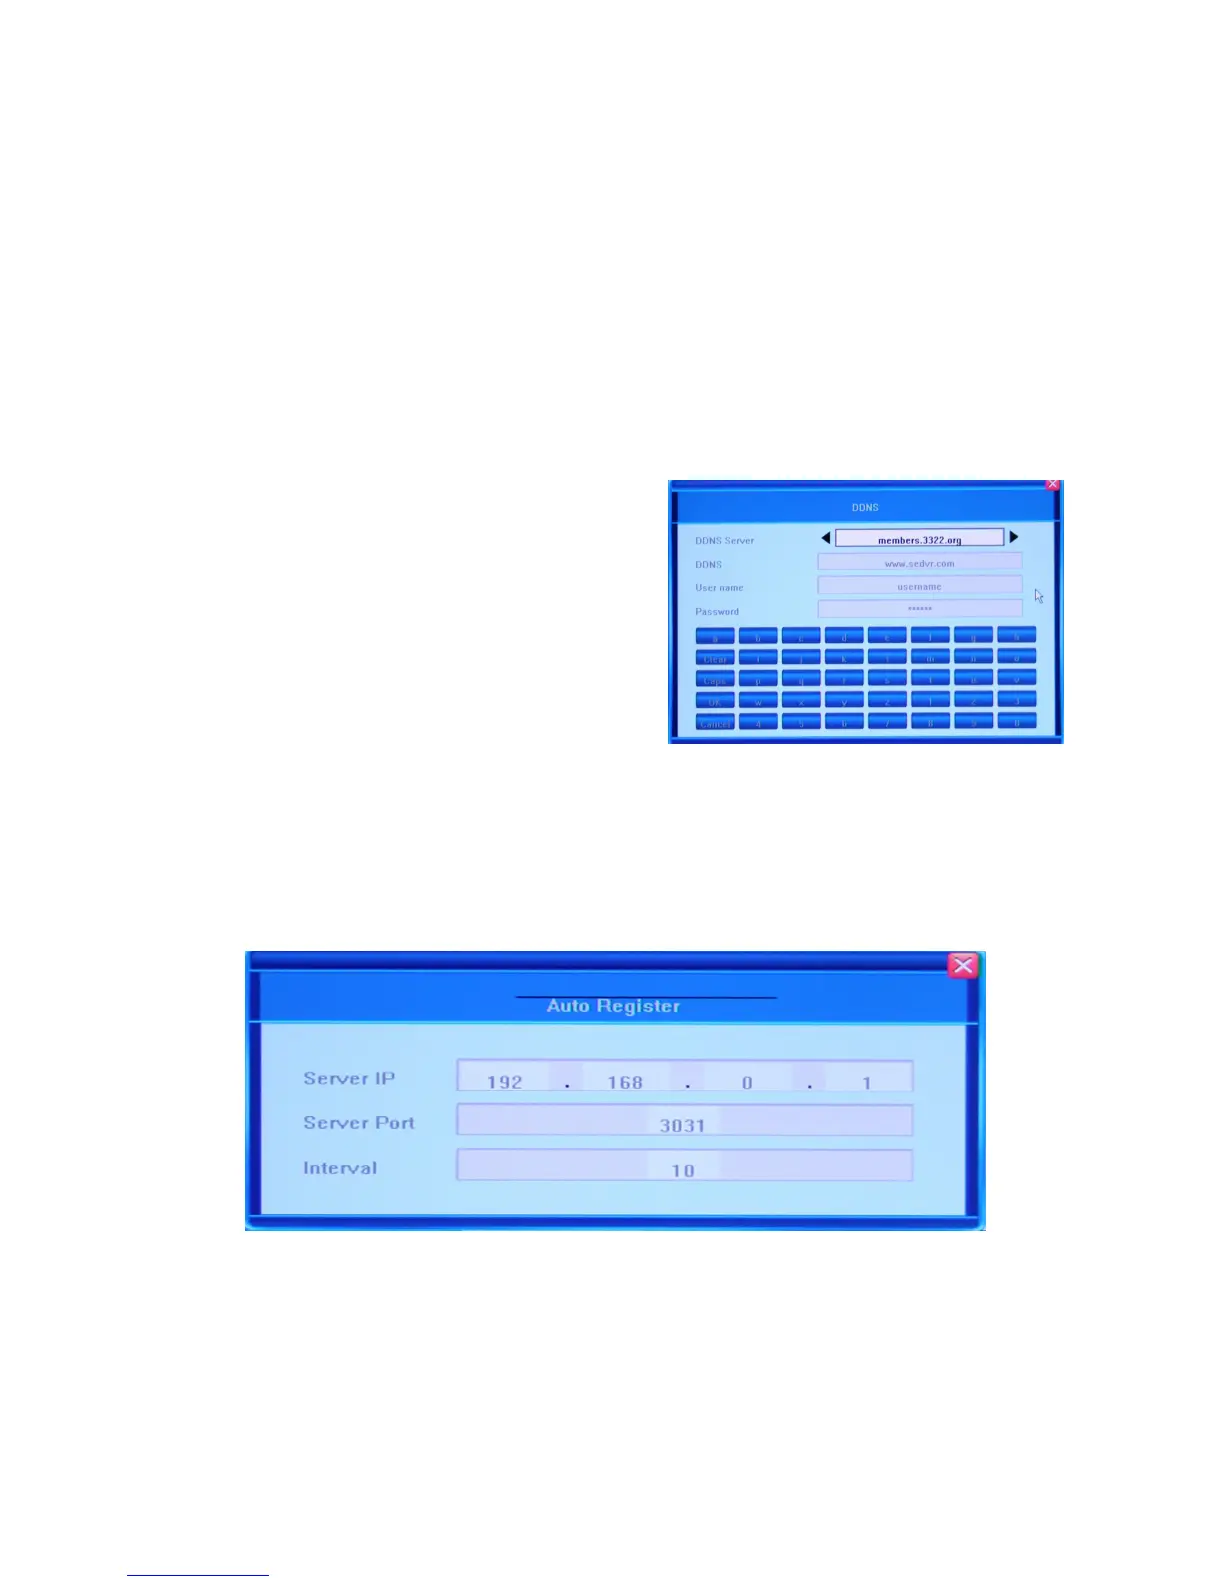
5.5.8 DDNS
In order to connect your DVR to the internet, you may choose to use the services of a
Dynamic DNS service.
Besides choosing the ON and OFF options for activating/deactivating the Dynamic Domain
Name System, you can bring up the DDNS dialog window by clicking the [>>] button.
You r D V R co m e s with s everal DDNS s erv er
names built-in. To be able to use these servers,
you need to go to the associated website to
register for an account. Once registered, you
input the DDNS account, password and choose
the name of the DDNS Server from the list by
pressing the arrow buttons located at both ends
of the corresponding field. Afterward, it should
automatically connect.
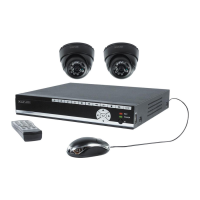
5.5.9 Auto Register
You c an c h o o s e e i t h e r the ON or OFF option. The DVR will automatically search for client
software in a Local Area Network and assign IP addresses to the DVR. You can bring up the
Auto Register dialog window by clicking the [>>] button, and view the Server IP, Server Port
and Interval values.
5.5.10 File Sharing
You r DV R lets your access shared video files via a network neighborhood or from anywhere
in the world via the internet. If you want to activate this feature, please do so by checking the
checkbox in the File Sharing field. To forbid file sharing, uncheck this option.