camera feeds will be displayed on this screen. You can bring up 1 camera view / 4
cameras / *8 cameras (depending on the model). By default, the camera views will
display the live feed (with an up to 2 seconds delay from actual “live” events depending
on the connection), though you can also access recorded information from the Playback
menu (see below).
2 In the bottom left corner of each individual camera view, you can see the indication of the
current status (previewing, idle). In the picture above, the camera is in preview mode (see
also item 4).
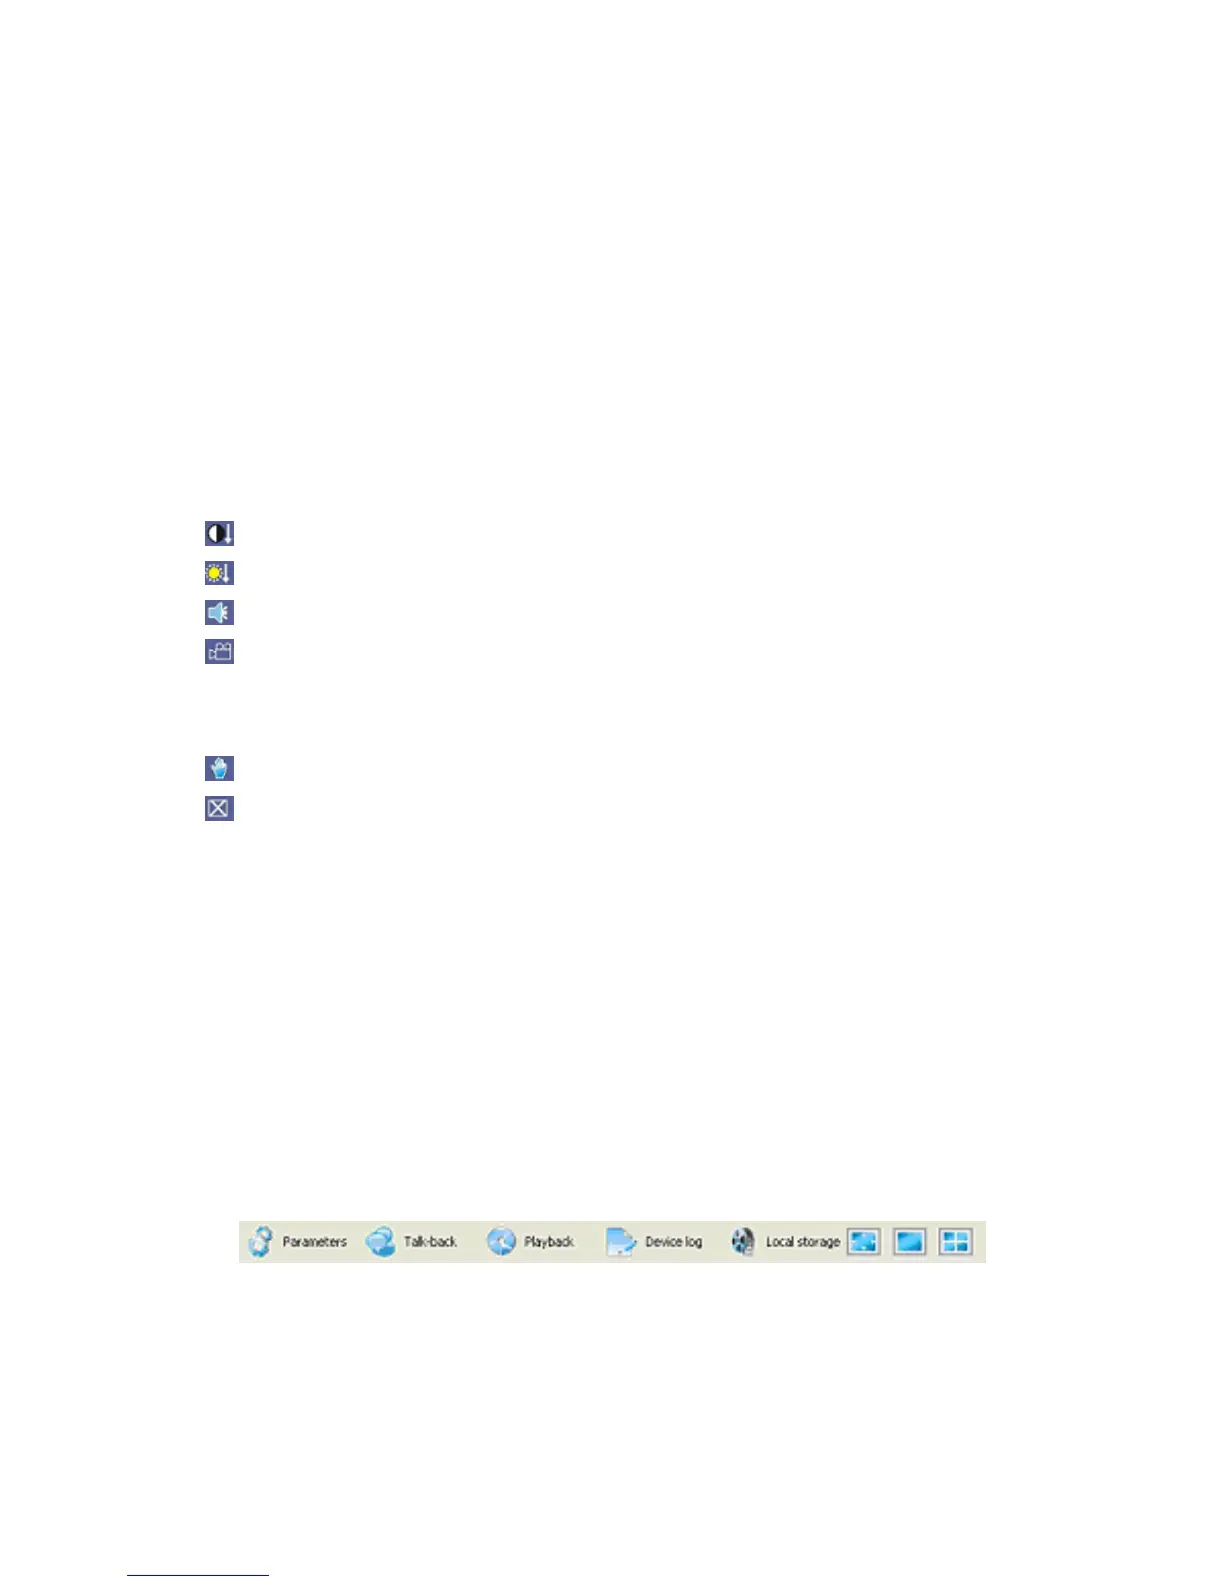
3 Right bottom corner of each individual channel is occupied by camera view tools:
:Increase/decrease image contrast.
:Increase/decrease brightness.
:Start/stop voice monitoring. The icon will turn green when the recording process is on.
:Start/stop recording. The icon will turn green when the recording process is on.
Pressing this button will bring up a dialog window for local storage, which is the same
functionality as the Local Storage button in the Tools Menu. Please see 6.4.5 Local
Storage for more information.
:Takes a snapshot of the displayed image.
:Closes the window view. (You can o p e n i t a g a i n b y cl i cki n g on the respe cti v e chan n el in
the channel list on the left (see item 5).
4 Current status of camera views with no video feed is indicated as idle (see also item 2).
5 Available Cameras list. Clicking on a channel (if this video feed is not open yet) will
display this camera view in the respective position on the screen. You can also Open All
or Close All camera views by pressing the buttons at the bottom of the camera list area.
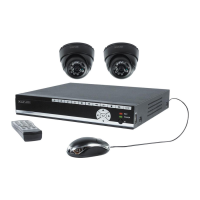
6 Tools Bar
The Tools Bar allows you to adjust most needed settings for remote access to the DVR.
Detailed description of these options will follow below.
Tools Bar features the following components:
Parameters: A comprehensive menu for adjusting most device parameters,