4-1
Chapter 4
PC2/PC2X Disassembly/Assembly
Introduction
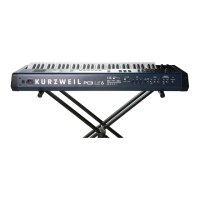
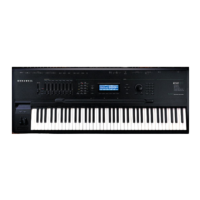
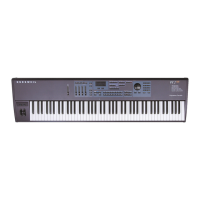
This chapter contains all the procedures for the disassembly and reassembly of both the 76-note
PC2 and the 88-note PC2X—as well as instruments with factory-installed or after-market
options. There are five main sections: Opening the PC2/PC2X, Top Enclosure, PC2 Keyboard
Assembly, and PC2X Keyboard Assembly.
Warning: If possible, save all user programs and setups before disassembly. For instructions,
refer to Saving User Data in Chapter 5, page 5-1.
Notes, Cautions, Warnings
Please pay special attention to all Notes, Cautions, and Warnings as they not only point out
specific instructions, but also alert you to differences between the 76-note PC2 keyboard and the
88-note PC2X keyboard.
Cables, Connectors
Flat Ribbon Cables
All flat ribbon cables with connectors are keyed, and therefore cannot be reversed. Most flat
ribbon cables have locking cable clips. Be sure to reapply the clips when connecting cables.
Some flat ribbon cables have exposed wires that insert directly into a wire trap connector. When
disconnecting and connecting these cables, you must look for the marking on the edge of the
cable denoting Pin 1 and be sure that you match it correctly with Pin 1 on the board.
Cable Routing
In some cases, tape secures cable connections or fastens cables to the bottom enclosure. Always
peel back the tape from one side when disconnecting cables so that the tape remains properly
positioned.
Required Tools and Materials
• No. 1 Phillips head screwdriver
• No. 2 Phillips head screwdriver
• Small flat screwdriver
• Dowel (3mm diameter)
• Needle-nose pliers
• Small blunt-end tool (Q-Tip, toothpick, etc.)
• Foam blocks
 Loading...


