Preparation before Use
2-8 OPERATION GUIDE
Setting Date and Time
Follow the steps below to set the local date and time at the place of installation.
When you send an E-mail using the transmission function, the date and time as set here will be printed in the
header of the E-mail message. Set the date, time and time difference from GMT of the region where the machine
is used.
NOTE: Be sure to set the time difference before setting the date and time.
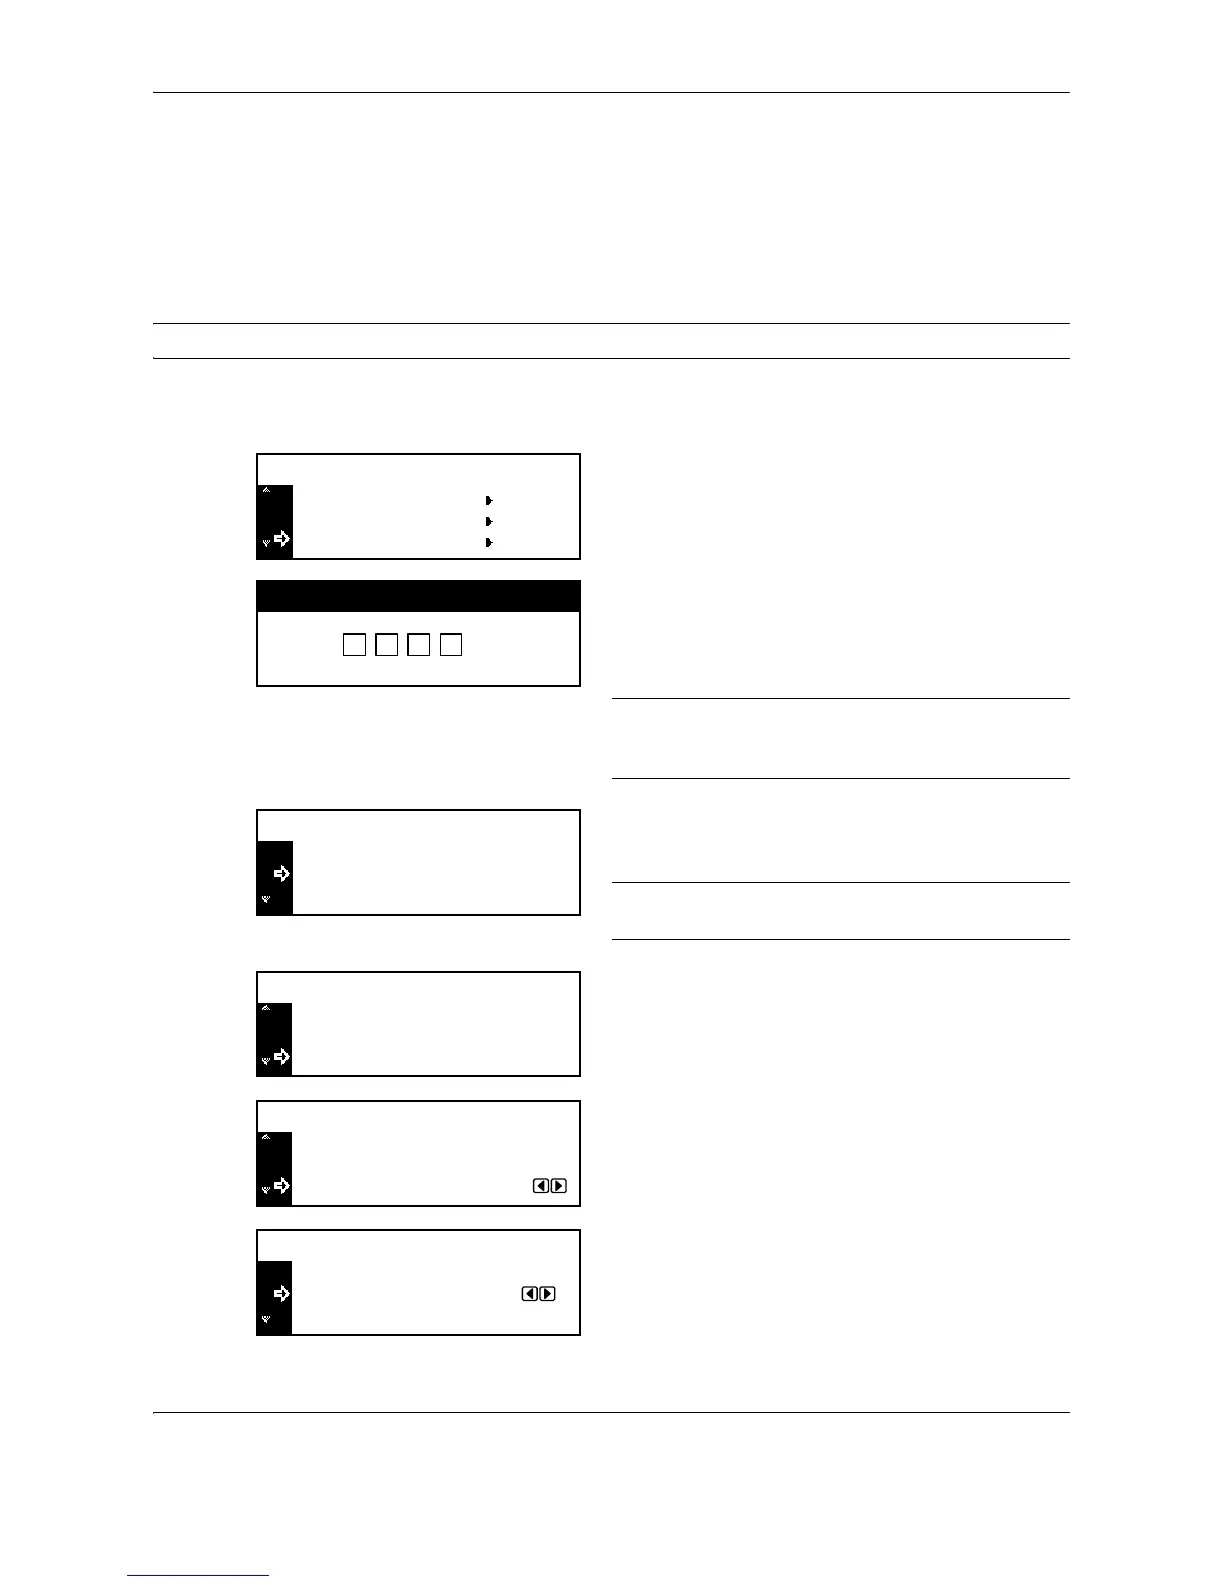
1 After turning on the main power switch, press the
System Menu/Counter key.
2 Press U or V repeatedly until Machine Default
appears, and press the Enter key.
3 Use the numeric keys to input the four-digit
management code. The management code at the
factory default setting is 1800 for the 18 ppm model
and 2200 for the 22 ppm model.
NOTE: The four-digit management code can be
changed. For details, refer to Administrator
Management Code Change on page 6-24.
If the management code is accepted, the Machine
default screen is displayed.
NOTE: The * (asterisk) at an item on each setting
screen indicates the current setting.
4 Press U or V to select Date/Time, and then press
the Enter key.
5 Press U or V to select Time Zone and then press
Y or Z to set the time difference.
6 Press U or V to select Time and then press Y or
Z
to set the current time.