Maintenance 7-7
D-I012.1109EN
innovators in agriculture
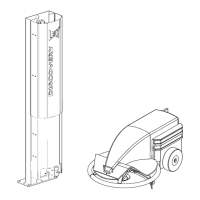
5. Remove the motor plate with the motor from the frame.
6. Clean the bolt holes thoroughly.
Adjust
1. Loosen the lock nut (3, fig. 47, page 7-8).
2. Loosen the bolt (4).
3. Pull the motor support upward until the chain (1) can move 5 mm
left or right.
4. Tighten the lock nut (3).
5. Tighten the bolt (4).
6. Make sure the chain does not hit the motor bracket when the chain
moves.
7. If the chain hits the motor bracket,
1. Loosen the four bolts (2) on the motor support.
2. Turn the bracket with the motor until the chain can move
freely.
3. Tighten the four bolts (2) on the motor support.
Close-up
1. Close the power circuit (page 7-2).
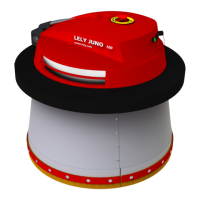
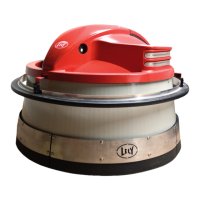
2. Put the JUNO 150 in operation (page 7-3, page 6-3).
3. Install the cover (page 7-2).
4. Get the E-Link manual controller (page 6-2).
Note:
During the calibration process you must not move the JUNO 150.
5. Push soft button [Yes] to start the gyroscope calibration process.
6. Wait until a beep is heard (about 5 minutes) to confirm that the
calibration is complete.
7. Manually drive the JUNO 150 to the charging station (page 6-4).
8. Start the timed actions (page 6-13).