Test and Adjustment 8-1
D-I012.1109EN
innovators in agriculture
8. TEST AND ADJUSTMENT
8.1 Introduction
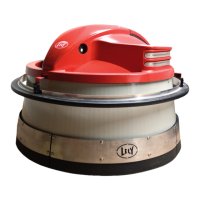
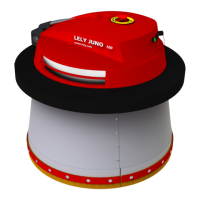
This chapter contains the test- and adjustment procedures for the JUNO
150 Feed Pusher.
Note:
Several options shown on the E-Link displays are not relevant for standard test
and adjustment procedures, but may be useful for troubleshooting by your
service provider.
8.2 Settings
8.2.1 Set the Real-Time Clock
1. Get the E-Link Manual Controller (page 6-2).
2. Push [ESC] or [
] to wake up the E-Link.
3. In the main menu select Settings and push [
].
4. In the menu Settings, select RealTime Clock and push [
].
5. Push soft button [
] to select a menu item.
Note:
The real-time clock has a 24 hour format. For instance 7:00 is not the same as
19:00.
6. Push [ ] or [ ] to increase or decrease the value of the selected
option.
7. Push [ESC] to confirm and go one level up.
8.2.2 Set the Display Language
1. Get the E-Link Manual Controller (page 6-2).
2. Push [ESC] or [
] to wake up the E-Link.
3. In the main menu of the E-Link, select Settings and push [
].
4. Select Language and push [
].
5. Push [
] or [ ] to select the display language.
6. Push [ESC] to confirm and go one level up.
8.2.3 Modify the Beep Frequency for a Route
1. Get the E-Link Manual Controller (page 6-2).
2. Push [ESC] or [
] to wake up the E-Link.
3. In the main menu of the E-Link, select Routes and push [
].