Installation 5-1
D-I012.1109EN
innovators in agriculture
5. INSTALLATION
5.1 Introduction
The installation process of the JUNO 150 has the following phases:
• Prepare the installation
• Install the JUNO 150
• Setup the JUNO 150.
The installation is done by a Lely certified technician.
5.2 Preparation
5.2.1 Preparation by the Owner
Before the actual installation can start, a number of tasks should be
done by the owner of the JUNO 150 with support from the Lely service
provider. These tasks are most of the construction tasks for the farm and
the purchase of equipment necessary to use the JUNO 150:
• Find a suitable location to install the charging station
• Find out if it is possible to install the charging station on the wall, if
not make sure you have received a floor column
• Install the electrical supply and get it approved by an authorized
electrician
• Make sure an earthing electrode or an earthed fencing is nearby and
get it approve by the energy company
• Make sure the feeding alley is a fenced off area so accidental
admittance is not possible
• Attach the safety decal 'No Admittance for Unauthorized Persons' on
a highly visible place in the feeding alley (page 2-5)
• Remove the feed near the feed fence before you program a route
• Read and understand this manual.
5.2.2 Preparation by the Lely Service Provider
• Make sure the push direction conforms to the operational
requirements of the farm
• Make sure the owner understands this manual and confirms this by
signing the handover declaration.
5.2.3 List of Supplied Parts
Make sure the following parts are available in the packaging for the
JUNO 150 Feed Pusher:
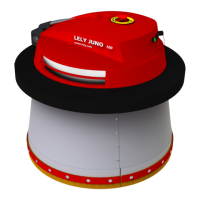
• JUNO 150 vehicle (assembled)
• E-Link Manual Controller
• Technical documentation.
Make sure the following parts are available in the packaging for the
charging station:
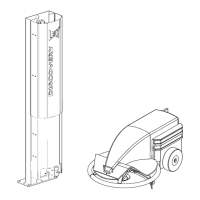
• 1× Floor column (optional)
• 1× Mounting plate (1, fig. 23, page 5-2)
• 1× Battery charger mounting plate (3)