4. Update the UEFI firmware to the specific version supported by the server. See Tip for replacing a firmware
and RoT security module
.
5. If there is a software (SW) key, for example, XCC FoD key, installed in the system, inject the key again to
ensure that the key functions properly. See
Using Lenovo Features on Demand.
Note: If you need to replace the processor board together with the firmware and RoT security module,
update the VPD before injecting the key. See
Update the Vital Product Data (VPD).
6. Optionally, do the following if needed:
• Disable or enable TPM. See “Disable/enable TPM” on page 139.
• Update the TPM firmware. See
“Update the TPM firmware” on page 140.
• Enable UEFI Secure Boot. See
“Enable UEFI Secure Boot” on page 140.
Disable/enable TPM
TPM is enabled by default to encrypt data transfer for system operation. Optionally, you can disable TPM
using Lenovo XClarity Essentials OneCLI.
To disable TPM, do the following:
1. Download and install Lenovo XClarity Essentials OneCLI.
To download Lenovo XClarity Essentials OneCLI, go to the following site:
https://datacentersupport.lenovo.com/solutions/HT116433
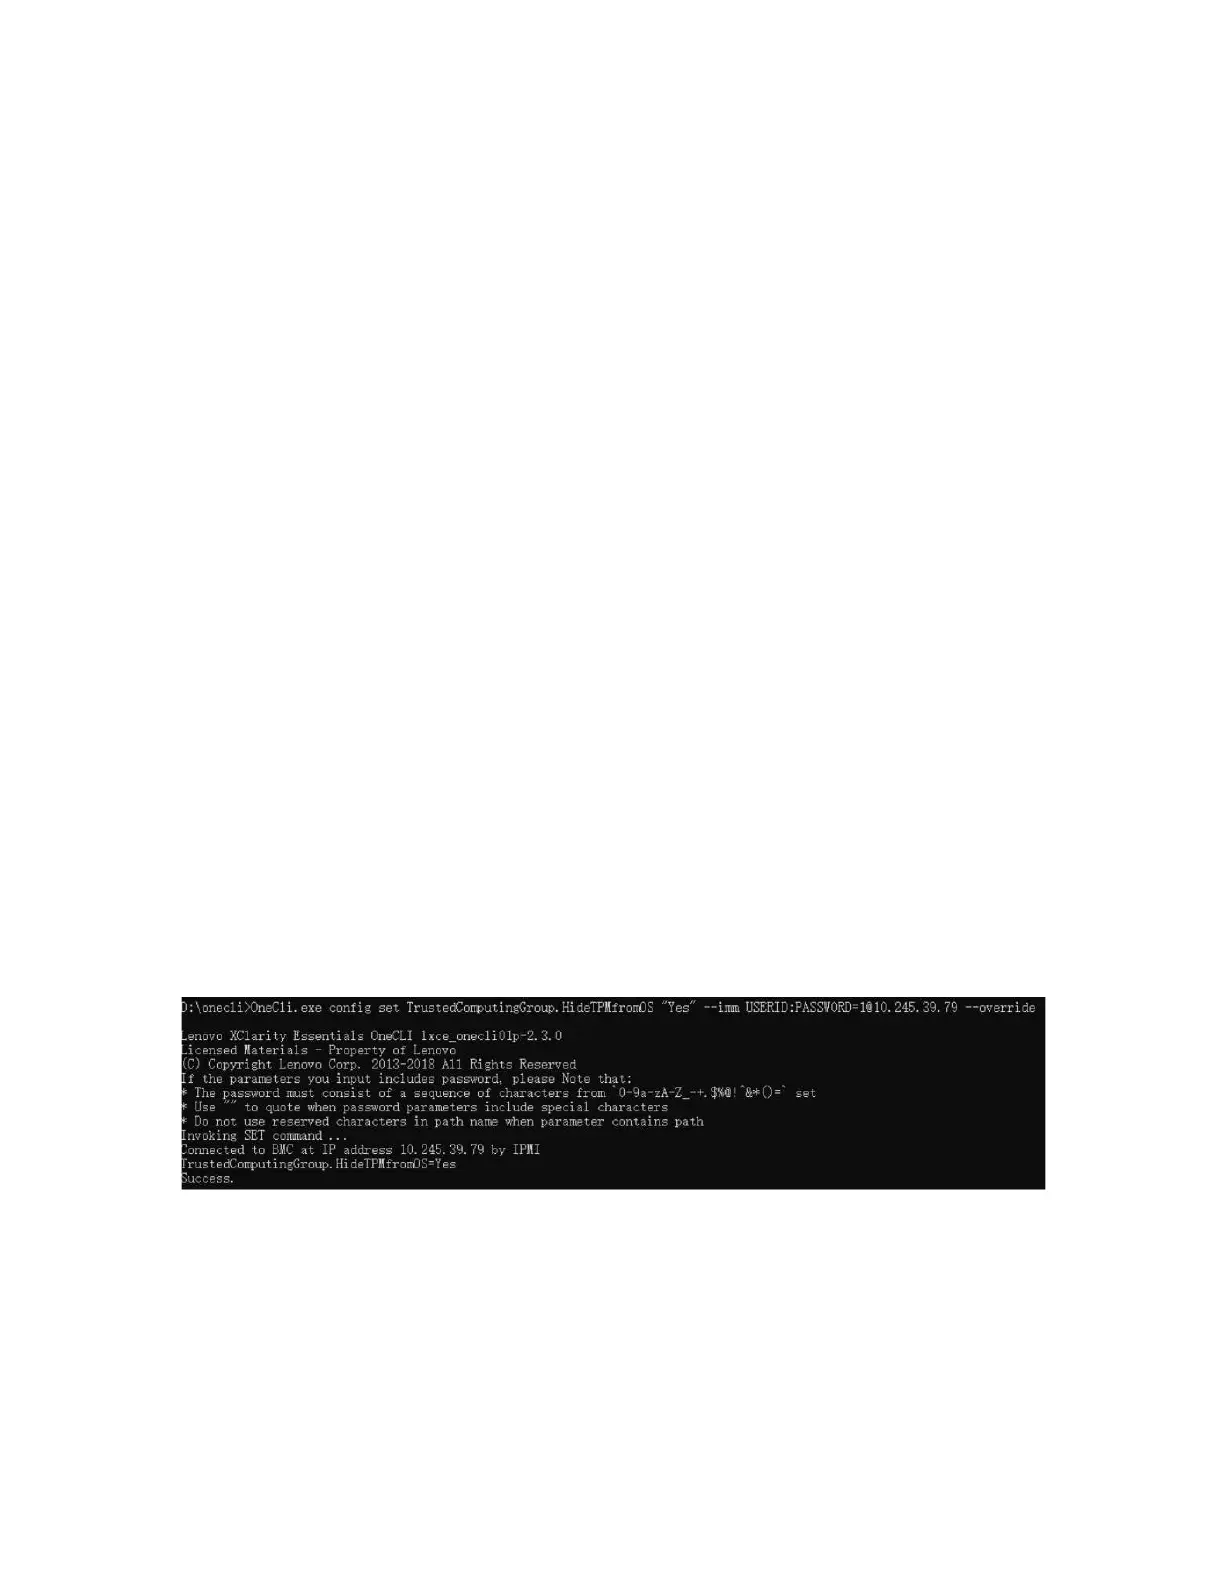
2. Run the following command:
OneCli.exe config set TrustedComputingGroup.HideTPMfromOS "Yes" --imm <userid>:<password>@<ip_address>
--override
where:
• <userid>:<password> are the credentials used to access the BMC (Lenovo XClarity Controller
interface) of your server. The default user ID is USERID, and the default password is PASSW0RD
(zero, not an uppercase o)
• <ip_address> is the IP address of the BMC.
Example:
3. Reboot the system.
If you want to enable TPM again, run the following command and reboot the system:
OneCli.exe config set TrustedComputingGroup.HideTPMfromOS "No" --imm <userid>:<password>@<ip_address> --override
Example:
Chapter 5. Hardware replacement procedures 139

 Loading...


