QUICK START
Logicube Falcon
®
-Neo User’s Manual 20
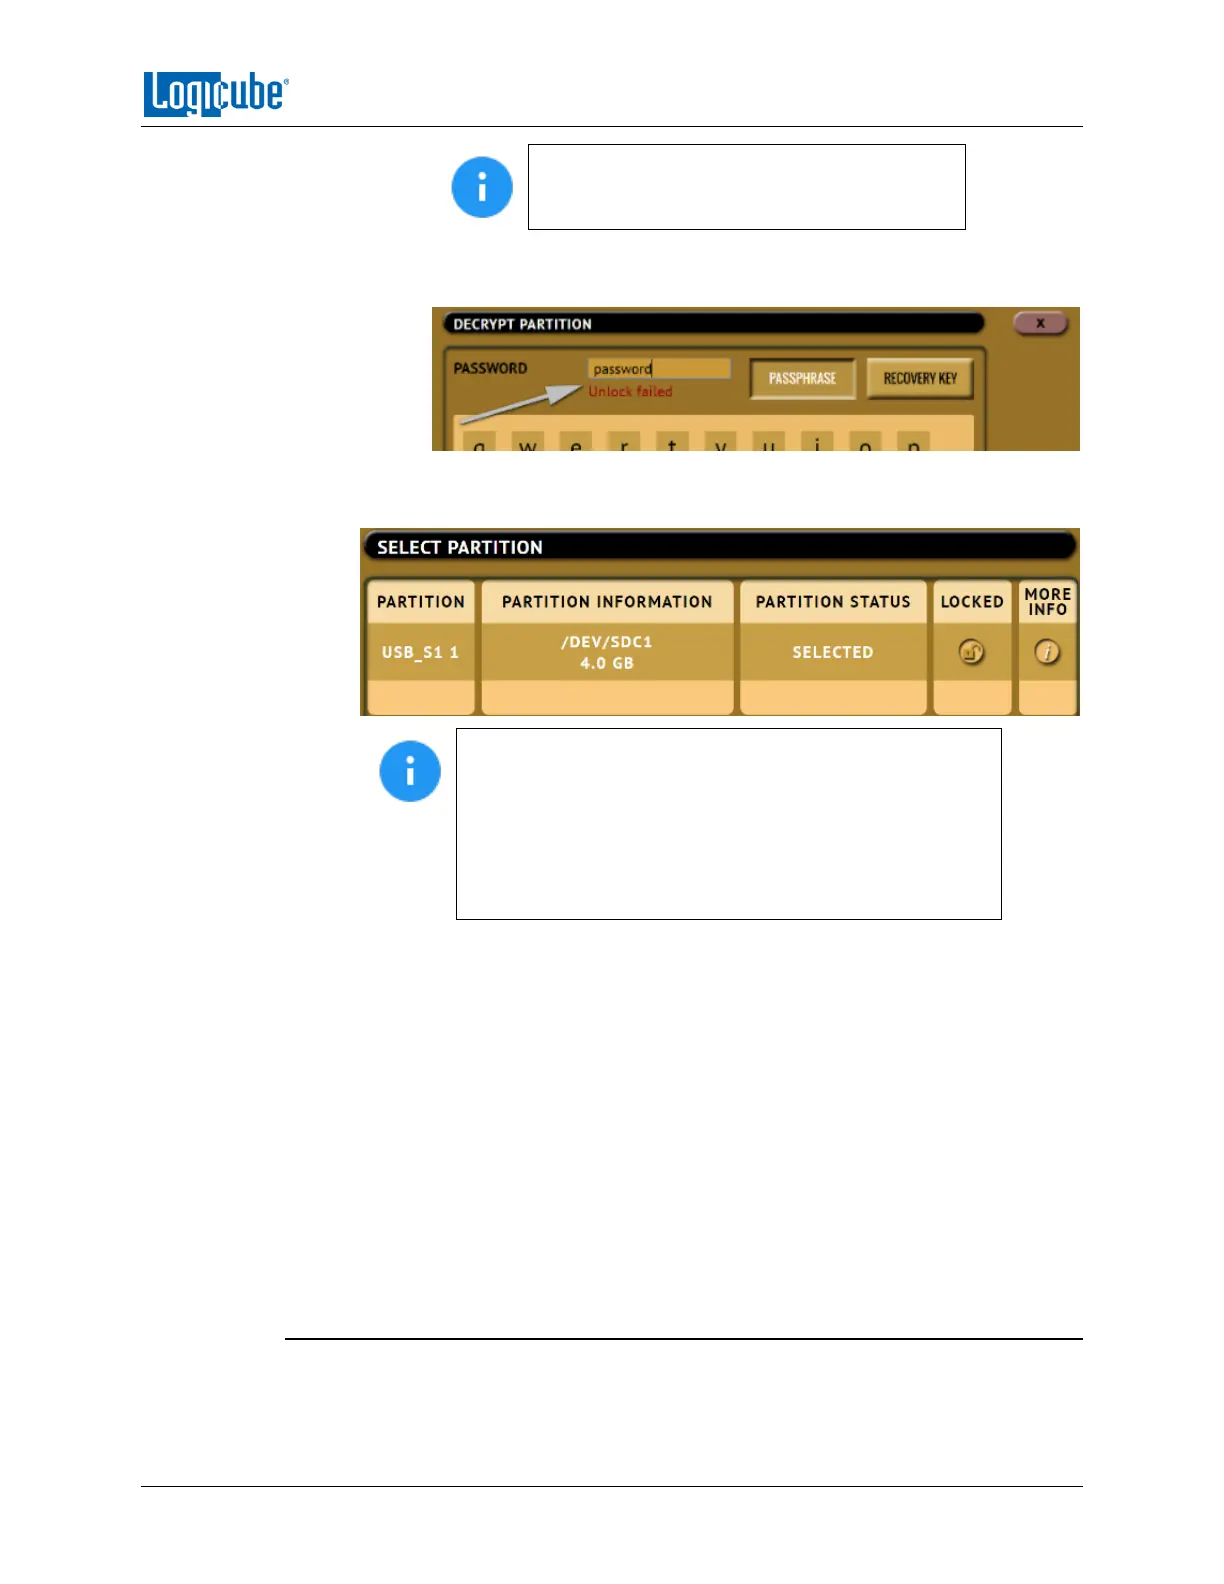
The icon in the ‘Locked’ column may still
appear to be locked, even though the partition
is unlocked, but the partition will be unlocked.
If the password is incorrect, a message will appear below the Password
field showing ‘Unlock failed’.
7. Once the partition is unlocked, select the partition to be imaged then tap the OK
icon to continue.
Once the BitLocker encrypted partition has been unlocked,
you can proceed with the Partition to File image task or
change the mode to perform a Drive to File image task to
Image all other partitions that may be on the drive. Since
the encrypted partition has been unlocked, selecting the
whole source drive using Drive to File will image the
whole drive including the unlocked partition.
8. Tap the Settings icon and adjust the settings as needed (Case Info, File Image
Method Settings or Mirror Settings, HPA/DCO/ACS3/TRIM, Error Handling,
Hash/Verification Method, etc.) then tap the OK icon.
9. Tap the Destination icon and select the destination(s) to be used then tap the
OK icon.
10. Tap the Start icon to start the imaging task.
11. A progress bar will appear at the bottom of the screen showing the bytes
processed, the rate (speed), elapsed time, and time remaining.
12. When finished, the status will show “COMPLETED”. It is recommended to tap
Reset Task to reset the task, so the drive bays properly reset and not show as
being used or assigned for other tasks.
3.1.3 Targeted/Logical Imaging
The Falcon-NEO has the capability to perform targeted or logical imaging using File to
File mode. Using various filters, the Falcon-NEO can image only the files found within the

 Loading...