47
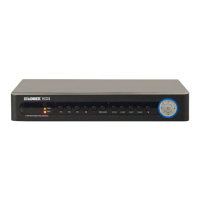
Vista Pro 6 Server: Searching For Video
2. Under the Device drop-down menu, select the appropriate CD/DVD writer.
3. Under Volume ID, enter the name you wish to name the CD/DVD disc.
4. Under the Write Speed drop-down menu on the top-right corner of the window, select desired
CD/DVD write speed.
5. Click Add Folder or Add File to add content to your disc. Locate the data in the tree directory.
Click
OK when done.
6. Click Write to begin backing up data to your blank CD/DVD disc.
NOTE: The Erase feature only work on CD-RW and DVD-RW discs.
Saving Video Screenshots
To save a screencapture of the video:
1. Click the Save button ( ) and then click on JPEG.The Save window opens
2. Click the directory drop-down menu on the top left corner of the window to select the save
directory
3. Click OK to save your picture.
NOTE: Use the Image Analysis software to verify that images taken using Vista Pro 6 are genuine.
See “Appendix C: Using The Image Analyst Software” on page 70.
Playing Backed Up Video
To browse for backed up videos:
1. Click the Search button( ) in Live view. The Search window opens.
2. Click the File Browse button ( ) in the search window.
3. Select Scheduled backup data or Manual backup data.
• Scheduled backup data searches only for data that has been backed up using scheduled backup
• Manual backup data searches only for a data that has been manually backed up
4. Locate the directory of the backed up files and then click OK.
5. In the Event Calendar on the top-right corner of the window, select the date the event
occured. Dates with events highlight in yellow.
6. Click the timebar to select the time the event ocurred.
7. Use the playback controls to view the video.