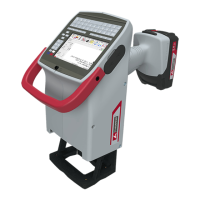
FlyMarker
®
mini 85/45 plus and 120/45 plus
Operating Manual
1. If necessary, charge and install the battery
( Chapter “Battery charging status”, page 43)
2. Select and install the marking pin.
( Chapter “Selecting and installing the marking pin”, page 29)
3. Turn FlyMarker
mini on with the ON/OFF button.
The controls perform a self-test.
The main menu appears.
4. Enter the text to be marked and the substitute.
(→ Chapter “Description of function keys”, page 27)
(→ Chapter “Creating, loading and saving a marking file”, page 57)
5. Grasp FlyMarker
mini with both hands by the handles provided for the purpose, and with the
support plate on the workpiece to be marked, orient it in the X and Y direction and set
it on evenly.
For orientation when positioning, the text field
dimensions are stamped into the support plate.