6
CAL 1
--------
ZERO
+0.5
ZERO
6.1
--------
ZERO
6.2
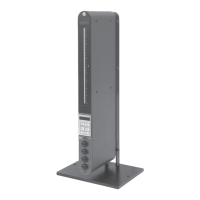
CALIBRATION PROCEDURE
Before the E4N column can be used, the measuring equipment has to be mechanically and electronically
calibrated.
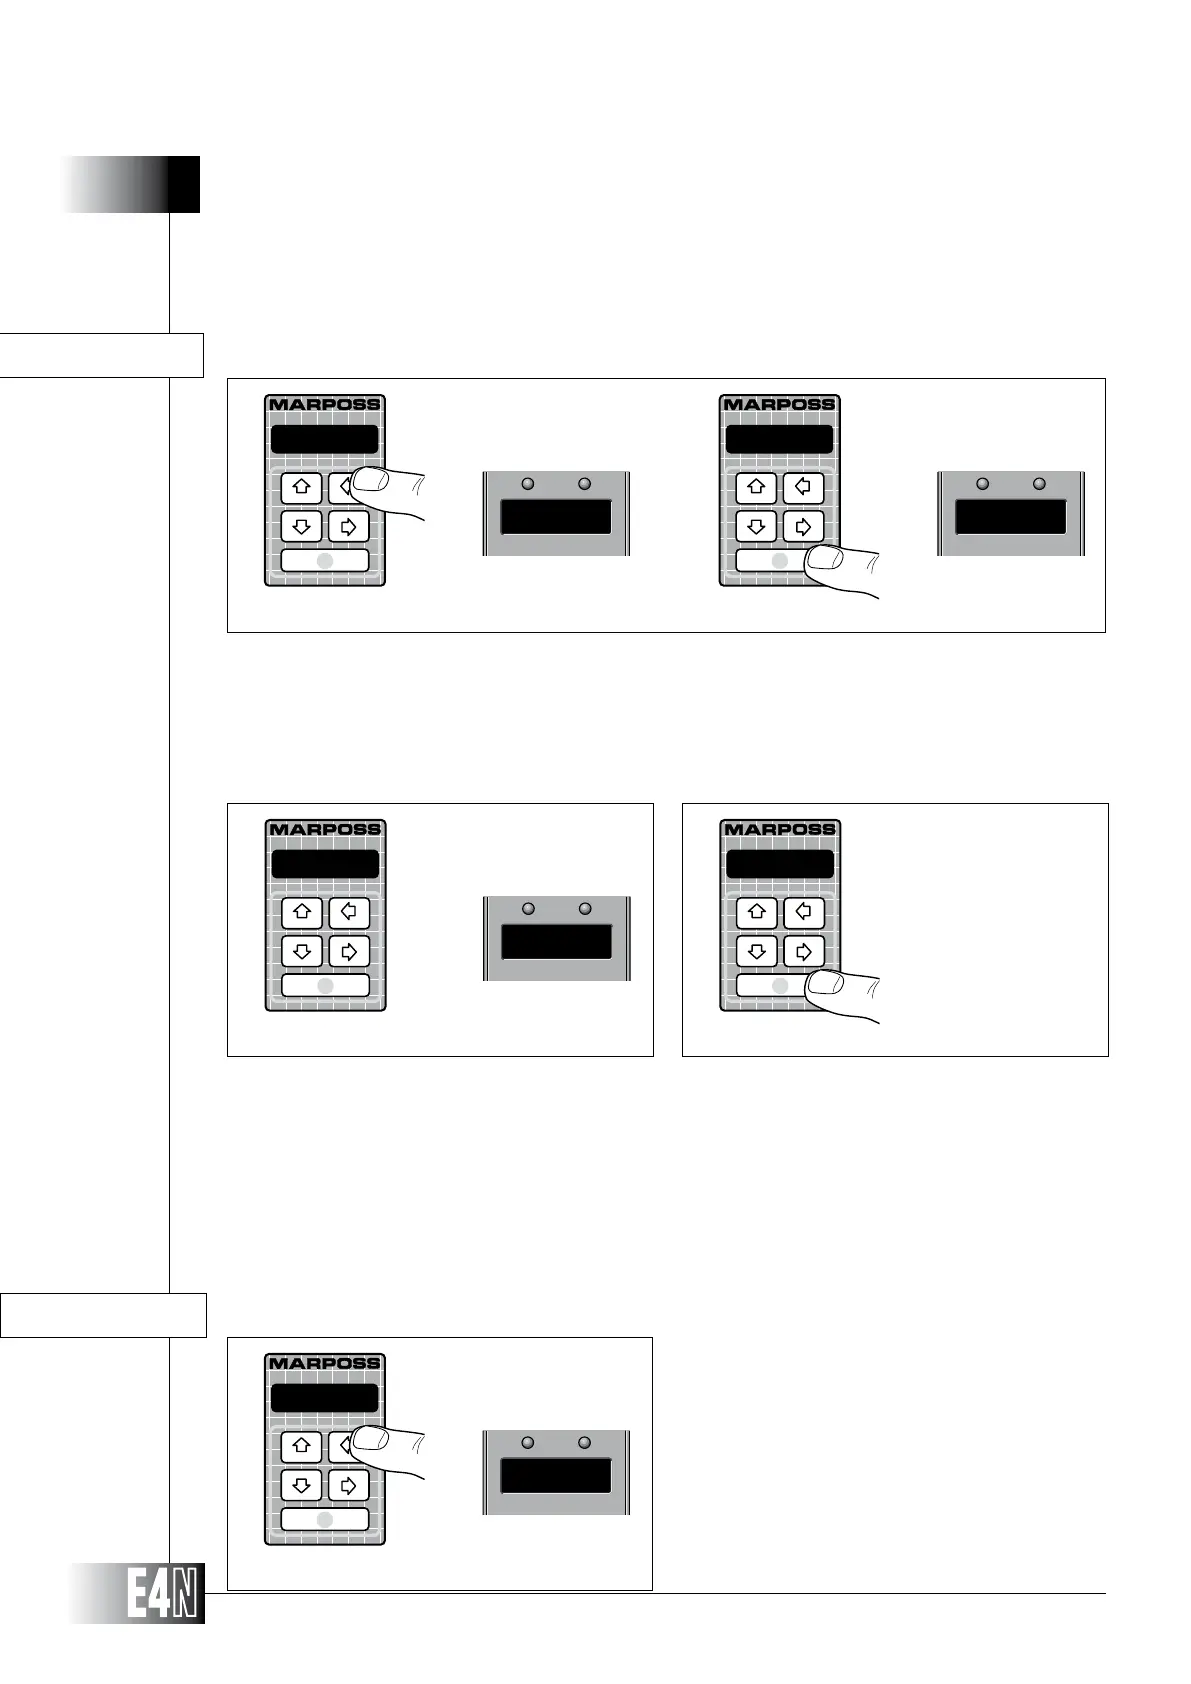
Step 2: Insert the first gauge (for example a bore gauge) in its master. The value of the transducers is
displayed.
Step 3: Press ENTER to confirm the calibration of the first measurament and return to measuring mode
if only one measurement has been programmed, or to pass to the calibration of the next mea-
surement if two or more measurements have been programmed. In the first case the value of
the programmed scale is shown on the upper display; in the second case the message "CAL
2" is shown on the upper display, while the message "CALIBRAT" appears on the alphanumeric
display. If more measurements are programmed, at the end of calibration procedure the upper
display shows the programmed scale value alternatively to the number of the measurement.
Step 1: Press the left arrow key ("CAL" ) for two seconds. The E4N column will switch to the calibration
mode. The message "CALIBRAT" will appear on the alphanumeric display and the message
"CAL" will appear on the upper display if only one measurement has been programmed, other-
wise the message "CAL 1" will appear if two or more measurements have been programmed.
The column sets for calibration showing the transducers value on the alphanumeric display
and the message "ZERO" on the upper display. Should the transducers be in over range, the
alphanumeric display will show "--------".
CALIBRAT
Step 1
Step 2
CALIBRAT
Step 3
CALIBRATION OF ONE OR MORE MEASUREMENTS, EACH WITH ONE MASTER
Step 1: Press the left arrow key (CAL) for two
seconds.
The E4N column will switch to the calibra-
tion mode.
The message "--------" will appear on
the alphanumeric display and the mes-
sage "ZERO" will be shown on the upper
display.
CALIBRATION OF ONE OR MORE MEASUREMENTS, EACH WITH TWO MASTERS
Step 1