Version 1.10 Page 106 of 203
‘round trip’ test, where the athlete exits the measurement area, turns around and
enters it again. The time for changing direction would be considered an abnormal flight
time; this parameter allows you to prevent this.
4.4.1.3 REACTION TEST CONFIGURATION
Reaction time configurations include:
Reaction time range [ms]: indicates the time frame in milliseconds within which the
reaction signal must be given randomly.
Acoustic signal type: allows you to choose whether to generate the acoustic signal using
the sound card, which may not be present, or the internal loudspeaker generally always
available in personal computers.
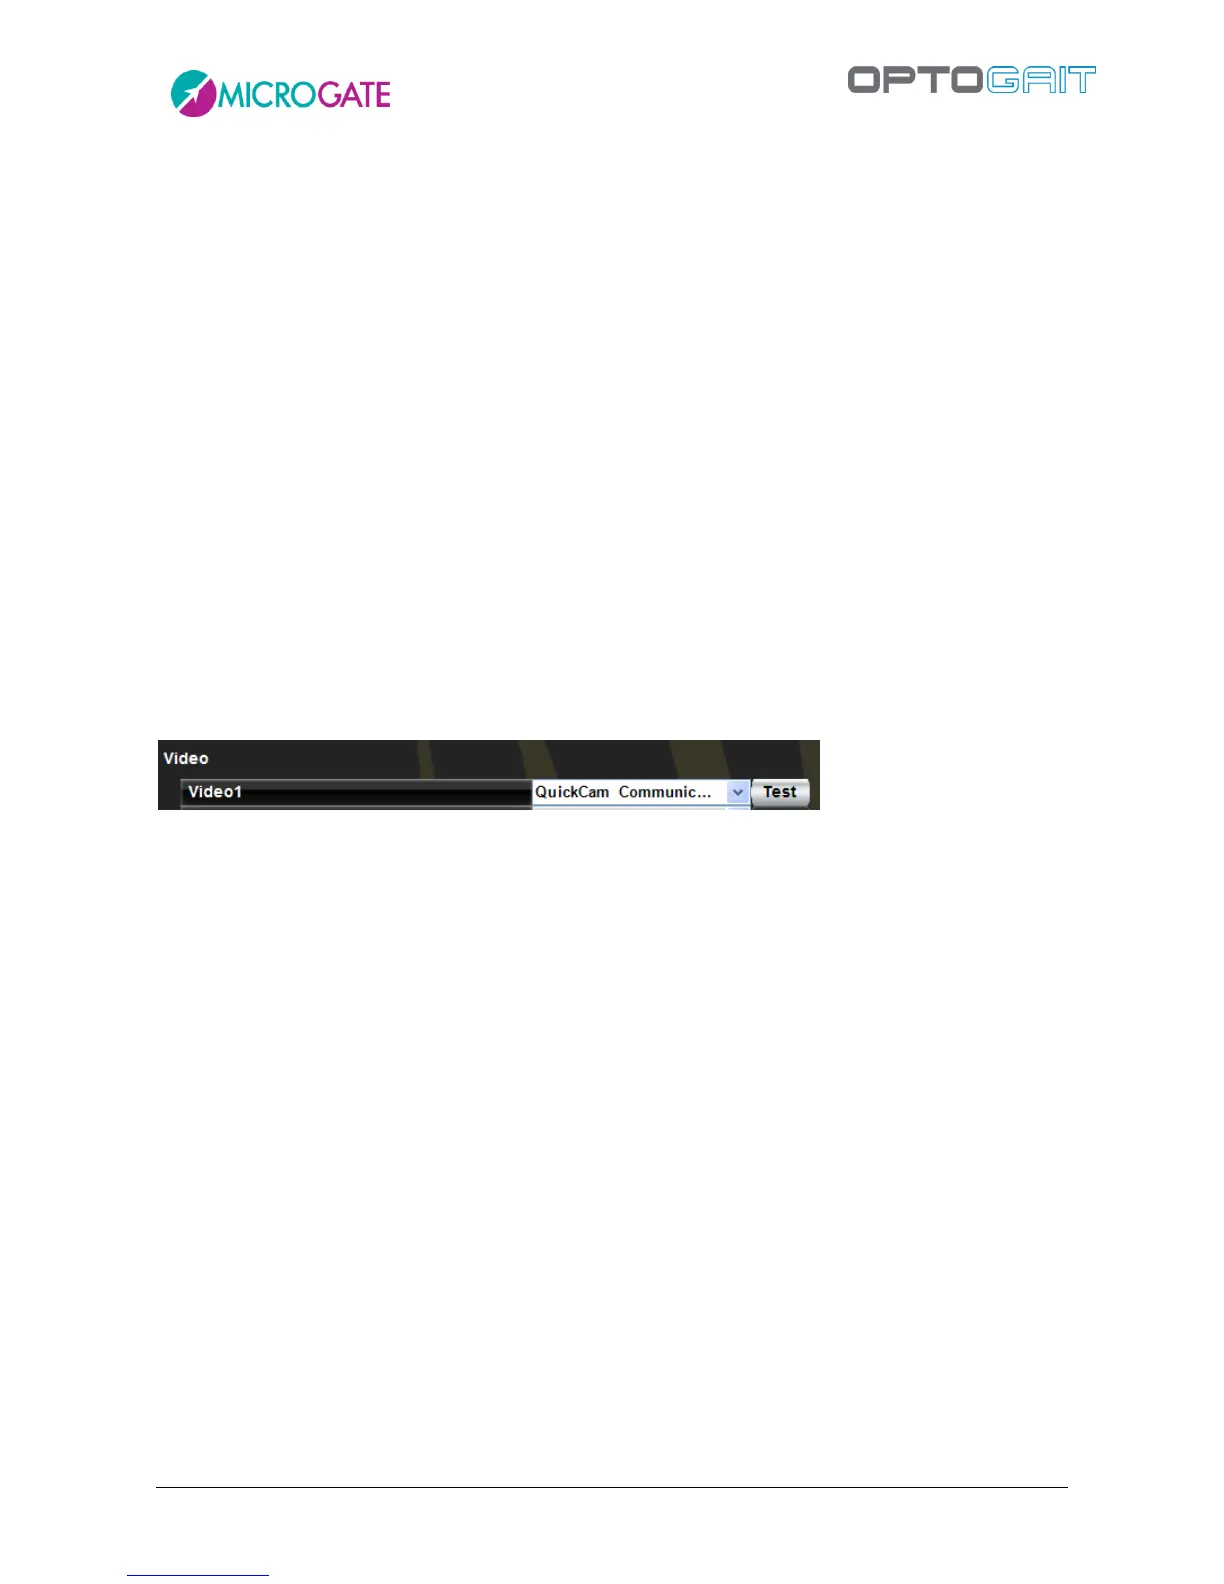
4.4.1.4 VIDEO
After connecting the webcam(s) to the PC USB port and installing the drivers, the video camera can
be tested. Under the heading ‘Video’, select a Logitech webcam from those available and press
<Test>. The choice of webcams has been limited only to high-range Logitech webcams to prevent
synchronization problems between OptoJump Next and video data. Webcams by other
manufacturers are displayed in gray.
Figure 92
4.4.1.4.1 Video Test
After pressing <Test> the webcam configuration panel in basic mode with the commands for
changing gain and exposure (shutter time) is displayed. For better quality and fluidity of videos we
recommend using a brief exposure time, such as 1/100 or 1/200, and then adapting gain to obtain
the correct image exposure (neither too bright nor too dark). We also recommend not setting ‘Auto’,
which could slow down the movie clip acquisition.
With <Device> you can recall the control panel of the webcam’s standard driver. <Default> sets the
standard value pre-defined by the manufacturer.