3. Click [Backup] in the file manager to open the “Backup” dialog box.
4. Select a drive in the drop-down list of “Drive: ”.
5. To add/remove the file or folder to be backed up:
(1) Click [+] in the front of a folder to extend it;
(2) Select a file or a folder in the left list, and click [>] to add it to the right list. The whole size
of the files and folders cannot exceed the free space of the optical disc;
(3) Select a file or a folder in the right list, and click [<] to remove it from the backup list. Click
[<<] to remove all files or folders in the backup list.
6. After the selection, click [Backup] to start the backup.
7.4.2 Erasing Optical Disc
1. Insert the optical disc to be erased into the optical disc drive.
2. To open the file manager:
(1) Press <Freeze> to freeze the image.
(2) Press <Menu> to open the freeze menu.
(3) Click [File Manager] to open the file manager.
3. Click [Erase] to erase the disc.
Note: After erasing the disc, please close the “Backup” dialog box and reopen it to continue
the backup.
7.5 iVision
iVision is used for presentation of images, in which images (including formats of ultrasonic system
and standard formats) are displayed one by one in the sequence of file name. The formats
supported by the system are: JPG, BMP, DCM single frame and FRM. The formats not supported
are: AVI and DCM multi frames.
To enter iVision
1. Press <Freeze> to freeze the image.
2. Press <Menu> to open the freeze menu.
3. Click [iVision] to open iVision.
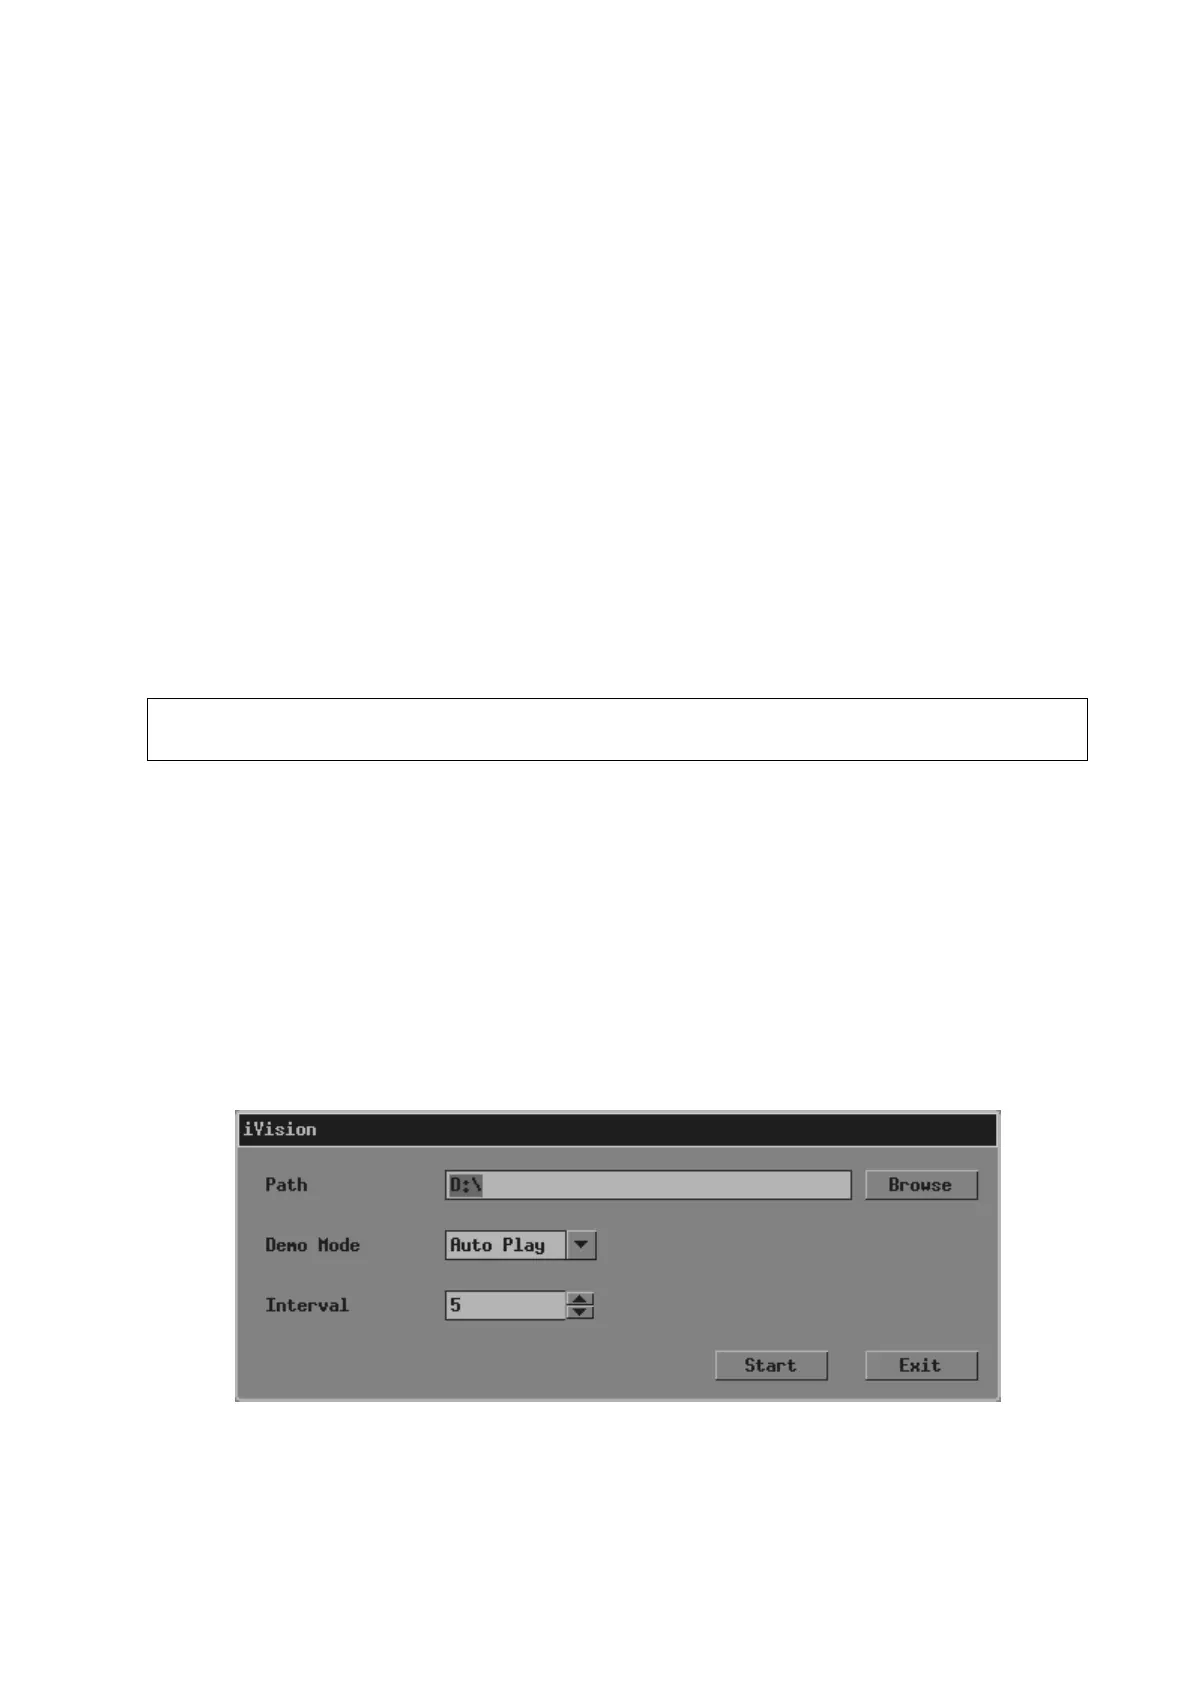
In the “iVision” dialog box
z [Browse]: To select the directory of presentation.
z [Demo Mode (Auto Play/Manual Play)]: To select the mode of playback.
File Management 7-3