14
2 Setup
No. 99MBC122A
2.4
Operation Check
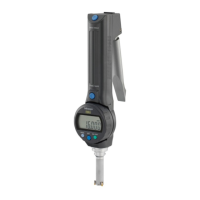
Check the cable connections with the following procedure to conrm that the connections are correct.
1
Turn on the power switch on the back of the counter.
» The counter enters the stand-by state.
2
Press [SEL].
» The counter enters the counter
value status.
Tips
Pressing [A_ZERO] performs Zero setting for each axis, and then the counter enters the counter value status.
3
Check that the counter value is shown on the Display.
4
Make sure that the counter value on the counter changes by moving the contact point of the gage head
up and down.
• For accurate measurement, turn on the power, warm up the product for 30 minutes or more and
start measurement.
• Be sure to perform adequate thermal stabilization of this product and the workpiece.
 Loading...