W415-2034 / A / 10.18.19
EN
36
venting installation
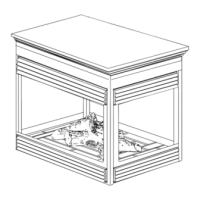
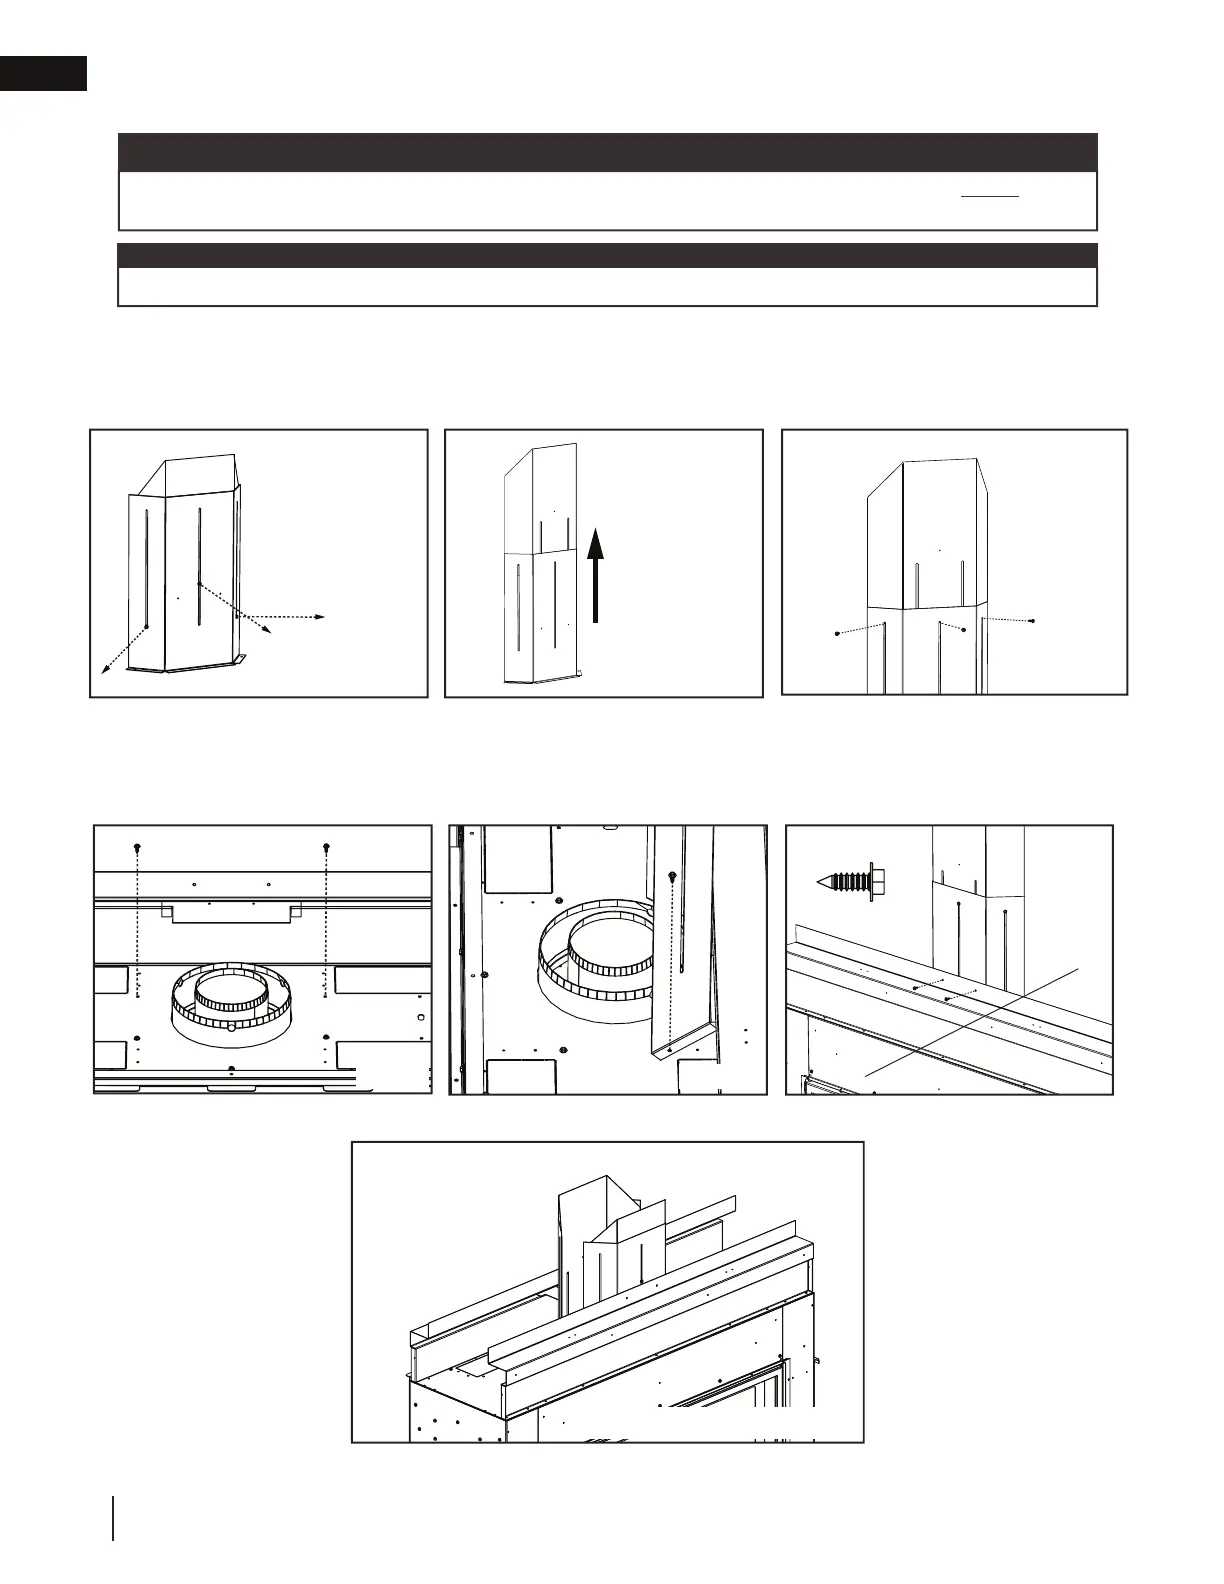
5.6 vent shield installation
The vent shield is telescopic and must be adjusted to shield the fi rst 30” of vertical vent always used.
FOR SEE-THRU APPLIANCES, REPEAT STEPS WITH THE OPPOSITE SIDE (2 vent shields required).
Fig. 1 Fig. 2
1. Unscrew the fasteners on the vent shield assembly. DO NOT DISCARD FASTENERS (Figure 1).
2. Adjust the vent shield to its maximum vertical (Figure 2).
3. Use the fasteners in step 1 to hold the new vent shield height (Figure 3).
4. Unscrew the fasteners as shown (Figure 4). DO NOT DISCARD FASTENERS
5. Use the fasteners in step 4 to secure the vent shield to the appliance (Figure 5).
6. Secure the vent shield with two fasteners (supplied) to the front upper frame (Figure 6).
note:
Fig. 4 Fig. 5
SEE-THRU EXAMPLE
Type 1 (x2)
For ease of installation, the front frame can be removed. The front frame must be
reinstalled prior to installing the nailing tabs.
important:
Front of
appliance
Fig. 3
 Loading...