EasyManuals Logo

Napoleon Vector Series Installation Manual

Napoleon Vector Series
156 pages
To Next Page IconTo Next Page
To Previous Page IconTo Previous Page
Page #46 background imageLoading...
Page #46 background image
W415-2034 / A / 10.18.19
EN
46
nailing tab installation
See “venting”, “electrical information” and “gas installation” sections prior to fi nish framing.
Do NOT remove the knockouts
unless installing Dynamic
Heat Control™. If damaged
or removed without Dynamic
Heat Control™, appliance will
overheat and will cause a fi re
hazard.
note:
IMPORTANT:
3
1
2
4
TOP VIEW
Remove the screws from the appliance.
DO NOT DISCARD.
Align the nailing tab with the holes on the appliance, secure
with the screws in step 1.
Secure to the upper front frame using 2 screws (supplied).
TO INSTALL NAILING TABS FOR SEE-THRU APPLIANCES, REPEAT STEPS WITH THE OPPOSITE SIDE.
9.0 nailing tab installation
Type 1 (x2)
X
X
X
X
XX
XX
If the front frame was removed, it must be reinstalled prior to installing the nailing
tabs.
important:

Table of Contents

Other manuals for Napoleon Vector Series

Questions and Answers:

Question and Answer IconNeed help?

Do you have a question about the Napoleon Vector Series and is the answer not in the manual?
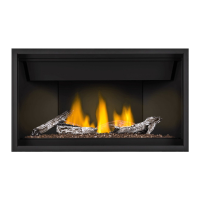
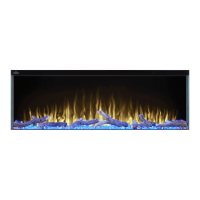
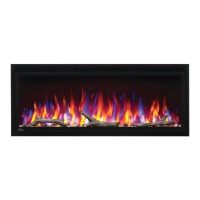
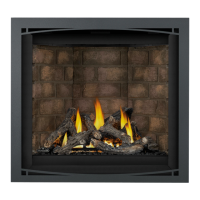
Napoleon Vector Series Specifications

General IconGeneral
Vent TypeDirect Vent
Burner MaterialStainless Steel
WeightVaries by model
ModelVector Series
Fuel TypeNatural Gas or Propane
Viewing AreaVaries by model
Glass TypeCeramic
Ignition SystemElectronic Ignition
DimensionsVaries by model
WarrantyLimited Lifetime Warranty
Remote ControlStandard (eFIRE remote)

Related product manuals