About this task
Each drive drawer has left and right cable chains. The metal ends on the cable chains slide into
corresponding vertical and horizontal guide rails inside the enclosure, as follows:
• The left and right vertical guide rails connect the cable chain to the enclosure's midplane.
• The left and right horizontal guide rails connect the cable chain to the individual drawer.
Attention: Possible hardware damage — If the drive tray is powered on, the cable chain is
energized until both ends are unplugged. To avoid shorting out the equipment, do not allow the
unplugged cable chain connector to touch the metal chassis if the other end of the cable chain is
still plugged in.
Steps
1.
From the rear of the drive shelf, remove the right fan canister:
a. Press the orange tab to release the fan canister handle.
The figure shows the handle for the fan canister extended and released from the orange tab on
the left.
Fan canister handle
b. Using the handle, pull the fan canister out of the drive tray, and set it aside.
c. If the tray is powered on, ensure that the left fan goes to its maximum speed.
Attention: Possible equipment damage due to overheating – If the tray is powered on, do
not remove both fans at the same time. Otherwise, the equipment might overheat.
2. Determine which cable chain to disconnect:
• If the power is on, the amber Attention LED on the front of the drawer indicates the cable
chain you need to disconnect.
• If the power is off, you must manually determine which of the five cable chains to disconnect.
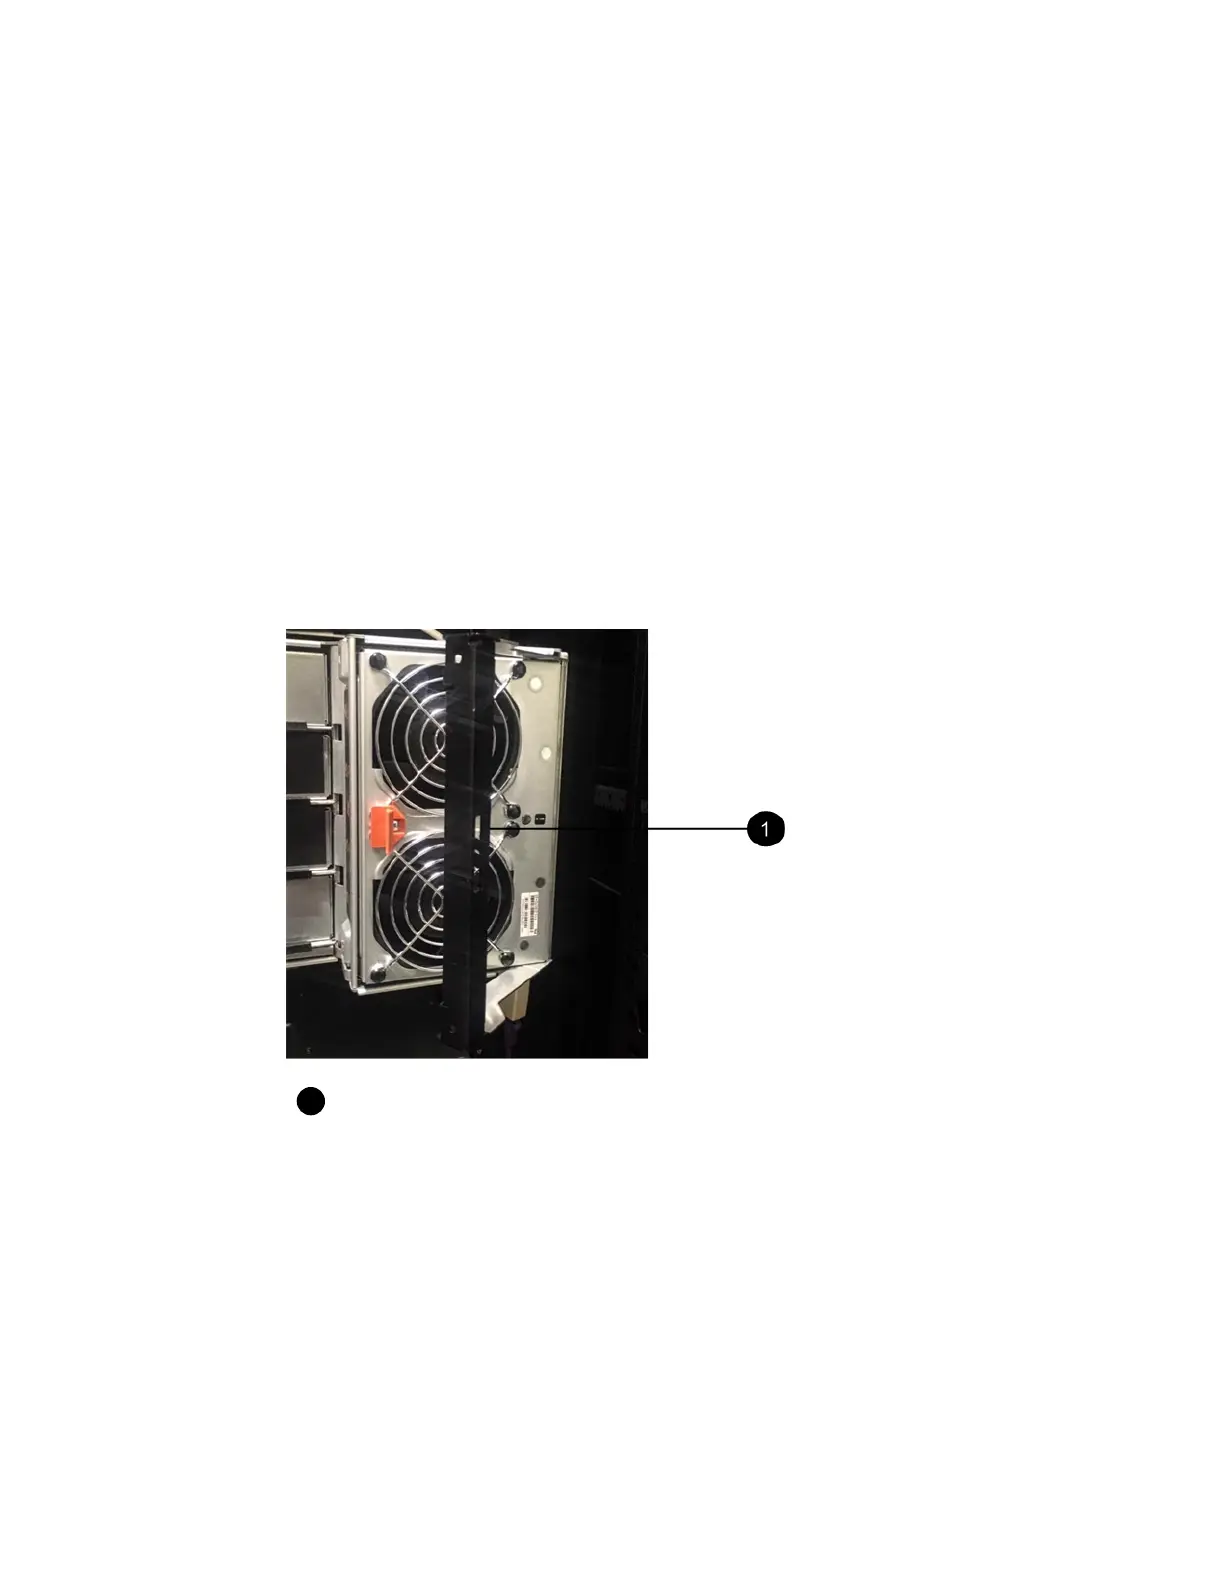
The figure shows the right side of the drive shelf with the fan canister removed. With the fan
canister removed, you can see the five cable chains and the vertical and horizontal connectors for
each drawer.
Drives |
67