The system attempts to take the controller offline.
6. Wait for System Manager to update the controller's status to offline.
Attention: Do not begin any other operations until after the status has been updated.
After you finish
Go to
Remove failed battery
on page 9.
Remove failed battery
You must remove the failed battery so you can install a new one.
Steps
1. Step 1: Remove controller canister on page 9
Remove the controller canister so you can disconnect all cables. Then, you can slide the controller
canister out of the controller shelf.
2. Step 2: Remove failed battery on page 11
Remove the failed battery by pushing the release latch down and away from the controller
canister.
Related concepts
Battery overview
on page 6
Requirements for replacing a failed battery
on page 6
Step 1: Remove controller canister
When you remove a controller canister, you must disconnect all cables. Then, you can slide the
controller canister out of the controller shelf.
Steps
1. Put on an ESD wristband or take other antistatic precautions.
2. Label each cable that is attached to the controller canister.
3. Disconnect all of the cables from the controller canister.
Attention: To prevent degraded performance, do not twist, fold, pinch, or step on the cables.
4. If the host ports on the controller canister use SFP+ transceivers, leave them installed.
5. Confirm that the Cache Active LED on the back of the controller is off.
6. Squeeze the latch on the cam handle until it releases, and then open the cam handle to the right to
release the controller canister from the shelf.
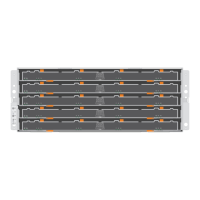
The following figure is an example of an E5724 controller shelf:
Batteries |
9