Manage Device Security
225
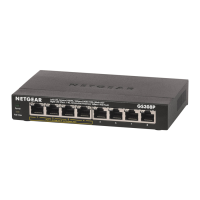
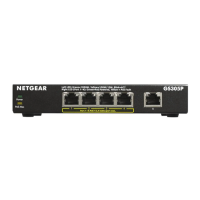
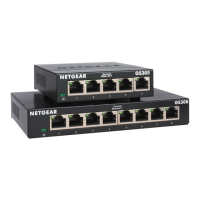
S350 Series 8-Port Gigabit Ethernet Smart Managed Pro Switch Models GS308T and GS310TP
• VLAN Assignment Mode. This selection specifies whether a port can be placed in a
particular VLAN. The default value is Disable.
When enabled, this feature allows a port to be placed into a particular VLAN based on
the result of the authentication or type of 802.1X authentication a client uses when it
accesses the device. The authentication server can provide information to the device
about which VLAN to assign the supplicant.
• Dynamic VLAN Creation Mode. This selection specifies whether a VLAN can be
dynamically created. The default value is Disable.
If RADIUS-assigned VLANs are enabled, the RADIUS server includes the VLAN ID in
the 802.1X tunnel attributes of its response message to the device. If dynamic VLAN
creation is enabled on the device and the RADIUS-assigned VLAN does not exist, the
assigned VLAN is dynamically created. This means that the client can connect from
any port and is assigned to the appropriate VLAN. This feature gives flexibility for
clients to move around the network without much additional configuration required.
• EAPOL Flood Mode. This selection specifies whether Extensible Authentication
Protocol (EAP) over LAN (EAPoL) flood support is enabled on the switch. The default
value is Disable.
7. Click the Apply button.
Your settings are saved.
Manage Port Authentication on Individual Ports
You can enable and configure port access control on one or more physical ports.
Configure 802.1X Settings for a Port
To configure 802.1X settings for a port:
1. Connect your computer to the same network as the switch.
You can use a WiFi or wired connection to connect your computer to the network, or
connect directly to a switch that is off-network using an Ethernet cable.
2. Launch a web browser.
3. In the address field of your web browser, enter the IP address of the switch.
If you do not know the IP address of the switch, see Change the Default IP Address of the
Switch on page 11.
Your web browser might display a security message, which you can ignore. For more
information, see
Access the Local Browser Interface on page 19.
The login window opens.
4. Enter the switch’s password in the Password field.
The default password is password.
The System Information page displays.
 Loading...