Configure System Information
58
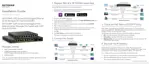
S350 Series 8-Port Gigabit Ethernet Smart Managed Pro Switch Models GS308T and GS310TP
7. In the DNS Default Name field, enter the default DNS domain name to include in DNS
queries.
When the system is performing a lookup on an unqualified host name, this field is
provides the domain name (for example, if default domain name is netgear
.com and the
user enters test, then test is changed to test.netgear.com to resolve the name). The name
must not be longer than 255 characters.
8. In the DNS Server field, specify the IPv4 address to which the switch sends DNS queries.
9. Click the Add button.
The server is added to the list. You can specify up to eight DNS servers. The Preference
field displays the server preference order
. The preference is set in the order in which
preferences were entered.
10. Click the Apply button.
Your settings are saved.
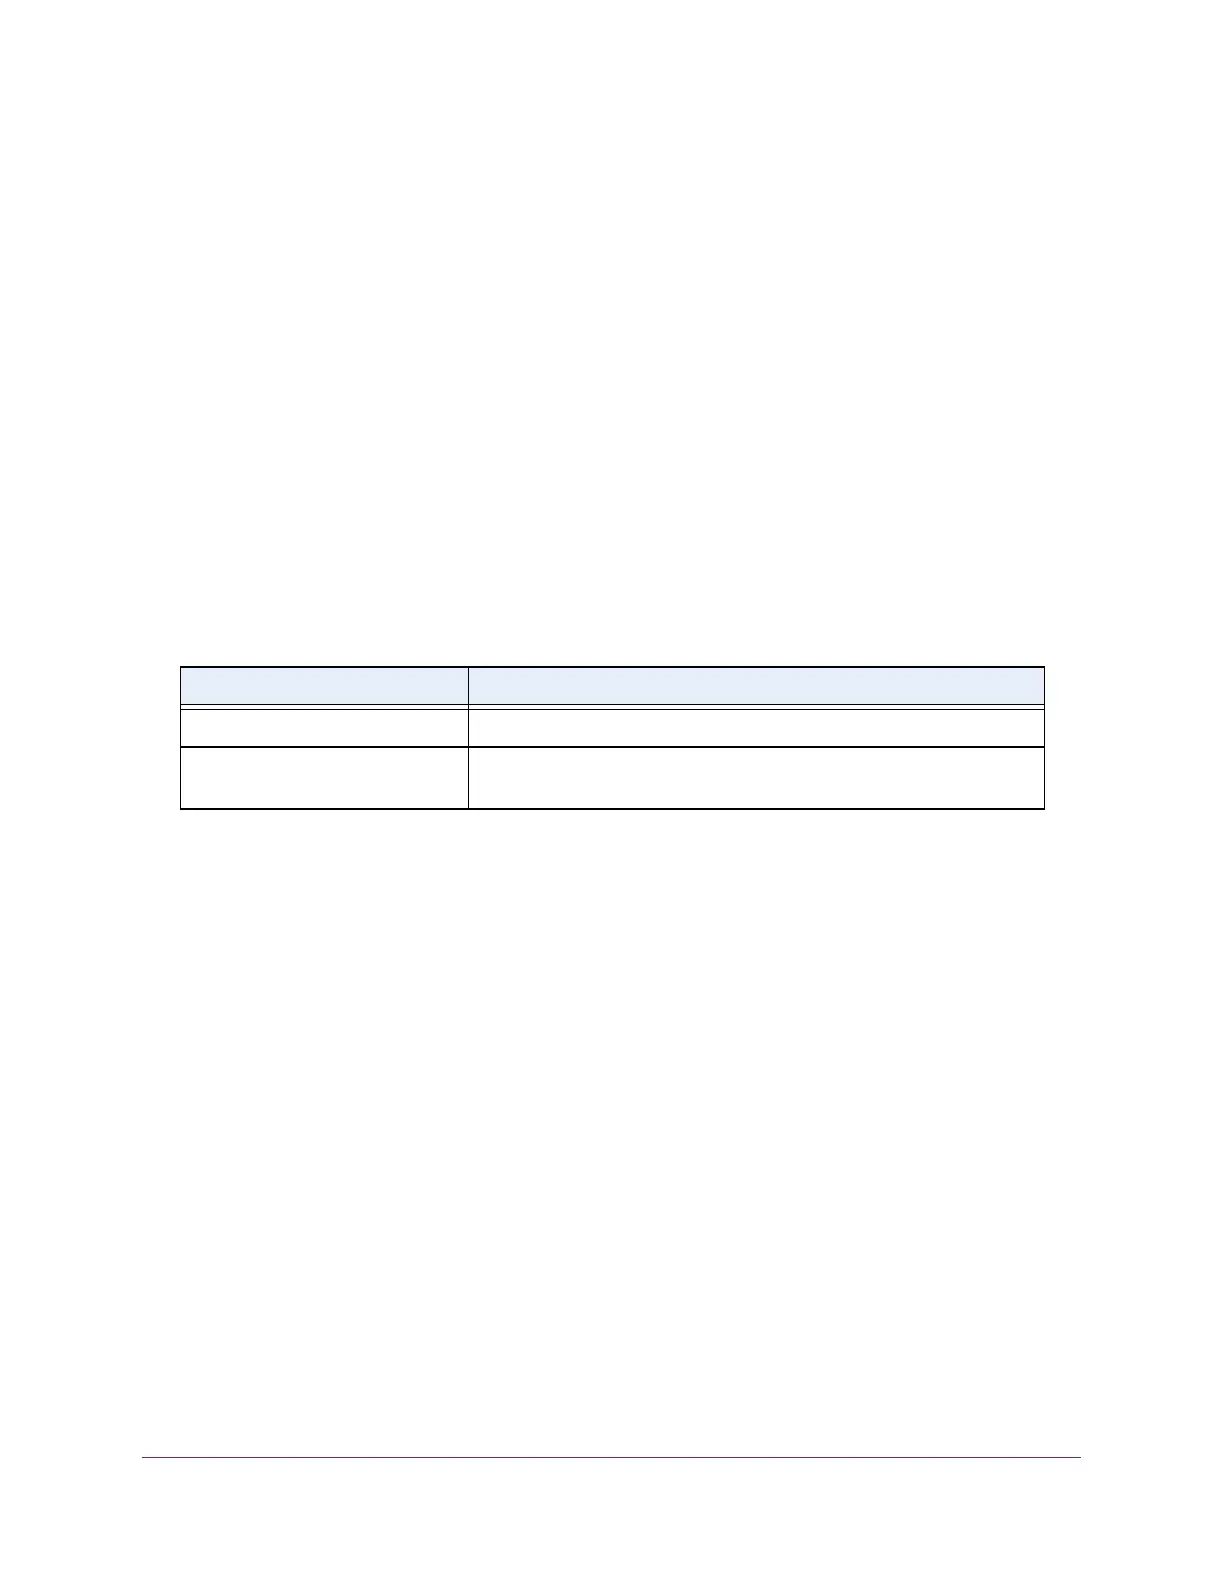
The following table displays DNS Server Configuration information.
Table 12. DNS Server Configuration information
Field Description
ID The identification of the DNS Server.
Preference Shows the preference of the DNS server. The preferences are
determined by the order in which they were entered.
Remove a DNS Server
You can remove a DNS server that you no longer need.
To remove a DNS server:
1. Connect your computer to the same network as the switch.
You can use a WiFi or wired connection to connect your computer to the network, or
connect directly to a switch that is of
f-network using an Ethernet cable.
2. Launch a web browser.
3. In the address field of your web browser
, enter the IP address of the switch.
If you do not know the IP address of the switch, see Change the Default IP Address of the
Switch on page 11.
Your web browser might display a security message, which you can ignore. For more
information, see Access the Local Browser Interface on page 19.
The login window opens.
4. Enter the switch’
s password in the Password field.
The default password is password.
The System Information page displays.
 Loading...