Configure System Information
70
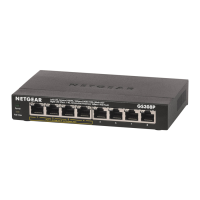
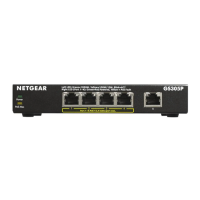
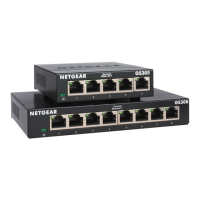
S350 Series 8-Port Gigabit Ethernet Smart Managed Pro Switch Models GS308T and GS310TP
7. In the Management Station IP Mask field, specify the subnet mask to associate with the
management station IP address.
Together, the management station IP address and the management station IP mask
denote a range of IP addresses from which SNMP clients can use that community to
access this device. If either the management station IP address or management station
IP mask value is 0.0.0.0, access is allowed from any IP address. Otherwise, every client’s
address is ANDed with the mask, as is the management station IP address. If the values
are equal, access is allowed.
For example, if the management station IP address and management station IP mask
settings are 192.168.1.0/255.255.255.0, any client with an IP address in the range from
192.168.1.0 to 192.168.1.255 (inclusive) is allowed access. To allow access from only
one station, use a management station IP mask value of 255.255.255.255, and use that
computer’s IP address as the client address.
8. In the Community String field, specify a community name.
9. From the Access Mode menu, select the access level for this community, which is either
Read/Write or Read Only.
10. From the Status menu, select to enable or disable the community.
If you select Enable, the community name must be unique among all valid community
names or the set requests are rejected. If you select Disable, the community name
becomes invalid.
11. Click the Add button.
The selected community is added.
Modify an Existing SNMP Community
To modify an existing SNMP community:
1. Connect your computer to the same network as the switch.
You can use a WiFi or wired connection to connect your computer to the network, or
connect directly to a switch that is off-network using an Ethernet cable.
2. Launch a web browser.
3. In the address field of your web browser, enter the IP address of the switch.
If you do not know the IP address of the switch, see Change the Default IP Address of the
Switch on page 11.
Your web browser might display a security message, which you can ignore. For more
information, see
Access the Local Browser Interface on page 19.
The login window opens.
4. Enter the switch’s password in the Password field.
The default password is password.
The System Information page displays.
 Loading...