• If there is no USB data connection between your keyboard and your computer. You can then
use your keyboard as a stand-alone MIDI controller.
As soon as a Kontakt or Komplete Kontrol instance is found on your computer (running as a
stand-alone application or as a plug-in on the track currently selected in your DAW), your keyboard
automatically switches from MIDI mode to Plug-in mode and lets you control this instance.
MIDI Assignments for the Display Controls
In MIDI mode, the knobs and buttons below and above the display send out the MIDI Control
Change messages listed in the tables below. These MIDI Control Change messages are sent on
MIDI channel 1.
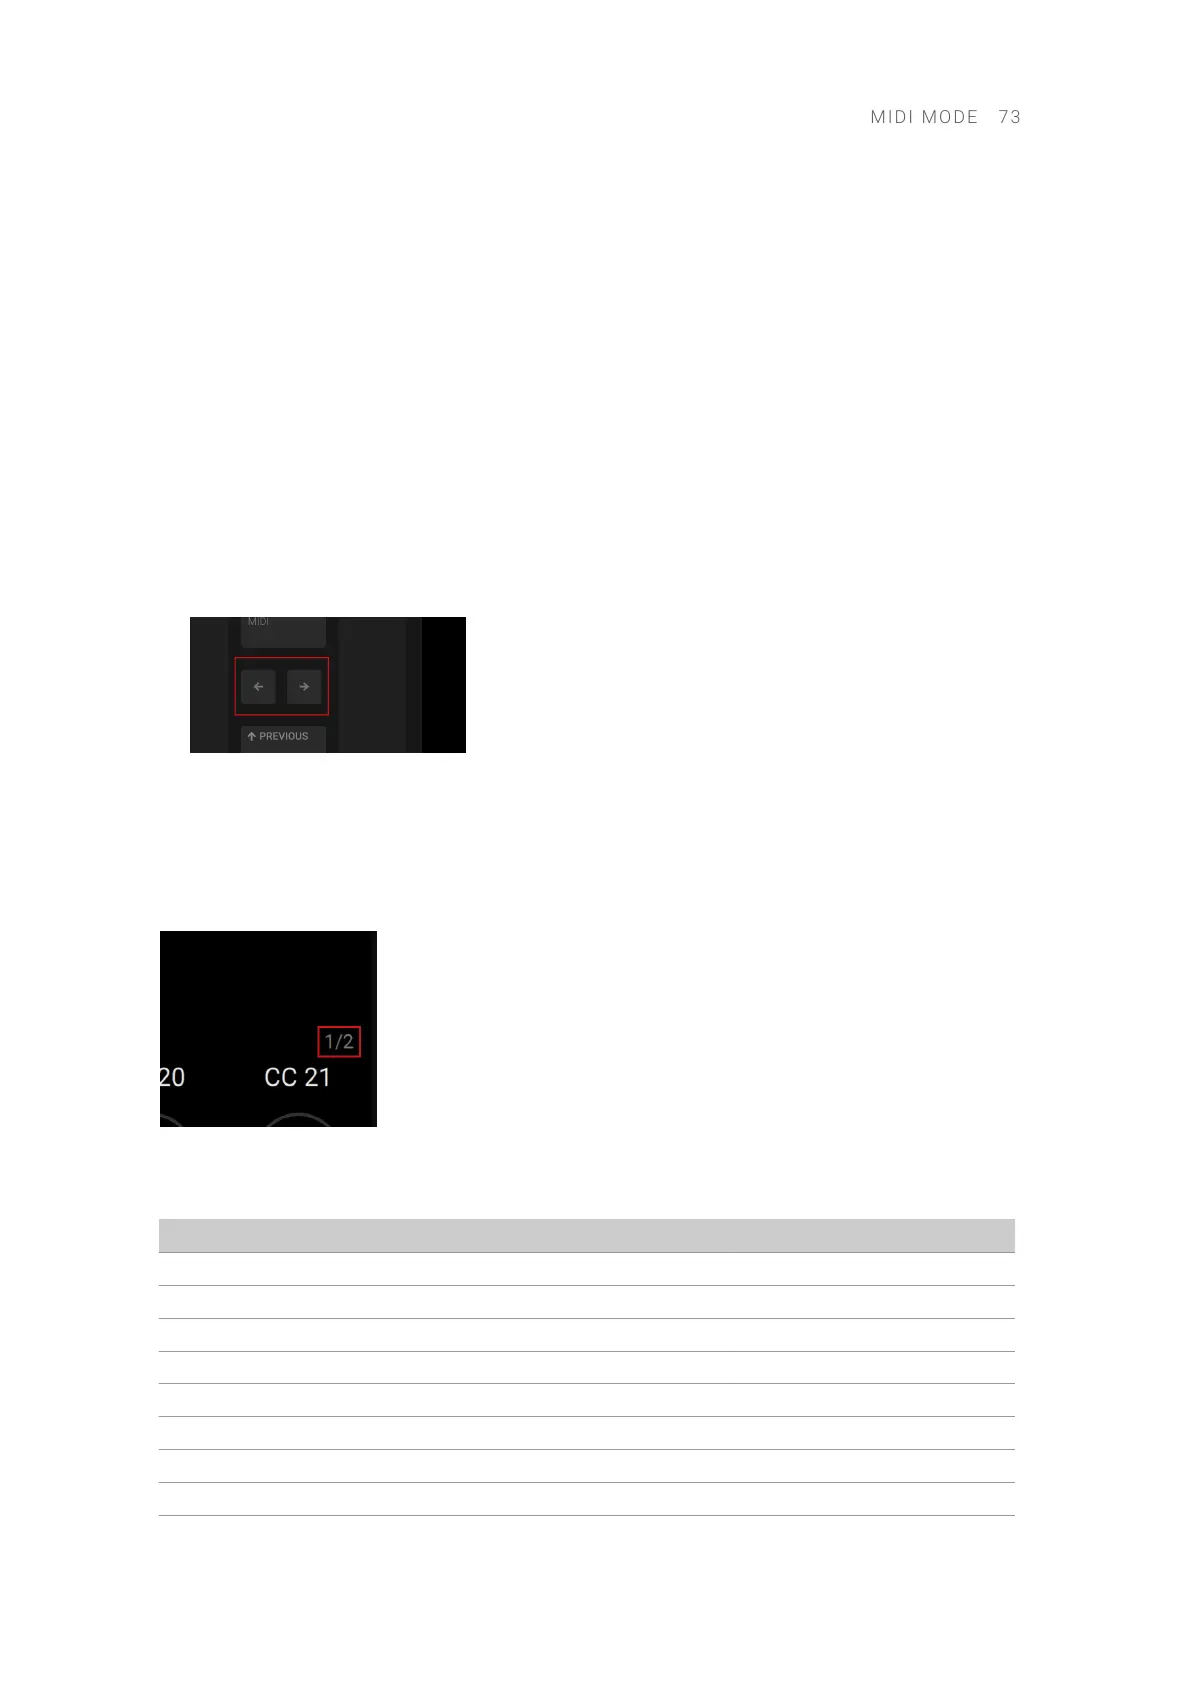
You can use the Page buttons (left and right arrows) at the left of the display to switch to the next
or previous page of MIDI assignments for the knobs below the display:
▶ Press the Page buttons at the left of the display to switch to another page of MIDI assignments.
→ The display and the Knobs 1–8 switch to the next or previous eight MIDI assignments.
A dim lit Page button indicates that another page of MIDI assignments can be displayed by
pressing the button.
The gray numbers at the far right on the display indicate the current page and the total number of
pages available:
The following table shows the MIDI Control Change messages assigned to the Knobs 1–8 on
page 1:
Control Element CC# Mode/Type Range/Values Control Function
Knob 1 14 Absolute 0–127 Undened
Knob 2 15 Absolute 0–127 Undened
Knob 3 16 Absolute 0–127 General Purpose Controller 1
Knob 4 17 Absolute 0–127 General Purpose Controller 2
Knob 5 18 Absolute 0–127 General Purpose Controller 3
Knob 6 19 Absolute 0–127 General Purpose Controller 4
Knob 7 20 Absolute 0–127 Undened
Knob 8 21 Absolute 0–127 Undened
MIDI M O D E 73
 Loading...