3. Setting Up Your Keyboard
This section provides basic setup information for using your keyboard in different situations: with
the stand-alone Kontakt software, the stand-alone Komplete Kontrol software, or with any of them
loaded as plug-in within a DAW.
Connecting the Keyboard to Your Computer
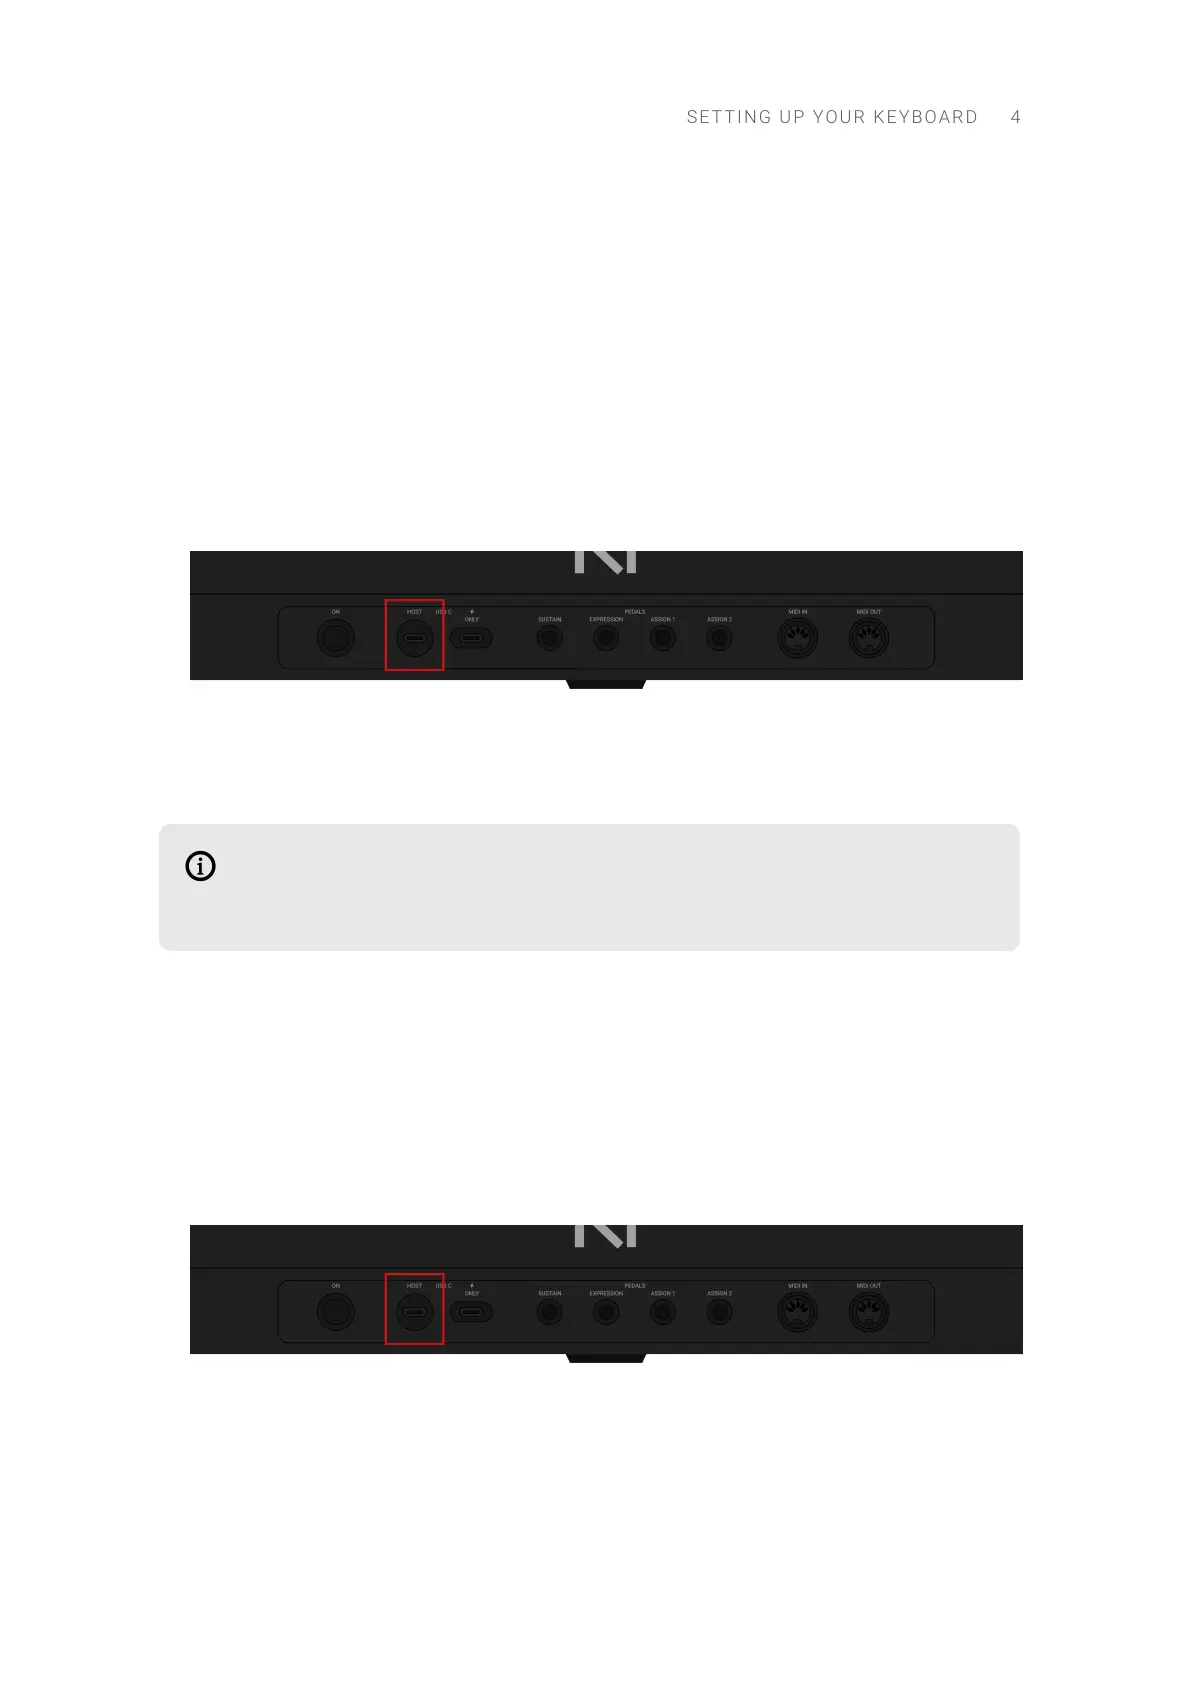
To connect the Kontrol MK3 keyboard to your computer:
1. Attach the round, barrel-style end of the included USB-C cable to the HOST USB-C socket on the
rear panel of your keyboard.
2. Attach the other end of the included USB-C cable to an available USB-C port on your computer.
3. Press the ON switch on the rear panel of the keyboard to switch it on.
→ The keyboard is now detected by the operating system.
You can also connect your keyboard to a USB-C hub. In this case, make sure that the
USB-C port on your hub is identied to transfer both power and data. If in doubt, refer
to the documentation of your USB-C hub.
Connecting the Keyboard to a Computer Without USB-C
If your computer only has USB-A ports, you will need the following additional items (not included):
• A USB-C female to USB-A male adapter/cable
• A USB-C power supply (5 V, 7.5 W or higher, 1.5 A or higher) with its own USB-C cable.
To connect the keyboard to your computer, do the following:
1. Attach the round, barrel-style end of the included USB-C cable to the HOST USB-C socket on the
rear panel of your keyboard.
2. Attach the other end of the included USB-C cable to the USB-C to USB-A adapter/cable.
3. Attach the USB-C to USB-A adapter/cable to an available USB-A port on your computer.
SETT I N G UP YOUR KEYBO A R D 4
 Loading...