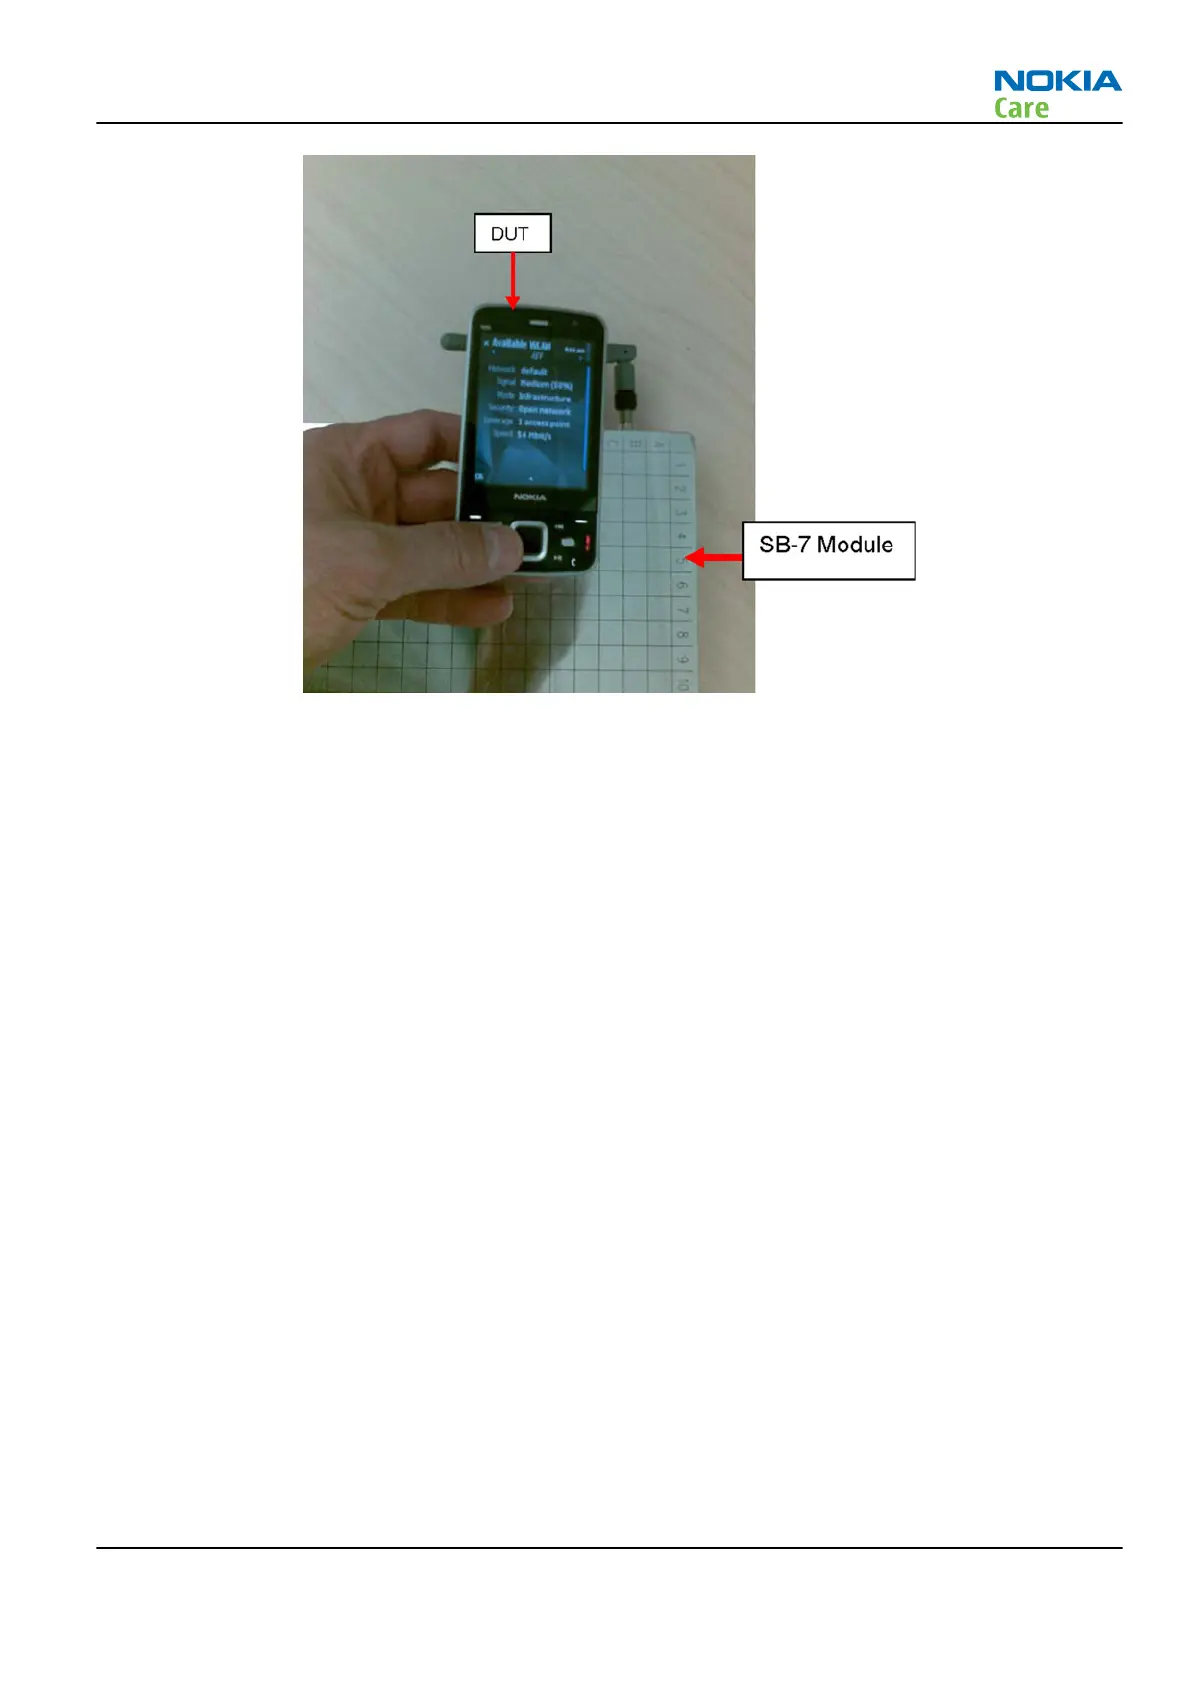
Figure 35 Test equipment setup
Steps
1. Set up the test equipment as shown in the figure above.
2. Power up the SB-7 module.
3. Power up the DUT with a fully charged battery.
4. Hold the phone about 1.5” above and parallel to the SB-7’s antenna as shown in the figure above
5. Under the phone’s Connectivity icon, select Connect Manager→Available WLAN networks . The display
will show a list of available WLAN networks.
6. Select the network with a name “default”. The phone display will show:
• Network: default
• Signal: Medium (~50%)
• Mode: Infrastructure
• Security: Open network
• Coverage: 1 access point
• Speed: 54 Mbit/s
If phone doesn’t display the available SB-7 signal, there is something wrong with the WLAN.
Note: To verify if this is the network signal from the SB-7, switch off the SB-7 and search the WLAN
network again. If the “default” network is not available anymore, then this proves the network
signal is from the SB-7.
Conducted testing with MJ-131 module jig
This test is to find the problem caused by the WLAN related circuits on the phone PWB.
RM-247
RF troubleshooting
Issue 1 COMPANY CONFIDENTIAL Page 4 –21
Copyright © 2008 Nokia. All rights reserved.
 Loading...