Installation Page 65 of 206
WLAN IP Telephony Installation and Configuration
4 Tighten screws fully.
End of Procedure
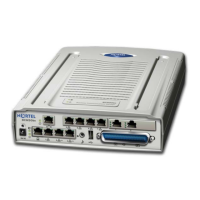
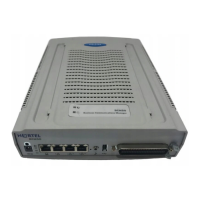
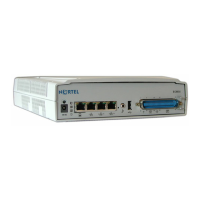
Rack-mounting
The rack-mount kit is designed for mounting the WLAN IP Telephony
Manager 2245 in a standard 19-inch rack and contains the following
equipment:
• Mounting plates – two for each WLAN IP Telephony Manager 2245 to
be mounted.
• Screws – four rack-mount screws for each WLAN IP Telephony
Manager 2245 to be mounted.
Follow the steps in Procedure 2 to rack-mount the WLAN IP Telephony
Manager 2245.
Procedure 2
Rack-mounting the WLAN IP Telephony Manager 2245
1 Remove the corner screws from the WLAN IP Telephony Manager 2245.
2 Screw the U-shaped end (round screw holes) of the two mounting plates
to the WLAN IP Telephony Manager 2245.
3 Screw the other end of the two mounting plates (oblong screw holes) to
the rack.
4 Repeat steps 1-3 for each additional WLAN IP Telephony Manager 2245.
The mounting plate is designed to provide the correct minimum spacing
between units. When mounting multiple units, stack the units in the rack
as closely as possible.
End of Procedure
Connecting to the LAN
Use an RJ-45 cable to connect the NETWORK port on the WLAN IP
Telephony Manager 2245 to the connecting port on the Ethernet switch.