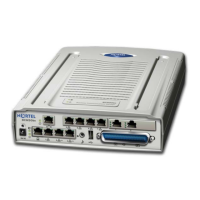
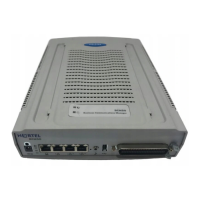
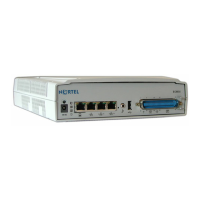
Page 70 of 206 WLAN IP Telephony Manager 2245 configuration
553-3001-304 Standard 3.00 September 2004
Configuration tasks
The following are the tasks required to configure the WLAN IP Telephony
Manager 2245:
1 Connecting to the WLAN IP Telephony Manager 2245 (p. 70).
2 Configuring the network (p. 73).
3 Configuring the WLAN IP Telephony Manager 2245 (p. 77).
4 Changing the password (p. 80).
In the initial configuration of the WLAN IP Telephony Manager 2245, the
IP addresses and the maximum number of active calls per Access Point (AP)
must be configured. Later, the IP address of the TFTP Server where the
software files are located and the hostname can be configured by Telnet.
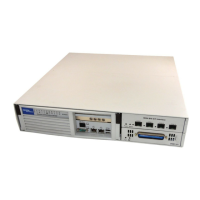
Connecting to the WLAN IP Telephony Manager 2245
The initial connection to the WLAN IP Telephony Manager 2245 must be
made through a serial connection to establish the WLAN IP Telephony
Manager 2245’s IP address. After the IP address is established, connection to
the WLAN IP Telephony Manager 2245 can be done through the network
using Telnet.
Nortel Networks recommends that the complete initial configuration be
performed when the serial connection is made.
Through a serial port
Follow the steps in Procedure 4 to connect to the WLAN IP Telephony
Manager 2245 through a serial port.
Procedure 4
Connecting to the WLAN IP Telephony Manager 2245 through a serial
port
1 Using a DB-9 female, null-modem cable, connect the WLAN IP Telephony
Manager 2245 to the serial port of a terminal or PC.
2 Run a terminal emulation program (such as HyperTerminal™), or use a
VT-100 terminal with the following configuration: