164
EN
Shooting Settings
4
Conguring Multiple Exposure
1
Congure options.
• Press FG to select an item and press the Q button to
display the setting menu.
• After conguring options, press the Q button to return
to Multiple Exposure setting screen.
MENUMENU
OK
Multiple Exposure
Auto Gain
Overlay
On
Off
Off
Multiple Exposure
Auto Gain
[O]: Do not adjust brightness the brightness of the pictures in the
multiple exposure.
[On]: Halve the brightness of each picture in the multiple exposure.
Overlay
[O]: Create a multiple exposure from the next 2 pictures taken.
[On]: Shoot a multiple exposure that includes an existing RAW
image stored on the memory card.
• [Overlay] is only available when [On] is selected for [Multiple
Exposure].
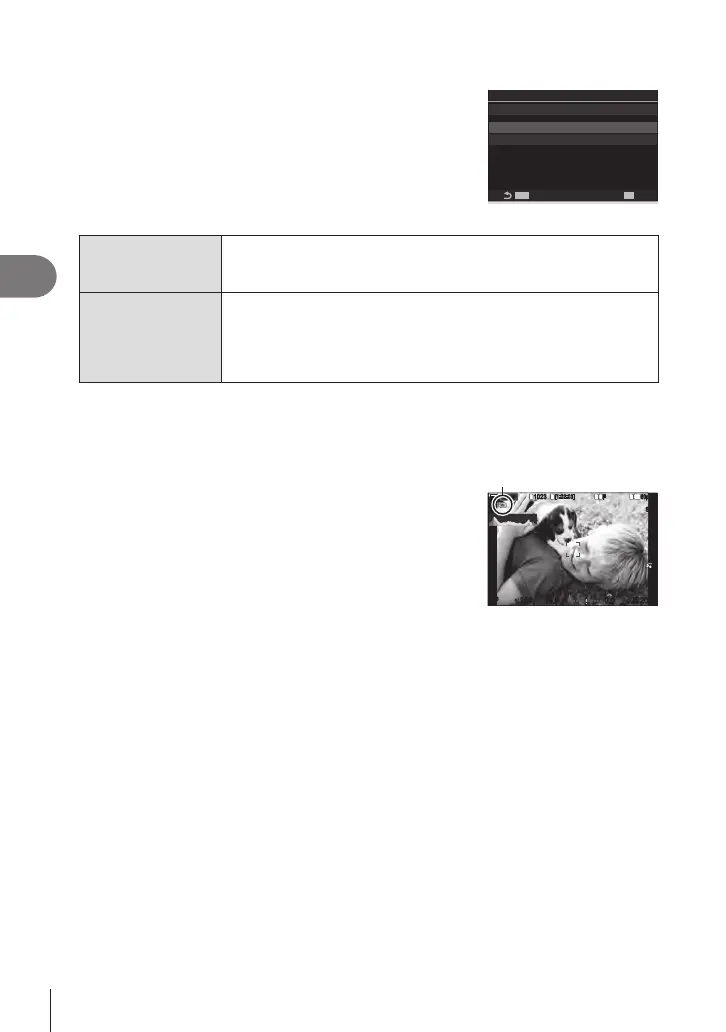
Shooting
1
Press the MENU button to close the Multiple Exposure setting screen and
return to shooting screen.
• A X icon will be displayed. X
1
/
250
1
/
F
250 5.65.6
1
1
[
1
:
02
:
03
][
1
:
02
:
03
]
FF
60p60p L
-
8L
-
8
S
-
AFS
-
AF
33
F
00
+
-
0.00.0
100
%
100
%
OO
200200
ISO
Auto
ISO
Auto
2
Take pictures.
• The rst shot will be visible superimposed on the view through the lens as you
compose the next shot.
• The X icon turns green.
• Normally, a multiple exposure will be created after the second shot is taken.
• Pressing the D button allows you to retake the rst shot.
• Press the MENU button or press the q button to end multiple exposure
photography.
• The X icon clears from the display when multiple exposure photography ends.
 Loading...