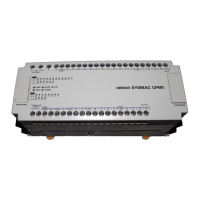
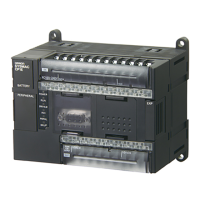
669
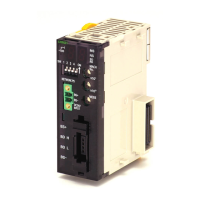
CJ1W-CIF11 RS-422A Converter Appendix G
Mounting to the Unit
Mount the Converter to the RS-232C port (D-Sub, 9-pin) of the Unit to be connected in the following way.
1. Align the Converter’s connector with that of the Unit and push it into the Unit’s connector as far as possible.
2. Tighten the mounting screws on either side of the Converter. (Tightening torque: 0.3 N
⋅m.)
As an example, connection to a CJ1 CPU Unit is shown below.
Wiring Example (CJ1M CPU Units Connected via Serial PLC Link)
Wiring for Four-wire Cable
CJ1M CPU Unit (master)
Serial PLC Link
CJ1M CPU Unit (slave 0)
CJ1M CPU Unit (slave 1)
CPU Unit's
RS-232C port
RS-422A
Converter
(CJ1W-CIF11)
CPU Unit's
RS-232C port
CPU Unit's
RS-232C port
RS-422A
Converter
(CJ1W-CIF11)
RS-422A
Converter
(CJ1W-CIF11)
RDA-
RDB+
SDA-
SDB+
FG
RDA-
RDB+
SDA-
SDB+
FG
RDA-
RDB+
SDA-
SDB+
FG
SW1
SW2
SW3
SW4
SW5
SW6
SW1
SW2
SW3
SW4
SW5
SW6
NT-AL001
DIP Switch Settings
Not used. (ON)
Terminating resistance
Two-wire/four-wire
Two-wire/four-wire
Transmission Mode
Transmission Mode
CJ1M CPU Unit
(master)
ON
ON
OFF
(four-wire)
OFF (four-wire)
OFF (Always send)
OFF (Always send)
CJ1M CPU Unit
(slave 0)
ON
OFF
OFF
(four-wire)
OFF (four-wire)
OFF (
sends when CS is "H")
ON (
sends when CS is "L")
CJ1M CPU Unit
(slave 1)
ON (with)
OFF (four-wire)
OFF (four-wire)
OFF
OFF (
without)
ON (with)
CJ1W-CIF11
DIP Switch Settings
Terminating resistance
Two-wire/four-wire
Two-wire/four-wire
Not used.
RD control
SD control
 Loading...