210
Introduction Section 4-1
4-1 Introduction
The following procedure outlines the recommended steps to follow when pre-
paring CJ-series PLCs for operation.
1,2,3... 1. Installation
Set the DIP switches on the front of each Unit as required.
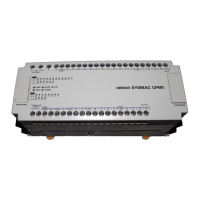
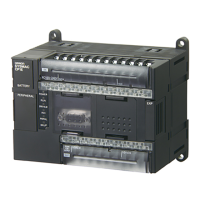
Connect the CPU Unit, Power Supply Unit, I/O Units, and End Cover. In-
stall a Memory Card if required.
See
5-2 Installation for details.
2. Wiring
Connect the power supply wiring, I/O wiring, and Programming Device
(CX-Programmer or Programming Console). Connect communications
wiring as required.
See
5-3 Wiring for details on power supply and I/O wiring.
3. Initial Settings (Hardware)
Set the DIP switches and Rotary switches on the CPU Unit and other Units.
4. Confirming Programming Device Connection
a) Connect a Programming Device (i.e., the CX-Programmer or a Pro-
gramming Console).
b) Check the power supply wiring and voltage, turn ON the power supply,
and check to be sure the Programming Device will connect to the CPU
Unit.
See
3-3 Programming Devices for details.
5. Registering the I/O Tables (If Required.)
Check the Units to verify that they are installed in the right slots. With the
PLC in PROGRAM mode, register the I/O tables from the CX-Programmer
(online) or Programming Console. (Another method is to create the I/O ta-
bles in CX-Programmer (offline) and transfer them to the CPU Unit.)
See
8-1 I/O Allocations for details.
6. PLC Setup Settings
With the PLC in PROGRAM mode, change the settings in the PLC Setup
as necessary from the CX-Programmer (online) or Programming Console.
(Another method is to change the PLC Setup in CX-Programmer (offline)
and transfer it to the CPU Unit.)
7. DM Area Settings
a) Use a Programming Device (CX-Programmer or Programming Con-
sole) to make any necessary settings in the parts of the DM Area that
are allocated to Special I/O Units and CPU Bus Units.
b) Reset the power (ON
→ OFF → ON) or toggle the Restart Bit for each
Unit. See the Unit’s operation manual for details.
8. Writing the Program
Write the program with a Programming Device (CX-Programmer or Pro-
gramming Console).
9. Transferring the Program (CX-Programmer Only)
With the PLC in PROGRAM mode, transfer the program from CX-Pro-
grammer to the CPU Unit.