Loading the Magazines
Loading Media and Running Self Checks 3-11
■ row is the ordinal number of the magazine row that contains the slot. Rows are
numbered starting from the top of magazine(
1
) and counting down.
■ column is the ordinal number of the magazine column that contains the slot.
Columns are numbered starting from the handle side of the magazine, at the
front of the library, and counting to the back.
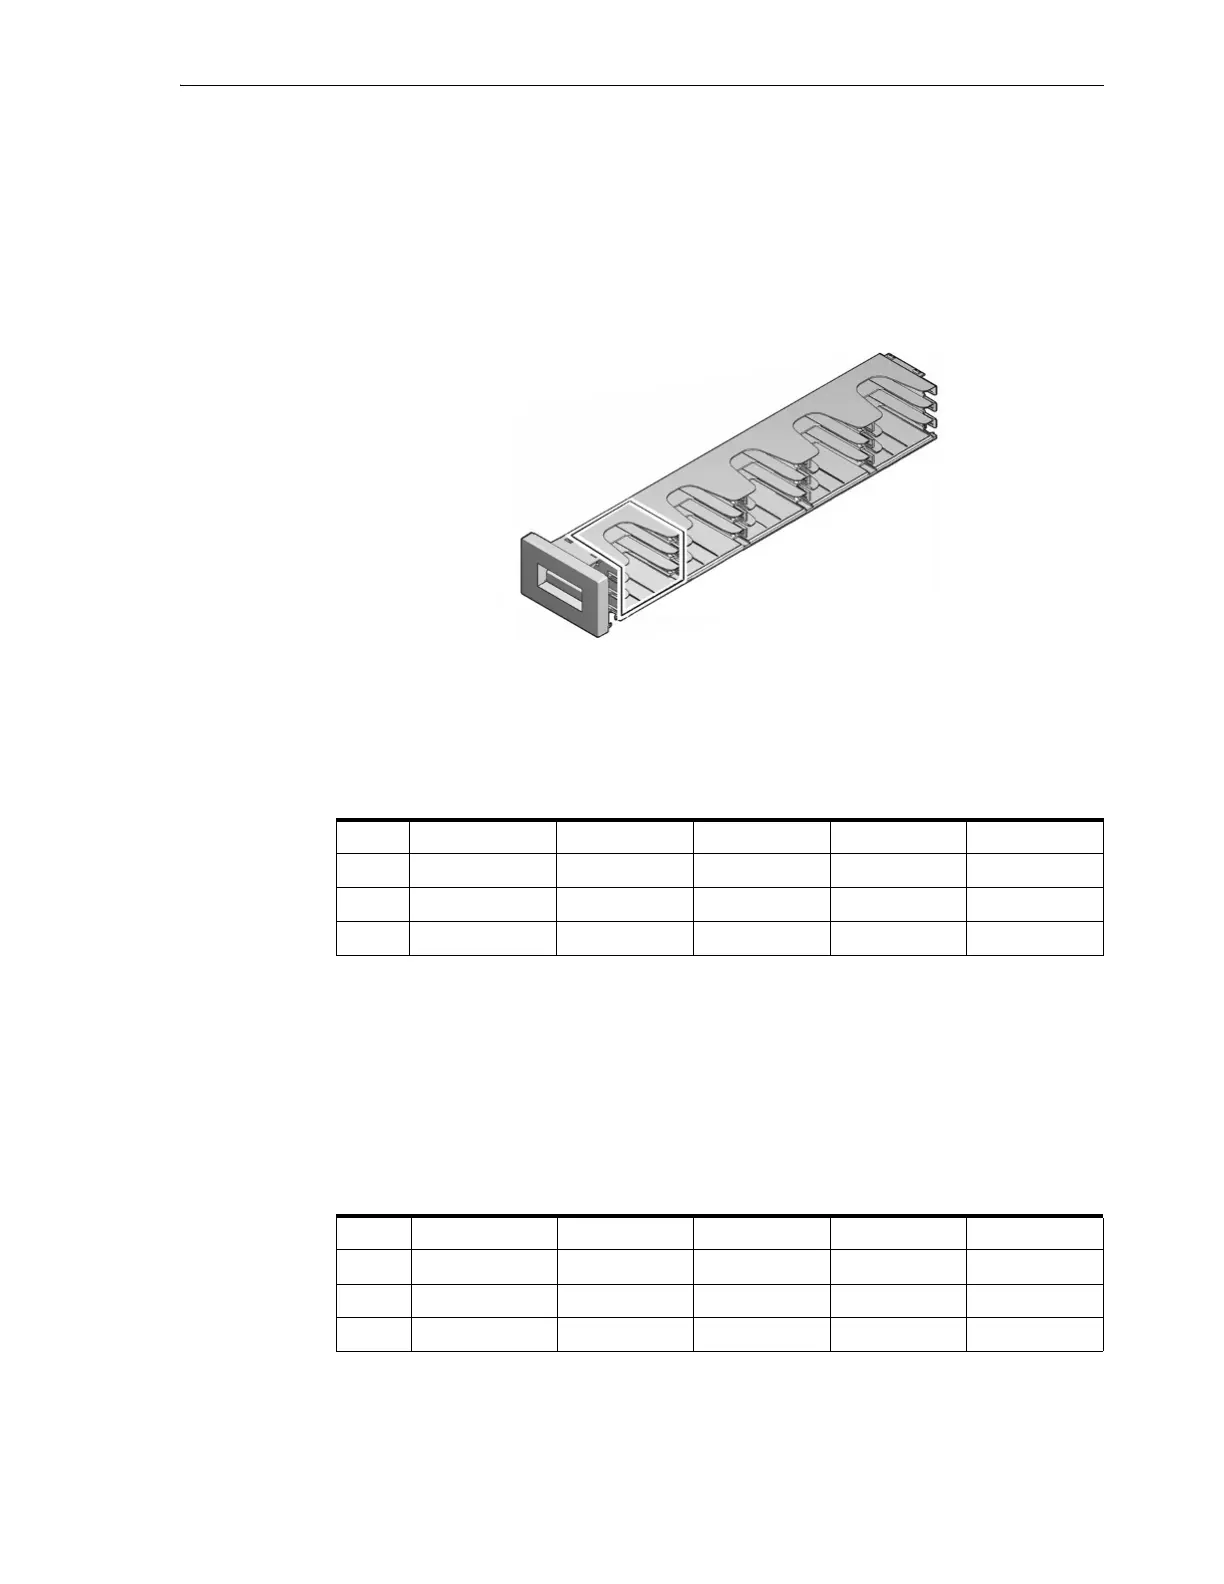
Slots
1,
Left,
1,
1
and
1,
Left,
2,
1
and
1,
Left,
3,
1
can be configured as
reserved slots.
2. Place this first magazine upright on your work surface, with the handle facing left
and the slot openings facing you.
The table below represents the layout of the
left magazine of the first module.
Note that you can only reserve slots in the first column for system use:
Table 3–1 Module 1, Left Magazine: Slots that Can Be Reserved
Left Column 1 Column 2 Column 3 Column 4 Column 5
Row 1 Can be reserved
Row 2 Can be reserved
Row 3 Can be reserved
3.
If you plan to configure a reserved slot for a diagnostic cartridge, insert the
cartridge in slot
1,
Left,
1,
1
(the slot in the first column of the top row). Insert
the cartridge with the hub down and the label and write-protect switch visible on
the open side of the magazine. Gently push the cartridge into the slot until the
plastic retention spring snaps into place.
The table below shows the diagnostic cartridge installed in slot
1,
Left,
1,
1
.
During final configuration, we will reserve this slot for system use:
Table 3–2 Module 1, Left Magazine: a Diagnostic Tape in a Reserved Slot
Left Column 1 Column 2 Column 3 Column 4 Column 5
Row 1
DG 001
Row 2
Row 3
4.
If you plan to configure a reserved slot for a cleaning cartridge, insert the cartridge
in the first unoccupied slot in the first column, either
1,
Left,
2,
1
(if you plan to
reserve a slot for a diagnostic cartridge), or
1,
Left,
1,
1
(if you do not). Insert the

 Loading...


