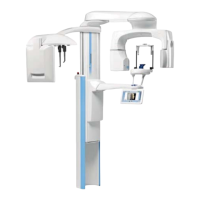
5 Preparations for exposure
5.1 Attaching and removing sensor
NOTE
The available sensors are shown in section "Sensor" on page 11.
NOTE
FOR PLANMECA PROMAX 2D X-RAY UNITS:
If the sensor is attached to the cephalostat (optional), the sensor must be
moved to the C-arm as described below.
NOTE
FOR PLANMECA PROMAX 3D X-RAY UNITS:
If you wish to use a Dimax sensor, select Settings > User > 1300
Operational Settings > 1340 Exposure Settings > Panoramic System Dimax
and change the sensor as described below.
NOTE
FOR PROFACE SENSOR:
Do not touch the glass windows. Fingerprints or other stains on the glass
surface destroy image quality.
5 Preparations for exposure
User's manual Planmeca ProMax 29