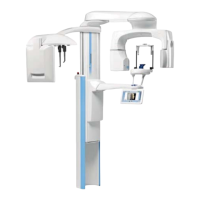
6. The image is shown on the computer screen.
Note that you must accept the image in the Planmeca Romexis program.
7. Guide the patient away from the X-ray unit.
6.10 Taking an exposure with Autofocus (Planmeca ProMax 2D S3 and
Planmeca ProMax 3D X-ray units)
NOTE
Make sure that you have selected the correct patient and exposure mode in
the Planmeca Romexis program.
NOTE
Autofocus is available for standard, interproximal and orthogonal panoramic
programs. To turn Autofocus on, select Settings > Program > 2200 Program
Features > 2210 2D Panoramic > Autofocus ON.
NOTE
FOR PLANMECA PROMAX 2D S3 X-RAY UNITS:
If Autofocus is selected, DEC is automatically switched off for the first
exposure (scout image).
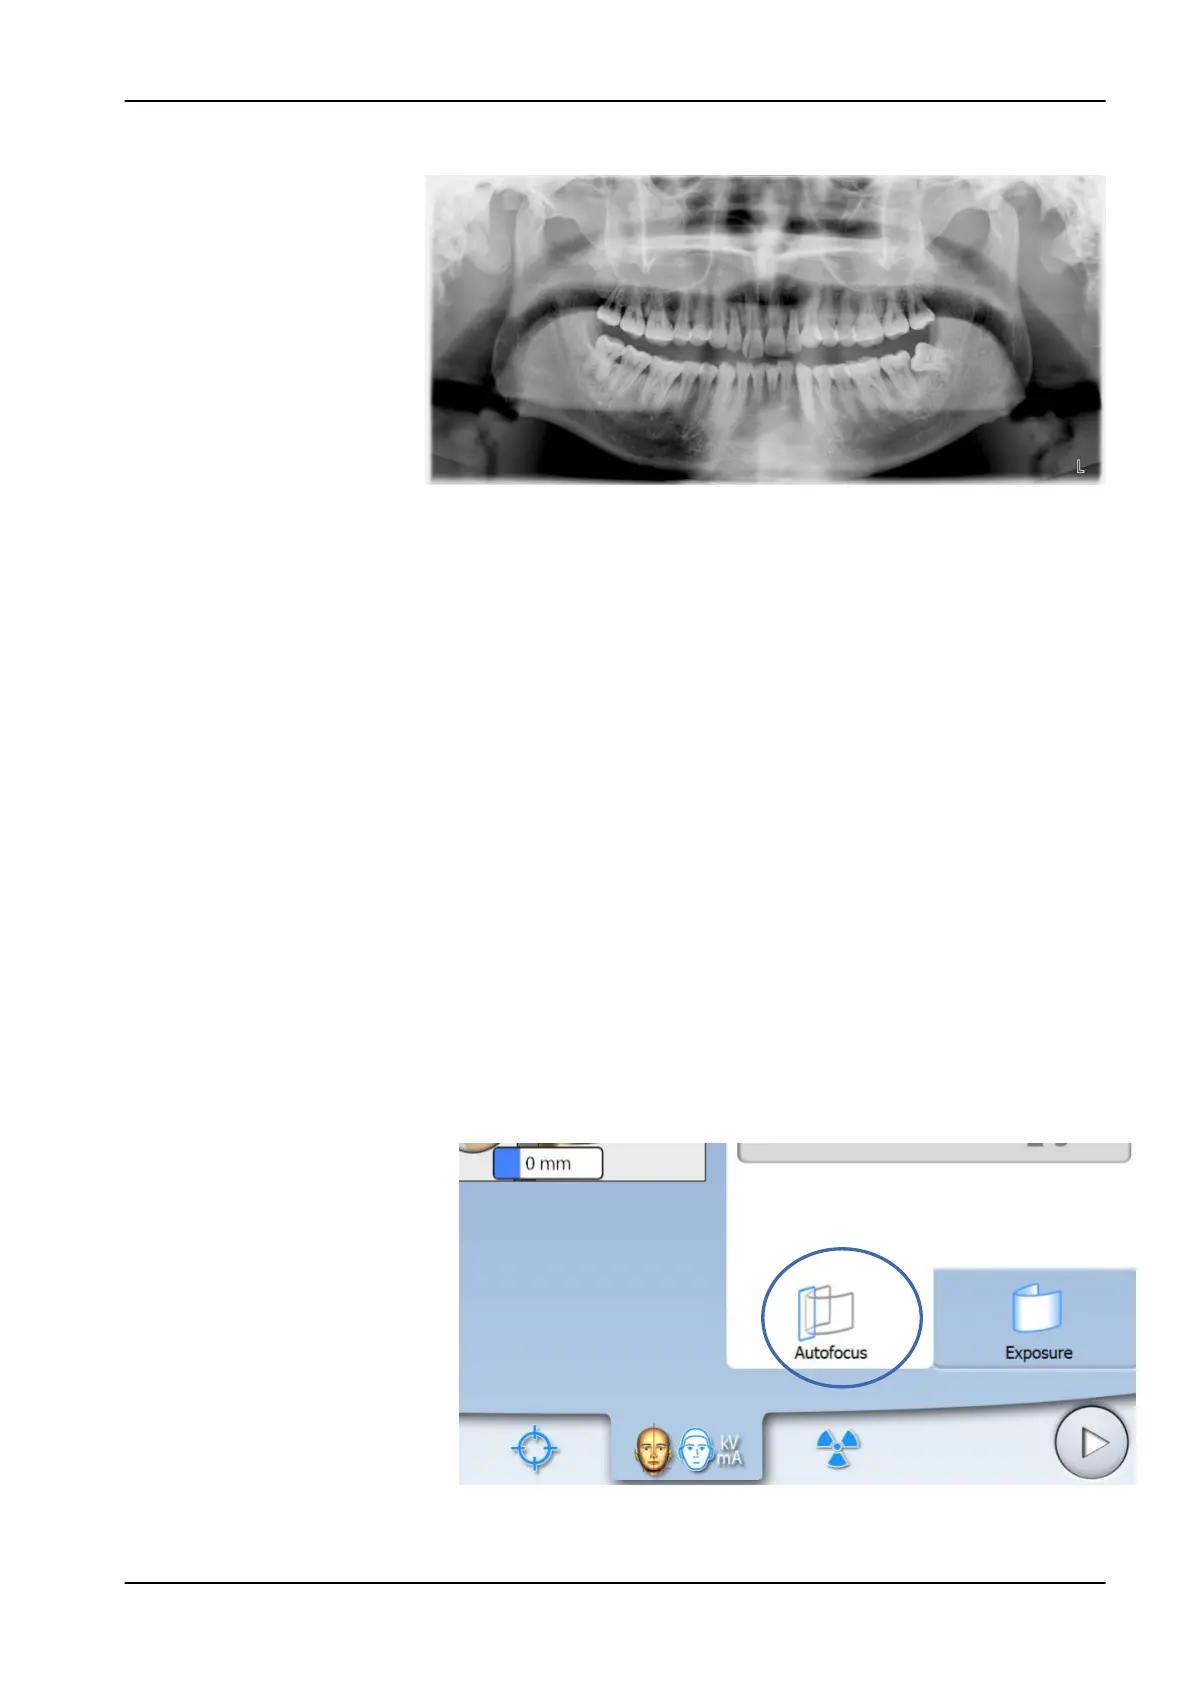
1. Select the Autofocus tab. This switches the layer light off.
Autofocus adjusts the layer position automatically. The function positions
the image layer individually for each patient based on the position and
angle of the apices of the upper central incisors.
The exposure is taken in two stages and the C-arm moves twice.
6 Panoramic exposure
User's manual Planmeca ProMax 55