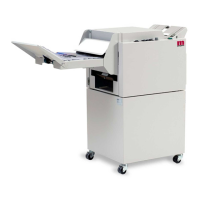
Bookletmaker SR 85 February 2001PAGE
PURPOSE
The purpose is to ensure that the stapler assemblies are aligned correctly to the anvils.
1. Run a 2-sheet set in the edge staple mode.
2. Check that the staples are formed properly. The ends of the staples should be folded so
that they are aligned with the middle of the staple.
3. Switch off the main power switch and disconnect the power cord.
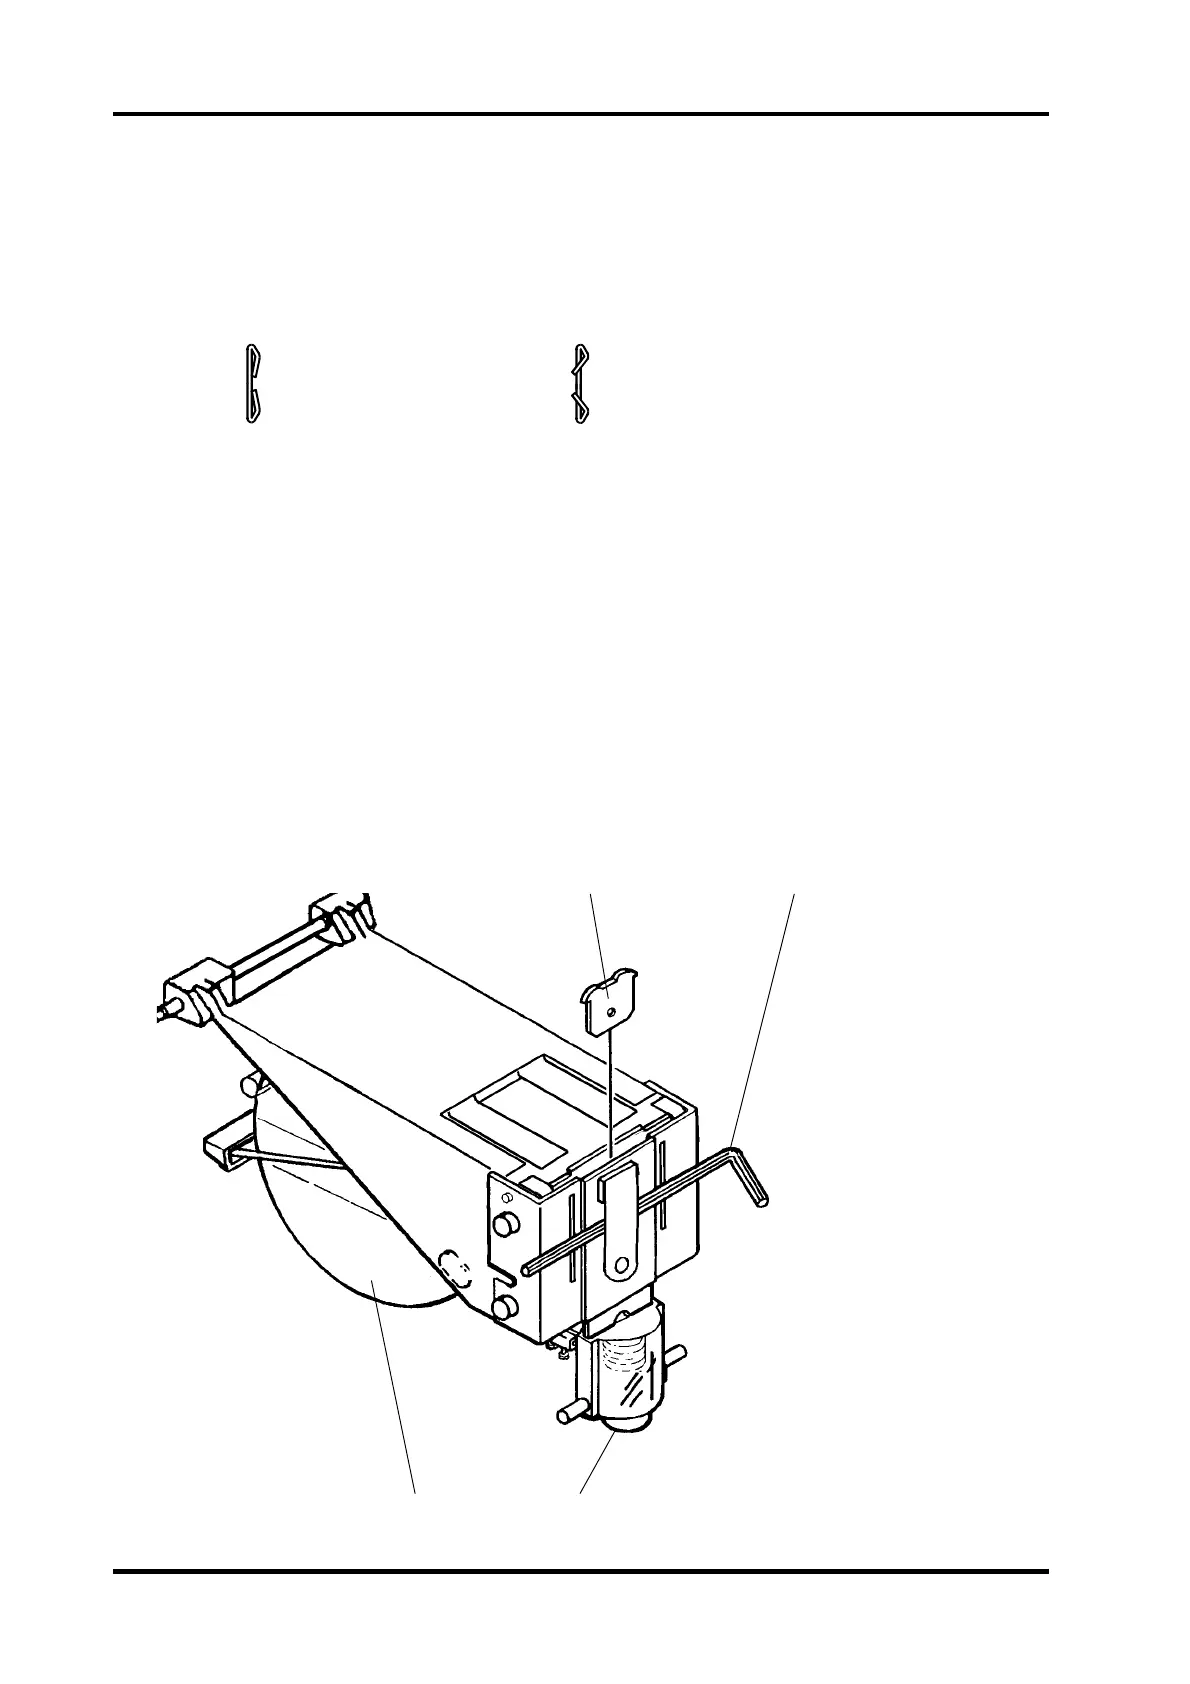
4. Remove the Stapler head according to REP 3.1.
5. Push the plunger (4) manually and note where the staple exits the Stapler head, then
return the plunger to the home position.
WARNING: Be careful when handeling the Stapler head. The ends of the staples are sharp
and difficult to see.
6. Remove the Staple cartridge (3) and tear the staples at the tear line.
7. Reinstall the cartridge (3) but do not make any staple strokes.
8. Position an allen wrench (2) - app. 2 mm - as shown to relieve the pressure on the sta-
ple former.
9. Install the Alignment tool (1) as shown.
NOTE: Head alignment tool is located at the bottom of the front side frame.
10. Remove the allen wrench (2).
REP 5.3 Stapler position to anvil, adjustment
12
34
5.3.1
Good Staple Bad Staple