FastTrak TX4650, TX2650 User Manual
10
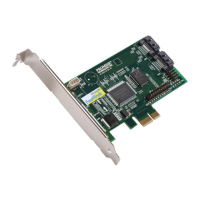
Connecting the FastTrak Card
The FastTrak TX4650 and TX2650 cards support SATA 1.5Gb/s, SATA 3.0 Gb/s,
and SAS physical (disk) drives. For optimal performance, install drives of the
same model and capacity. The drives’ matched performance allows the logical
drive to function better as a single drive.
The table above shows the number of drives required for each RAID level and
the RAID levels supported by the two FastTrak cards.
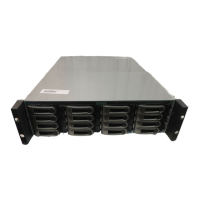
Using a SuperSwap Enclosure
For instructions on installing the SuperSwap enclosure and the physical (disk)
drives, refer to the SuperSwap Quick Start Guide or User Manual.
To connect the FastTrak card using a SuperSwap enclosure:
1. Install the SuperSwap enclosure into your system.
2. Install the physical drives into your SuperSwap enclosure.
3. Do one of the following actions:
• SuperSwap 4600: Connect a SATA-to-SATA data cable (not included)
from Port 1 connector on the FastTrak card to the Port 1 connector on
the SuperSwap. See Figures 1 and 2.
Connect the rest of the data cables matching the Port numbers.
TX4650 TX2650
Level Number of Drives Level Number of Drives
RAID 0 any number RAID 0 any number
RAID 1 2 only RAID 1 2 only
RAID 5 3 or 4 JBOD 1 only
RAID 10 4 only
JBOD 1 only
Caution
Use of removable physical (disk) drive enclosures other than
Promise Technology’s SuperSwap is not supported and may
result in performance loss or other undesired results.
 Loading...