PCX SMS AND PCX 256 SYSTEM MANUAL
Page: 156 RINS871-3
APPENDIX G: MASTER MANAGER MENU
Set Date & Time
Setting the date and time of the PCX system is vitally important as then any false alarms or unknown
activations etc can be easily recognised in the event log, which records the date and time of each event.
1. Use the mand
keys to scroll to ‘SET DATE & TIME’. Press the key.
2. Year: Enter the year, for example, for the year 2006, enter ‘06’ on the keypad and press the
key.
3. Month: Enter the month, for example, for June enter ‘06’ and press the
key.
4. Day: Enter the date, for example, for the 2
nd
, enter ‘02’ and press the key.
5. Hours: Enter the hour, for example, for 8pm enter ‘20’ (24 hour clock) and press the
key.
6. Minutes: Enter the minutes, for example, for 8.30pm, enter ‘30’ and press the
key.
You will be returned to the Manager Menu.
Omit Inputs
Omitting inputs can be performed in the user menu, and works in a similar way as shown on page: 154
Change Codes
Changing User Codes and Manager Codes
The Change Codes function allows you to assign or change codes or cards/tags for different users, as well
as altering their options. The default code for user 1 is 1234.
1. Use the mand
keys to scroll to ‘CHANGE CODES. Press the key.
2. ‘Change User Codes’ will be displayed - to Change any of the user codes press the
key.
3. Enter the user number you would like to change/add and press the
key.
4. If there are asterisks in the brackets on the keypad, then a user code already exists. To delete this code
press the nkey, or to select another user press the
key.
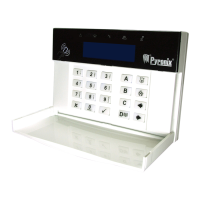
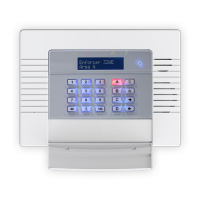
Enter the new user code or present the card/tag up to the keypad (shown below)
5. Asterisks will appear in the brackets, indicating the code or card/tag has been accepted. Press the
key.
6. User Type: Select the user type for this user code or card/tag:
¾ Enter ‘0’ = User Code (can access limited function in the manager menu)
¾ Enter ‘1’ = Manager Code (can access all functions in the manager menu)
¾ Press the
key.
D
C
B
A
Enter User Code
[******]
Tag
,/+.
JKL
ABC
MNO
DEF
PQRS
GHI
TUV
WXYZ
SPACE
 Loading...
