PCX SMS AND PCX 256 SYSTEM MANUAL
RINS871-3 Page: 69
13.12.4 Flexi Arm
If enabled, the user will be able to select which partitions they can arm/disarm, from those the code is valid
for. If disabled, the user code will automatically arm in the selected partition(s). This option is commonly
used if a proximity tag has been used on the system.
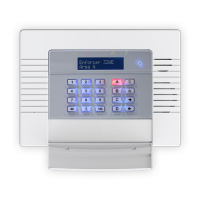
Visual Keypad Programming Procedure
CHANGE CODES
Change Codes
Using the mand Pkeys, scroll to ‘CHANGE
CODES? Press the Okey
5 Digit Pins
Enter : for No
Enter : for Yes (Grade 3)
Press the Okey
Change Duress Codes
Press the Okey to Change the Duress Codes, or for
the next function press the Pkey.
Duress Codes
Enter the required User Number using the numeric
keys.
Press the Okey
If a code or tag is already allocated, the display will
show [******]. Enter the new code, or present a
tag to keypad. To erase the existing code press the
n key. Press the Okey
User Type
Enter #: for Duress
Enter : for Guard
Press the Okey. (User codes can only be
changed in the user manager mode)