Textual toolbar
Optionally the textual toolbar shown below is also available (drop down).
Figure 57
Create a new project (configure the MOSAIC system)
Select icon CREATE (Figure 56) from the standard toolbar to start a new project.
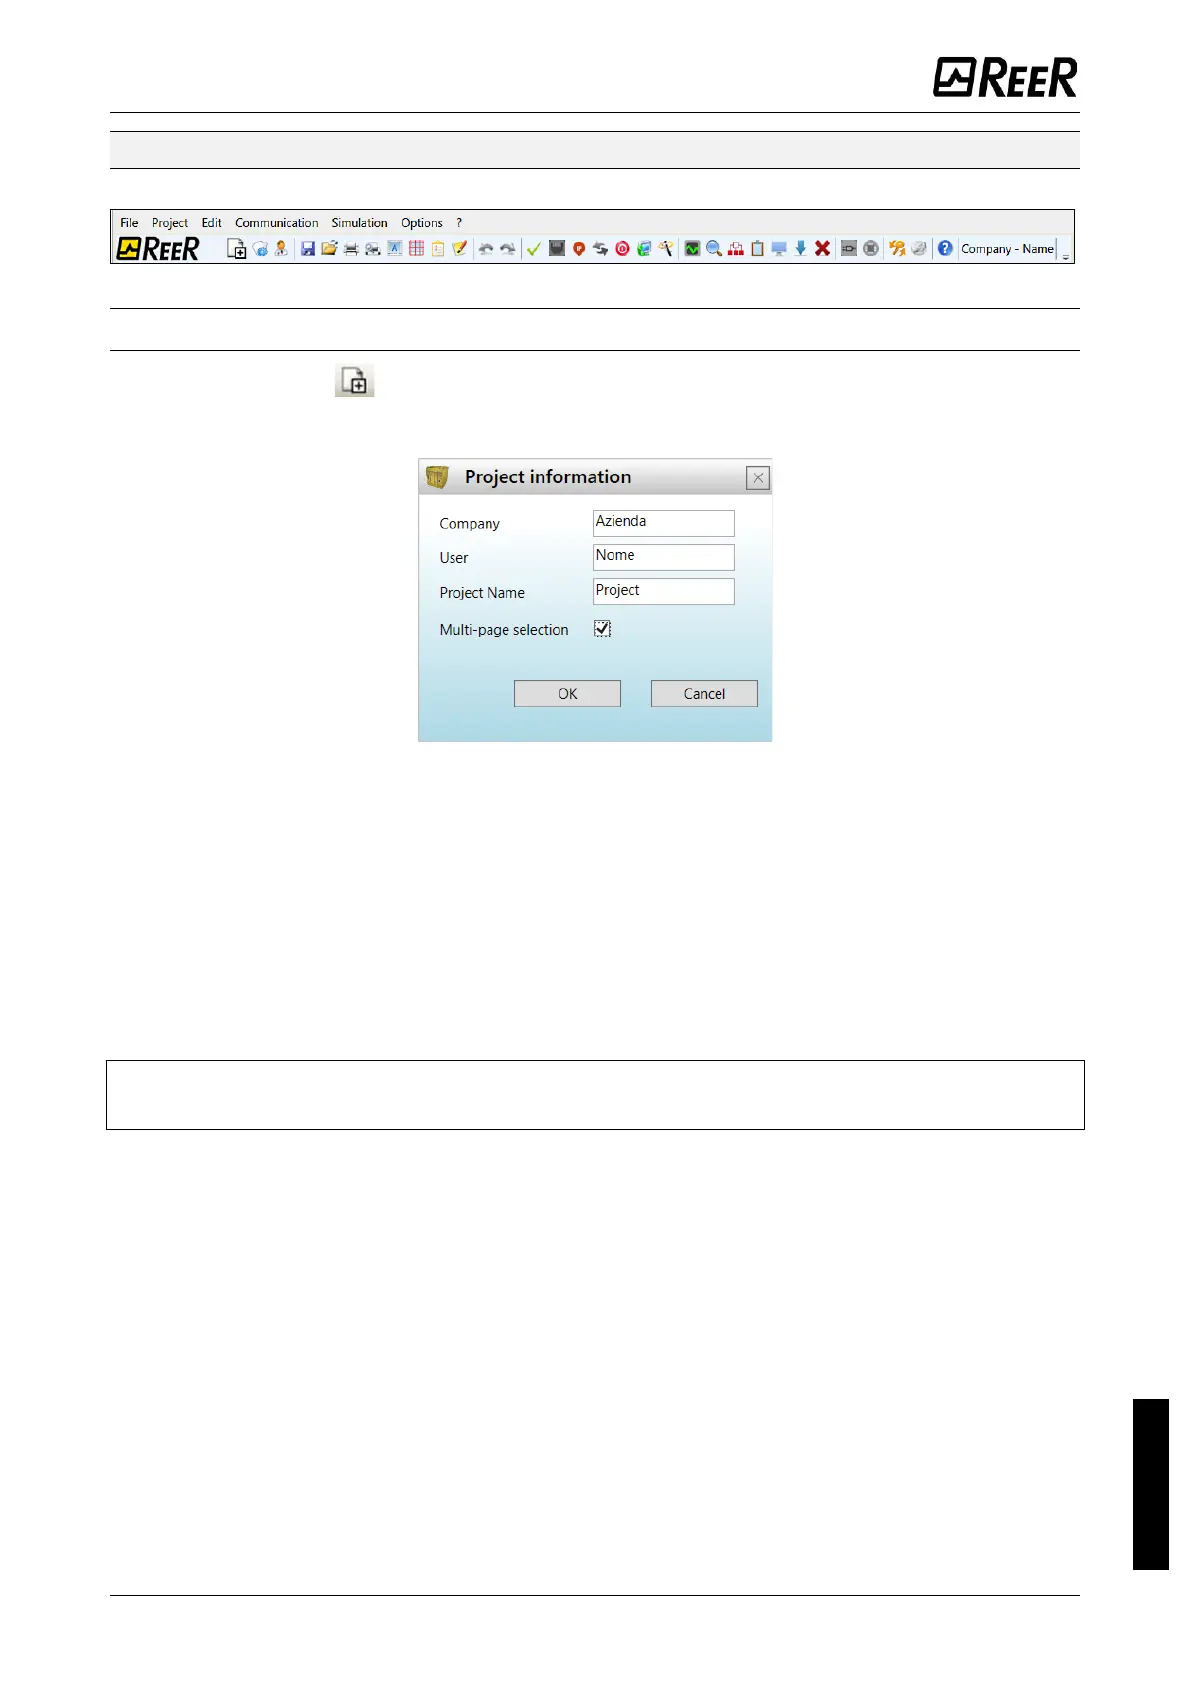
The user authentication window is displayed (Figure 58).
Figure 58
Next the MSD displays a window showing the MOSAIC M1S only. It is possible to select the
MOSAIC M1, MOSAIC M1S COM modules acting on the drop-down menu under the master
module choosing the fw version. For MOSAIC M1 it is <5.0;
for MOSAIC M1S and MOSAIC M1S COM it is ≥8.0.0 and <9.0.0.
Multi-page selection: this checkmark is available to enable splitting the schematic into
pages. In this case, the user will have multiple pages of fixed size to place components and
connections.
The user can add the various units needed to create your system, using the drop-down
menus at the top of the screen (select slave) and at the bottom to select the relative node
(0…3). The order of modules is not important.
➔
The physical position of the modules may not coincide of the MSD configuration menu.
For example the user can physically put the slave modules on the left of the Master module.
For some slave modules, it is also necessary to choose the type (MVx, MBx) by means of a
second drop-down menu located below the node selection menu.
 Loading...