110
2004 – 2014 Reliable Controls
®
Corporation. All rights reserved.
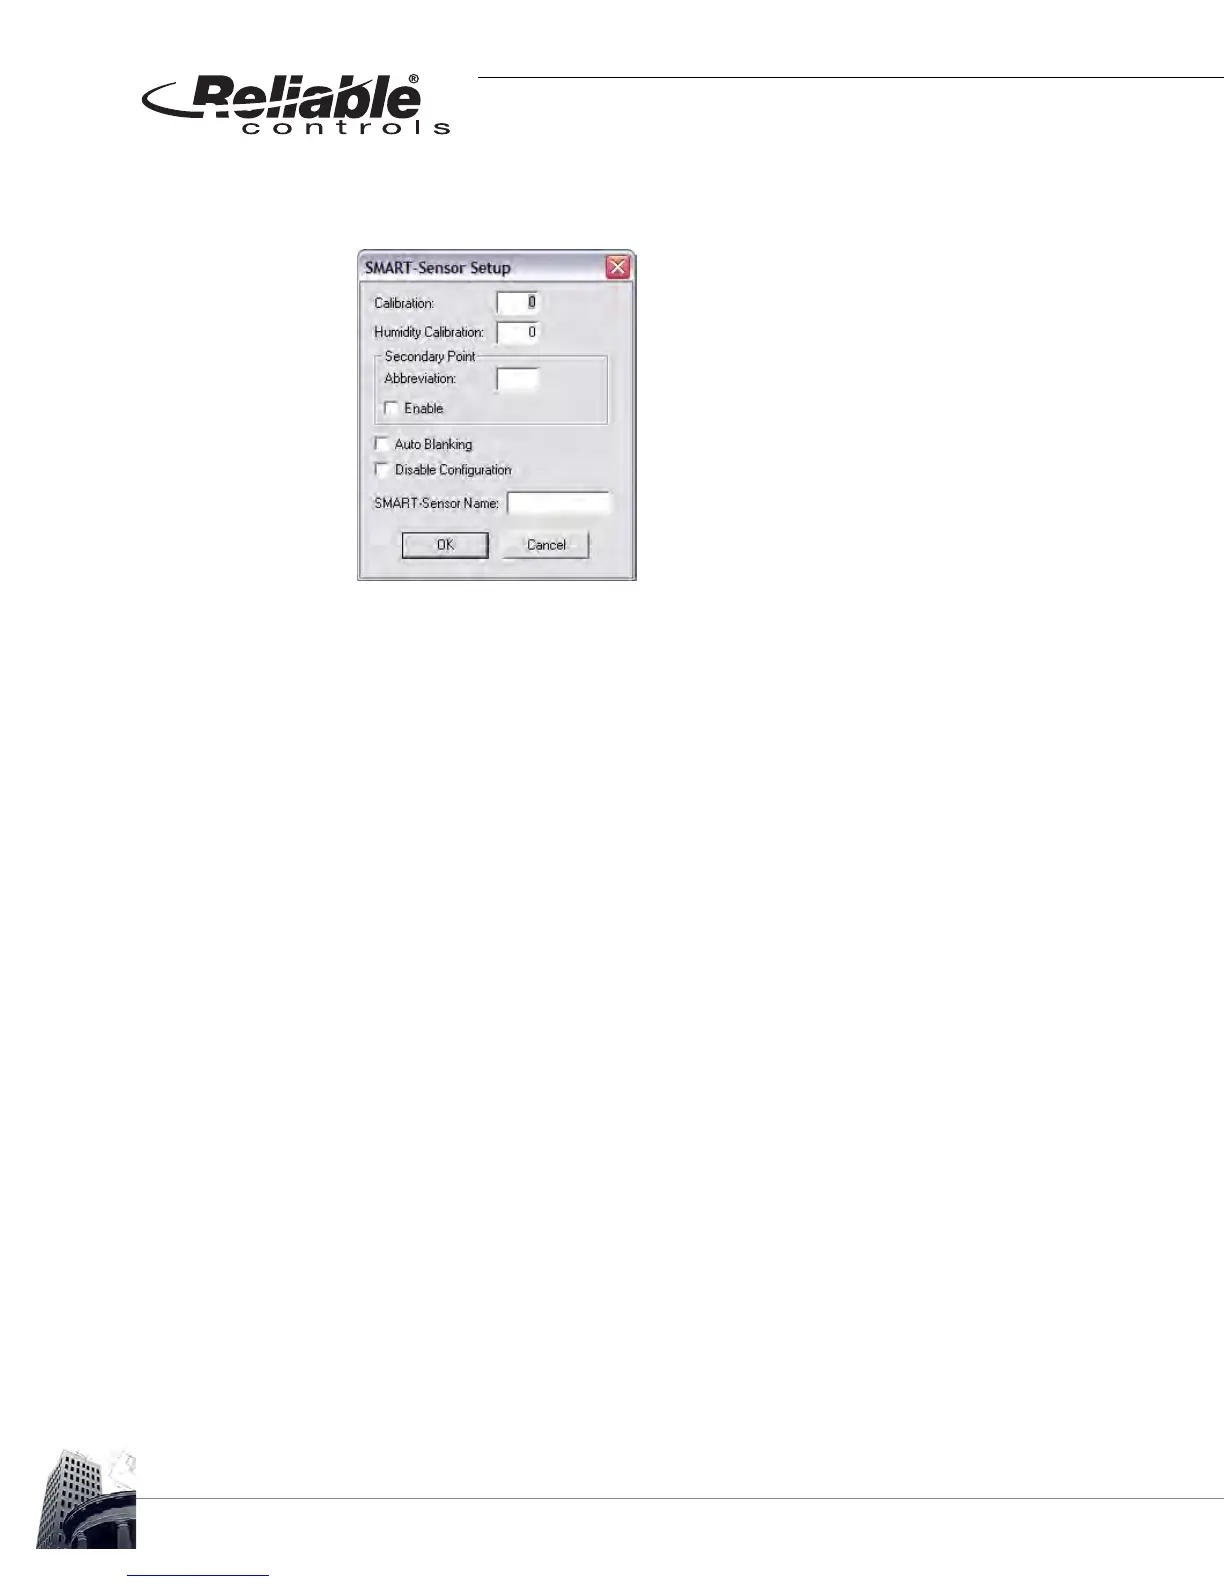
1 3 If necessary, click the Setup button of the SMART-Sensor worksheet to open
the SMART-Sensor Setup dialog box.
FIGURE 105: SMART-SENSOR SETUP DIALOG BOX FUNCTIONS
Complete the programming of the SS-L by performing the following tasks:
• Enter a calibration value for the onboard temperature sensor ± 3.1
degrees,
• Enter a calibration value for the onboard relative humidity sensor on -H
models ± 31%,
• If desired, enable the display of the secondary point on the top row in
Idle mode,
• If the secondary point is enabled, a two-character descriptive
abbreviation may be programmed to be displayed together with the
value,
• The LCD reverts to the idle screen after 20 seconds of button inactivity.
When Auto Blanking is enabled, the LCD automatically turns off after 20
seconds of button inactivity in the idle screen (40 seconds of inactivity
before screen blanking occurs). The display will reappear in Idle mode
when any button is pressed. Enable this function if desired,
• Disable the onboard configuration tools for addressing and airflow
calibration, and
• Enter a descriptive name for the SSL that will appear to uniquely identify
the SS-L in the SMART-Sensors node of the System Tree.
1 4 Verify that SS-L setup changes have taken effect and that the SS-L and mapped
points are operating properly.
1 5 Close the SMART-Sensor worksheet.
1 6 As a suggested best practice, backup the pan file to save changes to the RC-
Studio
®
2.0 project database.
 Loading...