47
Addressing the SS-L
USER GUIDE
CONFIGURING THE SS
SMART-SENSOR
™
2004 – 2014 Reliable Controls
®
Corporation. All rights reserved.
ADDRESSING THE SS-L
To address an SS-L, it is necessary to invoke the onboard configuration tool embedded in
the SS-L firmware. The three-button operator interface of the SS-L and specific key-code
combinations are required to address the SS-L.
TO ADDRESS AN SS-L
1 Complete the installation and power up the SS-L.
2
After the initialization sequence, hold the and buttons for five seconds,
release for two seconds, then press the button.
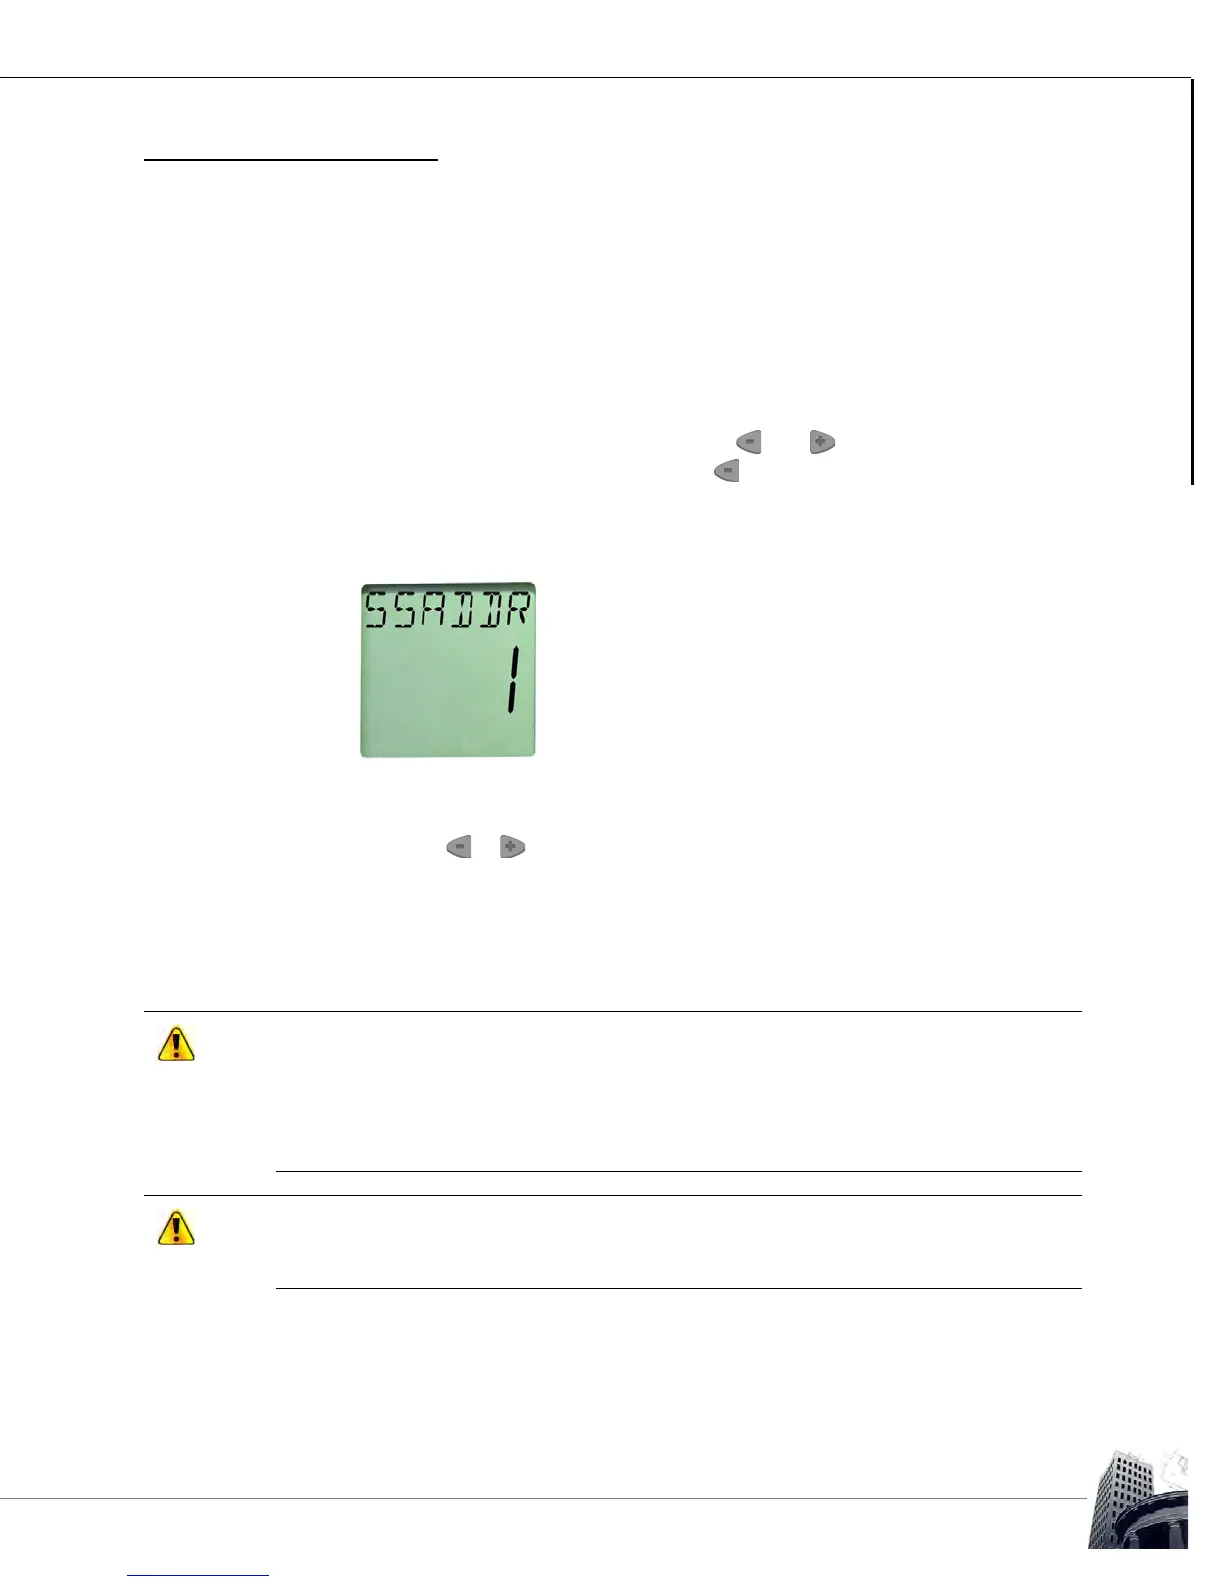
3 The LCD screen displays SSADDR and the current address of the SS-L. The
default SS-L address is 1.
FIGURE 45: SS-L ADDRESS SCREEN
4
Press the or to configure the desired SS-L address between 1 and 16.
5 After the desired configuration is complete, allow the onboard configuration tool
to time-out. The LCD screen will revert to the standard operator display.
Do not skip SS-L addresses. When the host controller encounters the first blank
(unprogrammed) SS-L it will be interpreted as the last SS-L and communication with higher
addresses will not occur.
When addressing SS-Ls be mindful of the maximum number of SS-Ls supported by the
host controller.
To benefit from the full-functionality of the SMART-Sensor
™
LCD, firmware version 6.35, or
higher, must be installed in the host controller. System data and SMART-Sensor
™
LCD
configuration must be input using RC-Studio
®
2.0, or higher.